There’s something enchanting about sweet treats that carry a hint of sentiment, especially when crafted with love. Picture this: a cozy kitchen filled with the scent of warm cake and melting chocolate, all leading up to a delightful surprise for someone special. That’s exactly what these Valentine Cake Pops promise, transforming a simple cake mix into a heartwarming expression of affection.

With a few basic ingredients and less than two hours, you can create these irresistible pops, perfect for a cozy night in or a fun gathering with friends. Whether you’re a seasoned baker or just looking to escape the mundane fast food routine, these cake pops are not just easy to make; they’re bursting with flavor and charm. So grab your mixing bowl, and let’s dive into this sweet adventure—your taste buds will thank you!
Why You'll Love This Valentine Cake Pops
- These Valentine Cake Pops are incredibly easy to make, making them perfect for bakers of all skill levels.
- The delightful combination of cake and chocolate creates a flavor explosion that is sure to satisfy any sweet tooth.
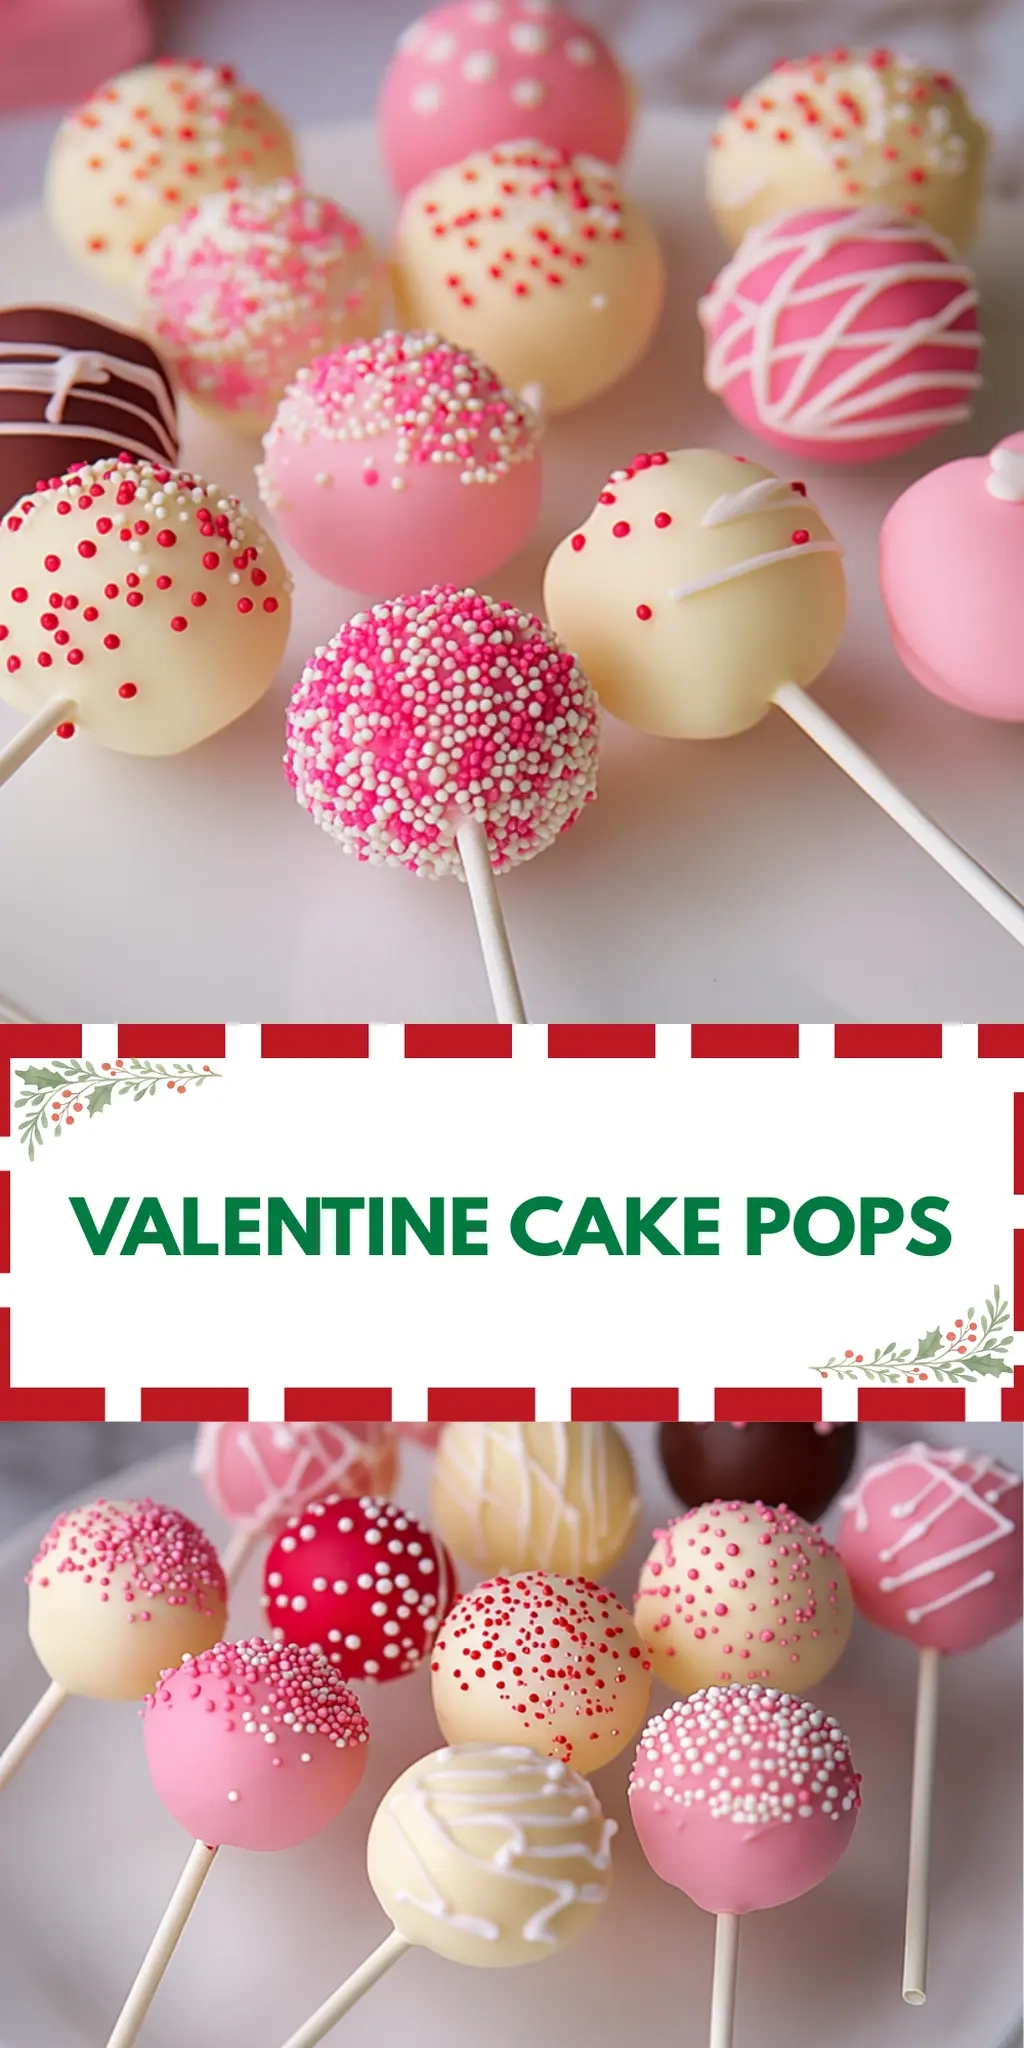
- Their charming appearance, adorned with colorful sprinkles, makes them a visually appealing treat that’s perfect for any romantic occasion.
- These cake pops are also versatile enough to customize with your favorite flavors, allowing for endless creativity and personalization.
Valentine Cake Pops Ingredients
For the Cake Pops
• Box cake mix (15.25 oz) – a convenient base that saves time and guarantees delicious moistness.
• Large eggs (2) – helps bind the ingredients together for a tender texture.
• Vegetable oil (1/2 cup) – ensures the cake pops stay moist as they cool.
• Water (1/2 cup) – adds the necessary hydration to the batter.
For the Coating
• Chocolate melts (1 cup) – the perfect candy coating for that delightful chocolatey finish; you can swap with white chocolate for a different look.
• Rainbow or heart-shaped sprinkles (1/4 cup) – adds a touch of festive charm, perfect for Valentine’s Day and makes your Valentine Cake Pops pop with color!
How to Make Valentine Cake Pops
-
Preheat your oven to 350°F (175°C). In a large mixing bowl, combine the cake mix, eggs, vegetable oil, and water, whisking until the mixture is smooth and well-combined.
-
Bake the mixture in a greased baking pan for 25-30 minutes. Keep an eye on it until it’s beautifully golden brown on top. Once baked, allow the cake to cool completely.
-
Crumble the cooled cake into fine pieces in a large bowl. Carefully mix in half a cup of frosting until everything is well incorporated, forming a delightful and moist mixture.
-
Roll tablespoon-sized portions of the mixture into balls and place them on parchment paper. This is the fun part! Once all are rolled, refrigerate the cakes for one hour to firm up nicely.
-
Melt the chocolate melts in the microwave, using short bursts to keep it smooth and glossy. Dip each chilled cake ball onto lollipop sticks into the melted chocolate, ensuring a full coating, then place them back on parchment paper. Add Sprinkles: While the chocolate is still wet, sprinkle on your decorative sprinkles for a finishing touch.
Optional: Try drizzling some extra melted chocolate on top for an added flair!
Exact quantities are listed in the recipe card below.
How to Store and Freeze Valentine Cake Pops
Room Temperature: Store your Valentine Cake Pops at room temperature in an airtight container for up to 3 days for optimal freshness.
Fridge: If you want to keep them longer, refrigerate the cake pops for up to a week. Ensure they are in a sealed container to prevent them from drying out.
Freezer: For longer storage, freeze the cake pops for up to 2 months. Wrap each pop tightly in plastic wrap and place them in a freezer-safe bag or container.
Reheating: When you’re ready to enjoy, thaw in the fridge overnight and let them sit at room temperature for a bit before enjoying these delightful treats.
Valentine Cake Pops Variations
Feel free to get creative and personalize your cake pops with these delightful twists that will tantalize your taste buds!
-
Gluten-Free: Use a gluten-free cake mix to accommodate those with dietary restrictions while still enjoying the same scrumptious flavor.
-
Vegan-Friendly: Replace eggs with flax eggs and use a dairy-free frosting for a completely plant-based treat without sacrificing taste.
-
Flavorful Boost: Add 1 teaspoon of vanilla extract or almond extract to the cake batter for an extra layer of flavor that will elevate your cake pops.
-
Chocolate Lovers: Mix in mini chocolate chips into the cake crumb mixture for an intense chocolate experience that will make every bite heavenly.
-
Coconut Twist: Incorporate shredded coconut into the cake mixture and garnish with toasted coconut flakes for a tropical flair.
-
Nutty Delight: Fold in crushed nuts like almonds or hazelnuts into the cake mixture for added crunch and a nutty richness.
-
Spicy Kick: Add a pinch of cayenne pepper or chili powder to the melted chocolate for a surprise spicy layer that really energizes this sweet treat.
-
Decorative Drizzle: After dipping, drizzle with contrasting colored chocolate for a professional touch that makes your cake pops truly eye-catching.
Each variation is a chance to explore and bring a personal touch to your Valentine Cake Pops. So go ahead and let your creativity shine in the kitchen!
Make Ahead Options
These Valentine Cake Pops are perfect for meal prep, making them an excellent addition to your busy cooking schedule! You can prepare the cake balls up to 24 hours in advance and store them in an airtight container in the refrigerator to maintain their moisture. Once you’ve rolled them into balls, simply refrigerate them and proceed to dip and decorate with chocolate melts and sprinkles right before serving. If you need to make them even further in advance, you can dip them and freeze them for up to 3 days. Just allow them to thaw in the fridge for a few hours before presenting them at your celebration, ensuring they remain just as delightful and charming as the day they were made!
What to Serve with Valentine Cake Pops?
Treat your loved ones to a full culinary experience, pairing these delightful cake pops with complementary dishes and beverages.
- Rich Hot Chocolate: A mug of creamy hot chocolate enhances the sweetness of the cake pops, creating a cozy and comforting pairing.
- Strawberry Shortcake: The freshness from the strawberries beautifully contrasts the chocolatey sweetness, making for a dessert duo that’s hard to resist.
- Whipped Cream Dip: Serve a fluffy whipped cream dip on the side; it adds a creamy texture that complements the pops perfectly for a fun twist.
- Sparkling Berry Lemonade: This bubbly drink offers a refreshing zing, brightening up the rich flavors of the cake with its citrusy notes.
- Fruit Skewers: Colorful fruit skewers provide a light and refreshing option that balances the indulgence of the cake pops—think strawberries, watermelon, and pineapple.
- Chocolate-Covered Strawberries: For an extra touch of romance, these classic treats echo the decadent chocolate of the cake pops while adding a fruity twist.
- Vanilla Ice Cream: A scoop of velvety vanilla ice cream pairs wonderfully with the cake pops, creating a delightful contrast of warm and cold textures.
- Heart-Shaped Cheese Crackers: For a unique appetizer, serve cheesy heart-shaped crackers to complement the sweet treats and celebrate the holiday’s theme.
Chef's Helpful Tips
- For perfect Valentine Cake Pops, make sure to crumble the cooled cake finely to avoid large chunks that won’t bind well with the frosting.
- One common mistake is overmixing the cake batter; whisk just until combined to maintain tenderness.
- When rolling the cake mixture into balls, wet your hands slightly to prevent sticking and achieve a smoother finish.
- Always refrigerate your cake pops for at least one hour to ensure they hold their shape during chocolate dipping.
Valentine Cake Pops Recipe FAQs
How do I choose the right cake mix for Valentine Cake Pops?
Absolutely! When selecting a cake mix, look for one that piques your interest or fits the flavor you’d like to achieve. You can try vanilla, chocolate, or even funfetti for added excitement. Always check the expiration date to ensure freshness!
What is the best way to store my Valentine Cake Pops?
Very simple! For optimal freshness, store your Valentine Cake Pops at room temperature in an airtight container for up to 3 days. If you want to extend their lifespan, refrigerate them in a sealed container for up to a week. Just be sure to let them come to room temperature before enjoying for the best flavor!
Can I freeze Valentine Cake Pops? How should I do it?
Absolutely! To freeze your Valentine Cake Pops, wrap each pop tightly in plastic wrap and place them in a freezer-safe bag. They can be frozen for up to 2 months. When you’re ready to savor them, simply thaw them in the fridge overnight and let them sit out for a little while to regain their delightful texture.
What should I do if my cake pops are falling apart during coating?
Very often, this can happen if the cake balls aren’t chilled enough. Make sure you refrigerate your rolled balls for the full hour. Additionally, if the mixture seems too dry, a bit more frosting could help bind it together. If they’re too moist, rolling them lightly in powdered sugar might help firm them up.
Are there any dietary considerations for Valentine Cake Pops?
Indeed! If you’re making these for someone with allergies, make sure to check your cake mix and any additional ingredients for common allergens like gluten, nuts, or dairy. If you have a pet, keep these delightful treats well out of their reach, as chocolate is toxic to pets. Always prioritize safety when crafting your treats!
Valentine Cake Pops
Ingredients
Equipment
Method
- Preheat your oven to 350°F (175°C). In a large mixing bowl, combine the cake mix, eggs, vegetable oil, and water, whisking until the mixture is smooth and well-combined.
- Bake the mixture in a greased baking pan for 25-30 minutes. Keep an eye on it until it's beautifully golden brown on top. Once baked, allow the cake to cool completely.
- Crumble the cooled cake into fine pieces in a large bowl. Carefully mix in half a cup of frosting until everything is well incorporated, forming a delightful and moist mixture.
- Roll tablespoon-sized portions of the mixture into balls and place them on parchment paper. Refrigerate the cakes for one hour to firm up nicely.
- Melt the chocolate melts in the microwave, using short bursts to keep it smooth and glossy. Dip each chilled cake ball onto lollipop sticks into the melted chocolate, ensuring a full coating, then place them back on parchment paper. While the chocolate is still wet, sprinkle on your decorative sprinkles for a finishing touch.
Leave a Reply