
Key Lime Popsicles are a refreshing treat that captures the bright, zesty aroma of key limes. The creamy texture from the coconut milk makes each bite smooth and delightful.
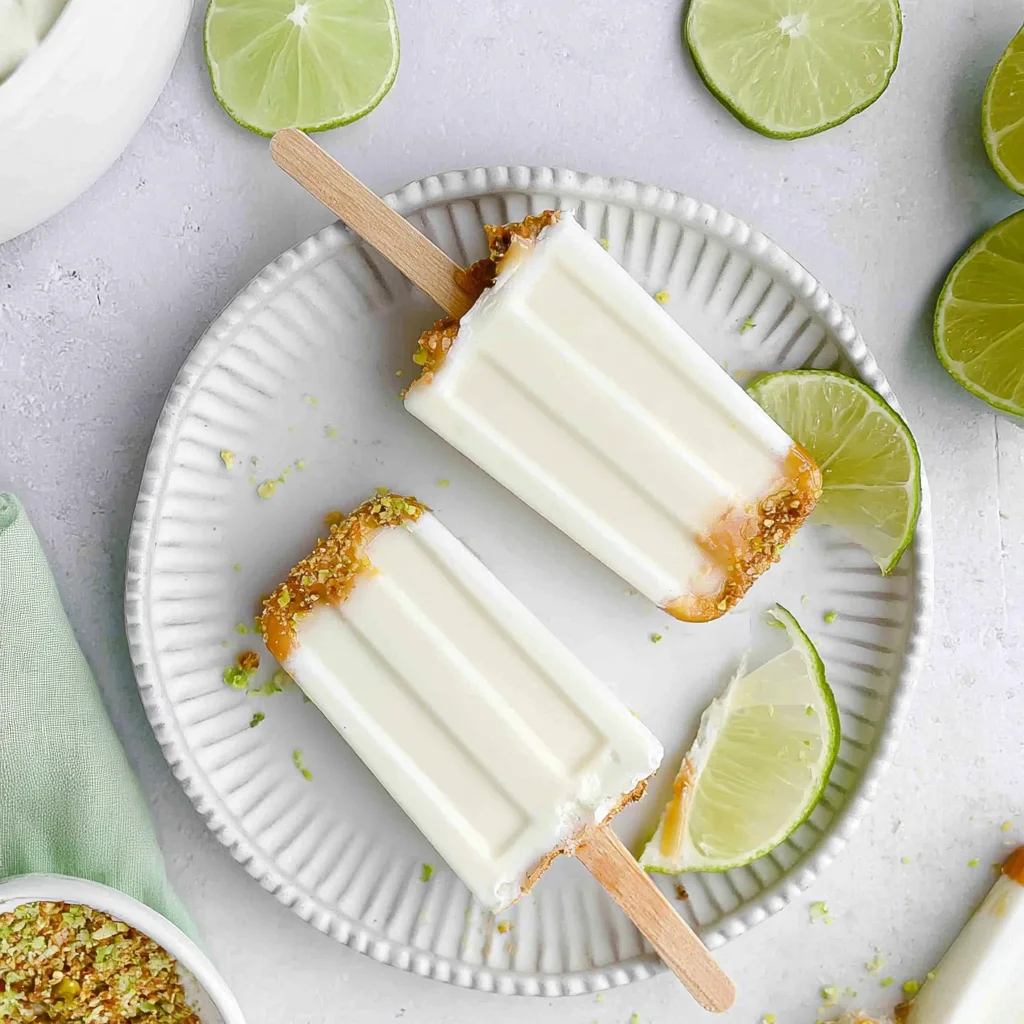
Making these popsicles is simple and forgiving. You can adjust the sweetness to fit your taste, so don’t worry if you’re not an expert in the kitchen.
The “Why” Behind This Recipe
The recipe for Key Lime Popsicles works beautifully because of the balance between tangy key lime juice and creamy coconut milk. This combination creates a refreshing and smooth texture that feels delightful on a hot day. The honey or agave syrup adds just the right sweetness, ensuring each popsicle is enjoyable without being overly sugary. Now, let’s move on to how to prepare these delightful treats!
Quick Win (Do This First)
- Before you begin, make sure to chill your blender for a few minutes.
- This helps the popsicle mixture stay cool while blending, ensuring a smoother consistency and enhancing the overall creaminess of your Key Lime Popsicles.
Now that you’re equipped with this handy tip, let’s move on to creating the perfect popsicle mixture!
Essential Ingredients
To create delicious Key Lime Popsicles, gather the following ingredients for a refreshing treat.
- 1/2 cup fresh key lime juice: Squeeze approximately 4-6 key limes for the freshest flavor; adjust based on tartness preference.
- 1/2 cup coconut milk: Use full-fat coconut milk for a creamier texture that enhances the popsicle’s richness.
- 1/4 cup honey or agave syrup: Sweeten according to your taste—honey gives a floral note, while agave is milder.
- 1/2 cup water: This dilutes the mixture slightly, ensuring a smooth consistency when frozen.
- 1/4 teaspoon vanilla extract: Adds depth to the flavor profile, making the popsicles even more delightful.
The full ingredients list, including measurements, is provided in the recipe card directly below.
Step-by-Step (No Stress)
Start by gathering your ingredients. In a blender, combine the fresh key lime juice, coconut milk, honey or agave syrup, water, and vanilla extract. Blend everything on high until the mixture is smooth, ensuring all the flavors meld together beautifully.
Once blended, take a moment to taste the mixture. If you feel it’s not sweet enough, add a bit more honey or agave syrup. Remember, it should taste slightly sweeter than you’d like since freezing can mute the sweetness.
Next, carefully pour this refreshing popsicle mixture into your molds. Leave a little space at the top to allow for expansion as they freeze—this helps prevent any messy overflow later on.
After filling the molds, insert the popsicle sticks into the center of each one. If your molds come with a lid, place it on top to keep those sticks steady while freezing.
Now it’s time to freeze! Place the filled molds in your freezer for at least four hours or until they’re completely solid. You’ll know they’re ready when they feel firm to the touch and hold their shape well.
When you’re ready to enjoy your Key Lime Popsicles, run warm water over the outside of the molds for a few seconds. This will help loosen them up without melting away your popsicles. Gently pull on the sticks to release them and savor that refreshing taste!
If It Looks Wrong, Here’s the Fix
- If your popsicle mixture appears too thick, simply add a splash more water and blend again until smooth.
- If you find it lacking sweetness after blending, don’t hesitate to mix in a little extra honey or agave syrup to suit your taste.
- Lastly, if the popsicles are hard to remove from the molds, running warm water over the outside will help loosen them up without melting your treats.
Now that you’re equipped with these handy solutions, let’s move on to mastering the freezing process for your Key Lime Popsicles.
Budget & Time Tips
To save time while making Key Lime Popsicles, consider juicing extra key limes and using the juice in other recipes like marinades or dressings. You can also double the popsicle mixture and freeze half for later, ensuring you have a refreshing treat ready at any moment. Lastly, prep your ingredients in advance to streamline the blending process. This will keep everything efficient and minimize waste.
With these tips in mind, let’s explore the delightful steps of creating your Key Lime Popsicles!
Make-Ahead, Storage & Reheat
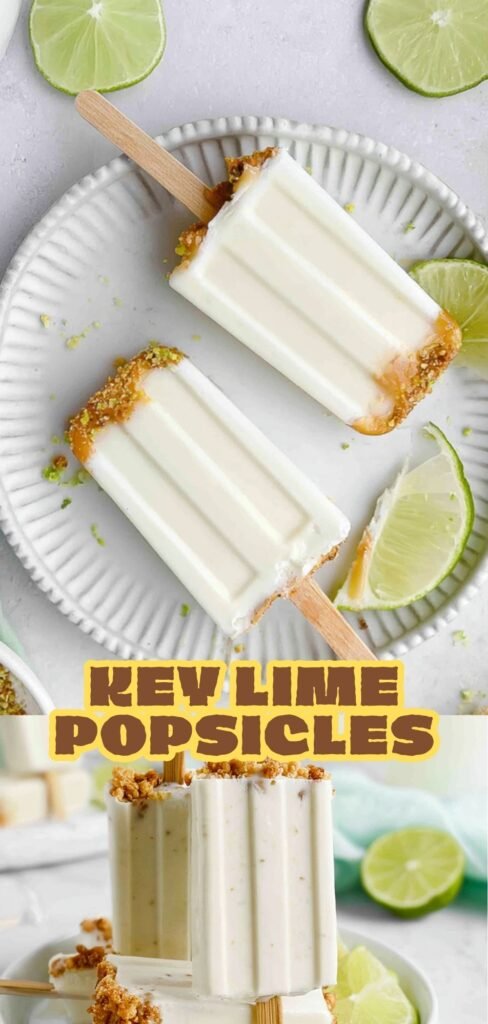
You can prepare Key Lime Popsicles in advance and store them in the freezer for up to two months. To maintain their texture and flavor, keep them in airtight containers or tightly wrapped in plastic wrap. There’s no need to reheat these popsicles; simply remove them from the molds and enjoy them frozen for a refreshing treat. This makes it easy to savor their zesty goodness anytime. Now let’s explore some serving suggestions to enhance your popsicle experience.
FAQ
How long do Key Lime Popsicles take to freeze?
Key Lime Popsicles need at least 4 hours to freeze completely and hold their shape.
Can I substitute the coconut milk in this recipe?
Yes, you can use almond milk or another plant-based milk for a different flavor profile.
What texture should I expect from these popsicles?
These popsicles will be creamy and smooth, thanks to the coconut milk and key lime juice.
How should I store leftover Key Lime Popsicles?
Store them in an airtight container in the freezer for up to two weeks for best quality.
Can I adjust the sweetness of the popsicle mixture?
Absolutely! Feel free to add more honey or agave syrup before freezing to achieve your desired sweetness.
Now that we’ve covered some common questions, let’s explore how to elevate your Key Lime Popsicles with creative serving ideas.
Key Lime Popsicles
Ingredients
For the Popsicle Mixture
- 1/2 cup fresh key lime juice about 4-6 key limes, juiced
- 1/2 cup coconut milk use full-fat for creaminess
- 1/4 cup honey or agave syrup adjust sweetness to taste
- 1/2 cup water to dilute the mixture slightly
- 1/4 teaspoon vanilla extract for added flavor
Instructions
Prepare the Popsicle Mixture
- In a blender, combine the fresh key lime juice, coconut milk, honey (or agave syrup), water, and vanilla extract. Blend on high until the mixture is smooth and well combined. This ensures that the ingredients are evenly distributed and the popsicles have a consistent flavor.
- Taste the mixture and adjust the sweetness if necessary by adding more honey or agave syrup. Remember that freezing can dull sweetness, so it should be slightly sweeter than you want the final popsicles to be.
Fill the Popsicle Molds
- Carefully pour the popsicle mixture into the popsicle molds, leaving a little space at the top for expansion as they freeze. This prevents overflow and mess.
- Insert the popsicle sticks into the molds, ensuring they are centered. If your molds have a lid, place it on top to hold the sticks in place.
Freeze the Popsicles
- Place the filled molds in the freezer and freeze for at least 4 hours, or until completely solid. This duration allows the popsicles to freeze thoroughly, ensuring they hold their shape when removed.
Unmold and Serve
- To remove the popsicles from the molds, run warm water over the outside of the molds for a few seconds. This helps loosen the popsicles without melting them.
- Gently pull on the sticks to release the popsicles. Serve immediately and enjoy the refreshing taste of key lime!
Leave a Reply