When those late-night cravings hit, it’s too easy to reach for the nearest takeout menu or snack bar. This is why I was thrilled to stumble upon my go-to No Bake Peanut Butter Oat Cups—a sweet, satisfying, and guilt-free treat that I can whip up in no time! With the comforting aroma of peanut butter and a hint of vanilla filling my kitchen, it feels like an instant pick-me-up.
These delightful little cups combine wholesome ingredients like quick oats, chia seeds, and your choice of nut butter, making them perfect for a quick breakfast, an energy boost after a workout, or a sweet afternoon snack! Plus, the joy of mixing and melting chocolate has a way of bringing a smile even on the busiest days. The best part? No baking required—just a few simple steps, and you’re on your way to a freezer full of deliciousness. Ready to dive in and discover how easy it is to make these treats? Let’s get started!
Why You'll Love This No Bake Peanut Butter Oat Cups
- These No Bake Peanut Butter Oat Cups are incredibly easy to make, requiring just 10 minutes of prep time, which makes them perfect for busy lifestyles.
- The rich, creamy peanut butter combined with sweet chocolate creates a flavor explosion that will satisfy any sweet tooth.
- Their versatility allows you to enjoy them as a quick breakfast, a post-workout snack, or even a dessert, making them a fantastic addition to any mealtime.
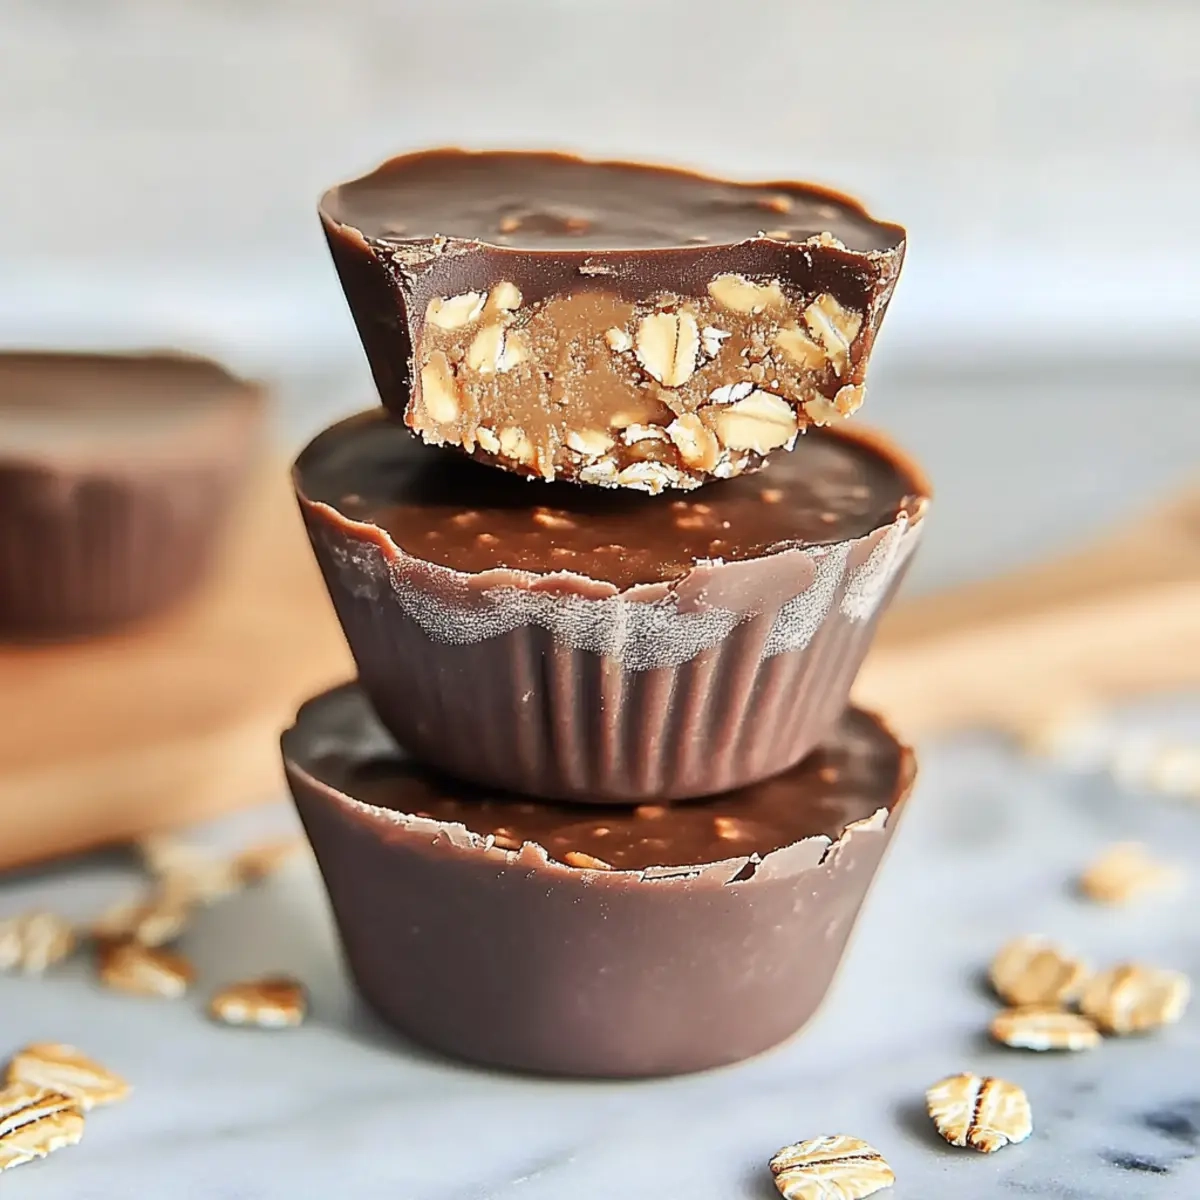
- With their adorable presentation in mini muffin form, these treats are not only delicious but also visually appealing, making them a crowd-pleaser at any gathering.
No Bake Peanut Butter Oat Cups Ingredients
• Dive into the deliciousness with these simple ingredients!
For the Base
- 3/4 cup quick oats – a wholesome foundation packed with fiber and texture.
- 1/2 cup peanut butter or almond butter – choose your favorite for a creamy, nutty flavor.
- 1/4 cup maple syrup or honey – adds natural sweetness; feel free to swap based on your preference.
- 2 tbsp chia seeds – boosts the nutritional value and provides a nice crunch.
- 1/4 cup protein powder, of choice – a great way to add some muscle-building protein to your No Bake Peanut Butter Oat Cups.
- 1 tsp vanilla extract – elevates the flavor profile with a warm, aromatic essence.
- 1 pinch sea salt – enhances flavors and balances the sweetness.
For the Chocolate Topping
- 1 1/4 cups chocolate chips – the star of the show that melts beautifully on top.
- 2 tsp coconut oil – ensures the chocolate flows smoothly; plus, it adds a hint of tropical flavor!

How to Make No Bake Peanut Butter Oat Cups
-
Mix Together: In a large bowl, combine the quick oats, nut butter, maple syrup, chia seeds, protein powder, vanilla extract, and sea salt. Stir gently until everything is well blended and the mixture becomes thick and sticky.
-
Prepare the Pan: Grab your silicone mini muffin tin or a similar tray that can hold small portions. If it’s not silicone, lightly grease it with cooking spray to help with removal later.
-
Fill the Molds: Scoop the mixture into the prepared tin, filling each cup about 2/3 of the way full. Press down slightly to ensure they’re well packed and won’t fall apart when served.
-
Melt the Chocolate: In a small bowl, combine the chocolate chips and coconut oil. Heat in the microwave in 30-second increments, stirring every time, until fully melted and silky smooth.
-
Top with Chocolate: Divide the melted chocolate evenly among the filled cups, filling each one the last 1/3 of the way to create a luscious topping.
-
Set in the Freezer: Place the tray in the freezer for at least 2-3 hours. Once firm, gently remove the cups from the mold. Sprinkle a pinch of sea salt on top and store them in an air-tight container in the freezer.
Optional: Enjoy with a drizzle of extra melted chocolate for a more indulgent treat!
Exact quantities are listed in the recipe card below.
What to Serve with No Bake Peanut Butter Oat Cups?
Picture a cozy gathering where your friends and family can indulge in delightful flavors and textures. Pairing these sweet treats with complementary options will elevate your entire meal experience!
-
Fresh Fruit Salad: A medley of seasonal fruits adds a refreshing contrast that balances the richness of the oat cups. Juicy berries and crisp apples create a delightful burst of flavor.
-
Creamy Yogurt Parfait: Layered yogurt with granola and fruits enhances the overall texture and provides a perfect dose of protein. The creamy goodness pairs beautifully with the nutty taste of the cups.
-
Iced Coffee or Latte: Enjoy your No Bake Peanut Butter Oat Cups with a chilled cup of coffee for a refreshing pick-me-up. The slight bitterness of the coffee beautifully complements the sweetness of the cups.
-
Nutty Granola: Sprinkle crunchy granola on top of your oat cups or serve it on the side for an enjoyable texture contrast. The healthy fats in the nuts align perfectly with the cups’ flavors.
-
Chocolate Drizzle: For an added touch of indulgence, drizzle some melted chocolate over your oat cups before serving. This not only enhances the flavor but also makes them an eye-catching dessert.
-
Coconut Whipped Cream: A dollop of light and airy coconut cream adds a tropical twist to your treat. It’s a light addition that balances the earthiness of the peanut butter.
-
Smoothie Bowl: Blend your favorite fruits with a splash of almond milk and pour it in a bowl. Topping it with seeds and nuts will make for an energizing breakfast alongside your oat cups.
With these delightful pairings, you’ll turn your No Bake Peanut Butter Oat Cups into a feast of flavors that’s sure to impress!
Make Ahead Options
These No Bake Peanut Butter Oat Cups are a fantastic option for meal prep enthusiasts! You can prepare the base mixture up to 24 hours in advance. Simply combine the oats, nut butter, maple syrup, chia seeds, protein powder, vanilla extract, and sea salt as directed, then store it in an airtight container in the refrigerator. When you’re ready to finish the recipe, fill your muffin tin with the mixture and proceed to melt the chocolate topping. After topping with chocolate, place the cups in the freezer for at least 2-3 hours to set. This way, when those cravings hit, you’ll have delicious homemade treats waiting for you—just as delightful as when freshly made!
How to Store and Freeze No Bake Peanut Butter Oat Cups
Room Temperature: Enjoy your No Bake Peanut Butter Oat Cups immediately after making them, but they’re best stored in the freezer to maintain their texture.
Fridge: If you have leftovers, store them in an airtight container in the fridge for up to 3 days. However, the texture may change slightly, becoming softer than when frozen.
Freezer: For longer storage, keep the cups in an airtight container in the freezer for up to 3 months. This way, you’ll always have a delicious treat on hand!
Reheating: To enjoy, simply remove from the freezer and let sit at room temperature for a few minutes or microwave for about 10-15 seconds for a softer bite.
No Bake Peanut Butter Oat Cups Variations
Feel free to customize your No Bake Peanut Butter Oat Cups with these fun and tasty twists that will elevate your creation!
-
Nut-Free: Substitute the nut butter with sunflower seed butter for a deliciously safe option for those with nut allergies, keeping the creamy texture intact.
-
Vegan: Use maple syrup instead of honey, and opt for dairy-free chocolate chips to create a treat that everyone can enjoy!
-
Protein Boost: Add an extra 1/4 cup of protein powder or mix in some chopped nuts to increase the protein content while adding a delightful crunch.
-
Flavor Fusion: Swap the vanilla extract for almond extract or a pinch of cinnamon for a whole new flavor profile that’s still comforting and delicious.
-
Chocolate Lovers: Double up on the chocolate by mixing in mini chocolate chips into the base for an extra dose of rich flavor.
-
Fruit Delight: Add in dried cranberries, chopped dried apricots, or even fresh banana slices atop the chocolate layer for a fruity explosion in every bite!
-
Crunch Factor: Toss in some toasted coconut flakes or crushed graham crackers for added texture and a hint of tropical sweetness.
-
Spicy Kick: Sprinkle in a dash of cayenne pepper or a few pinches of chili powder to elevate the experience with a surprising heat that complements the sweetness!
Explore these variations and make your No Bake Peanut Butter Oat Cups uniquely yours—because cooking is all about creativity and joy!
Chef's Helpful Tips
- When making No Bake Peanut Butter Oat Cups, ensure that your ingredients are at room temperature to facilitate blending.
- A common mistake is overfilling the molds; aim for about 2/3 full to allow space for the chocolate topping.
- For an even texture, use quick oats instead of rolled oats, as they blend better with the other ingredients.
- Remember to let the cups freeze for a full 2-3 hours to achieve a firm consistency before removing them from the mold.
No Bake Peanut Butter Oat Cups Recipe FAQs
What type of oats should I use for No Bake Peanut Butter Oat Cups?
I recommend using quick oats for this recipe. They blend seamlessly with the other ingredients, creating a smooth texture. Rolled oats can be used, but they might not blend as well, which could result in a chunkier consistency.
How do I store No Bake Peanut Butter Oat Cups?
You can store the cups in an airtight container in the fridge for up to 3 days. Just keep in mind that they may become softer over time. For long-term storage, place them in an airtight container in the freezer for up to 3 months, which preserves their delicious texture.
Can I freeze No Bake Peanut Butter Oat Cups?
Absolutely! To freeze, place the filled cups in a single layer on a baking sheet until firm, then transfer them to an airtight container or a freezer-safe bag. They stay fresh for up to 3 months. When ready to enjoy, simply take one out and let it sit at room temperature for a few minutes or microwave it for about 10-15 seconds.
What if my mixture is too dry or crumbly?
If your No Bake Peanut Butter Oat Cups mixture seems dry, it’s likely due to insufficient moisture from the nut butter or syrup. You can add a splash more maple syrup or a bit of water to loosen it up a bit. Make sure the mixture is sticky enough to hold together before filling your molds!
Are No Bake Peanut Butter Oat Cups suitable for people with nut allergies?
If you or someone you are serving has a nut allergy, you can substitute the peanut butter with sunflower butter or another seed butter. Always check labels to ensure that the alternative isn’t processed in a facility with nuts, to be safe.
Can I add extra ingredients to my No Bake Peanut Butter Oat Cups?
Absolutely! The more the merrier! You can mix in extras like shredded coconut, chopped nuts, or dried fruit for added flavor and texture. Just be mindful of the ratios to keep the cups from becoming too runny. Adjust the proportions of nut butter and oats accordingly if you add a lot of additional ingredients.
No Bake Peanut Butter Oat Cups
Ingredients
Equipment
Method
- In a large bowl, combine the quick oats, nut butter, maple syrup, chia seeds, protein powder, vanilla extract, and sea salt. Stir gently until well blended and thick.
- Grab your silicone mini muffin tin. If it’s not silicone, lightly grease it with cooking spray.
- Scoop the mixture into the prepared tin, filling each cup about 2/3 full. Press down slightly to ensure they're well packed.
- In a small bowl, combine the chocolate chips and coconut oil. Heat in the microwave in 30-second increments, stirring until fully melted.
- Divide the melted chocolate evenly among the filled cups to create a luscious topping.
- Place the tray in the freezer for at least 2-3 hours. Once firm, gently remove from the mold and store in an airtight container.
Leave a Reply