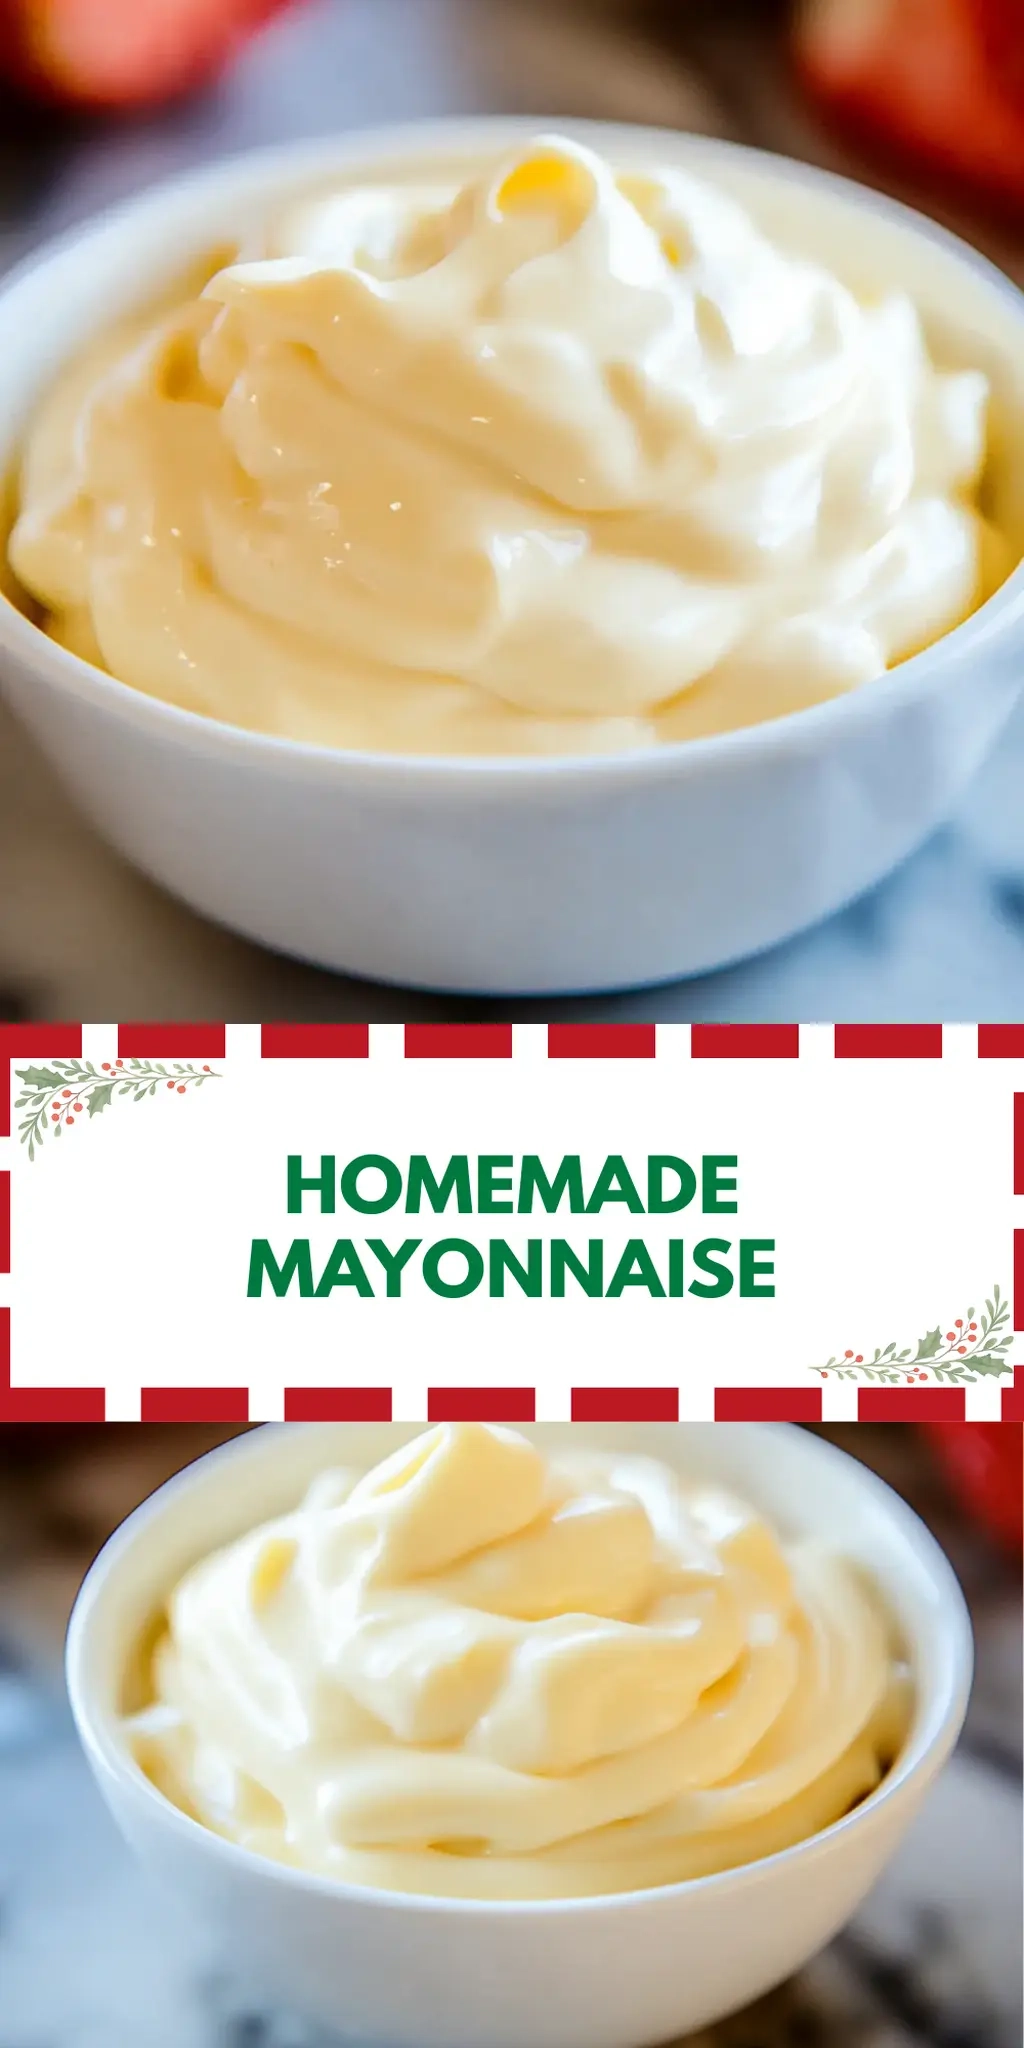
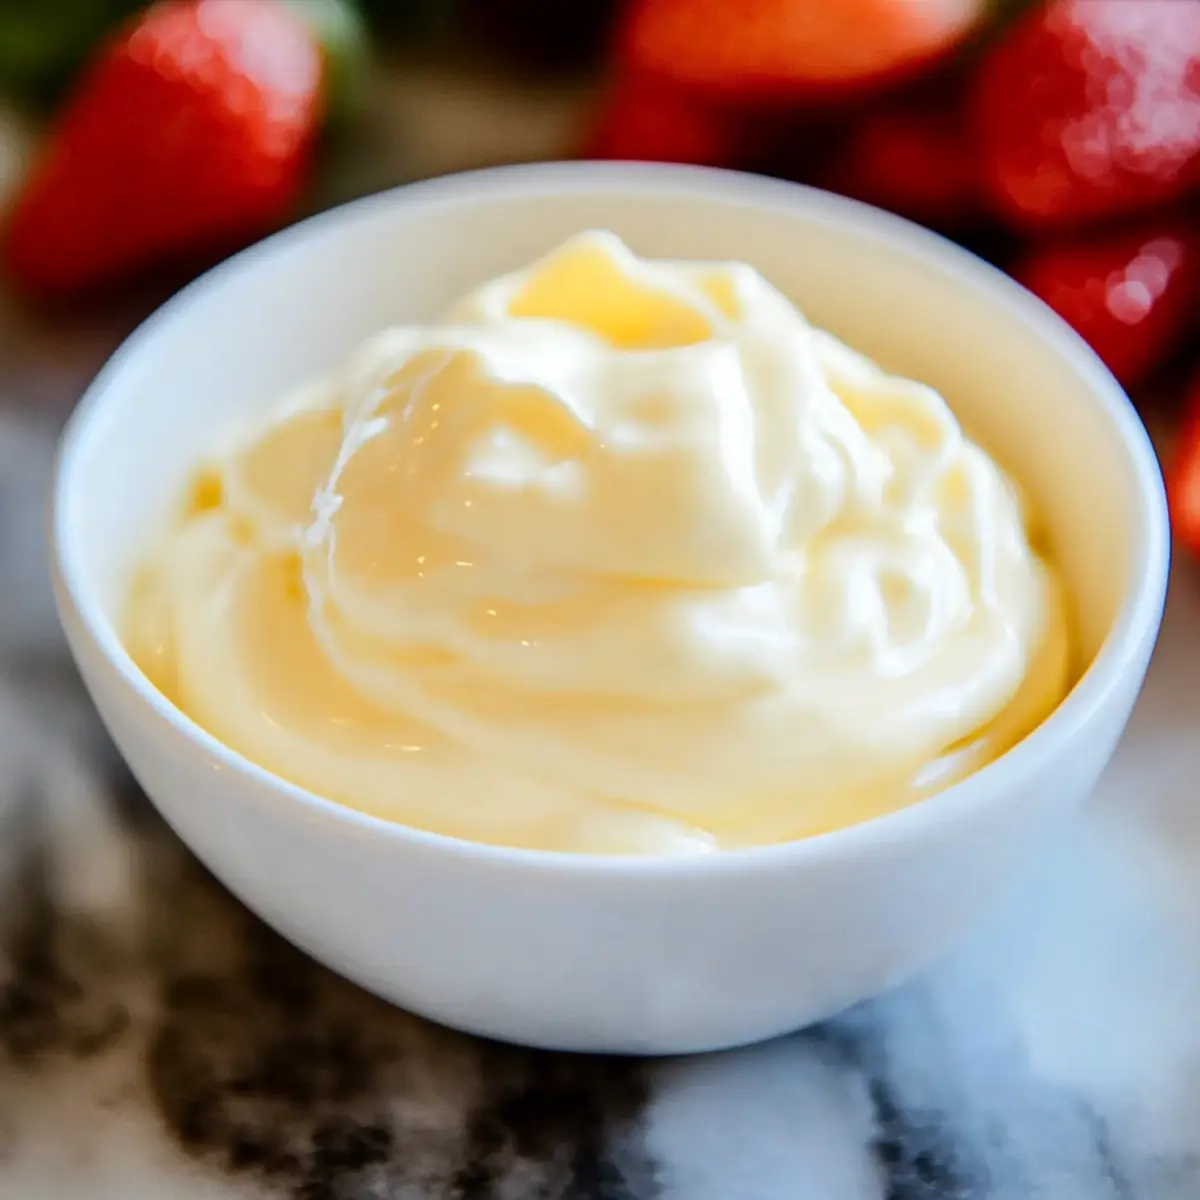
There’s something wonderfully satisfying about creating your own condiments from scratch, and homemade mayonnaise is no exception. One sunny afternoon, as I flicked through my pantry, I decided to give traditional mayo a twist. Why settle for store-bought when whipping up a creamy, flavorful batch is just a few simple ingredients away?
With just an egg, Dijon mustard, and a drizzle of oil, I transformed a humble condiment into a culinary delight fit for sandwiches, salads, and dips. The rich, velvety texture combined with a hint of tang is addictive—and the best part? It takes only ten minutes! Perfect for those who have grown weary of fast food and are eager to bring the freshness of homemade flavors into their kitchen.
Join me as I share this incredibly easy homemade mayonnaise recipe that not only elevates your dishes but also sparks joy in every bite. Let’s take a step away from the jar and discover the magic of creating something deliciously unique right in your own home!
Why You'll Love This Homemade Mayonnaise
- This homemade mayonnaise recipe is incredibly easy, allowing you to whip up a creamy condiment in just ten minutes.
- The bold flavors of Dijon mustard and fresh lemon juice elevate your dishes to a whole new level of deliciousness.
- Its versatility means you can use it as a spread, dip, or dressing, making it perfect for any meal.
- Plus, there’s nothing quite like the satisfaction of making it from scratch, showcasing your cooking skills with a visually appealing, homemade creation.
Homemade Mayonnaise Ingredients
• Discover the simplicity of making homemade mayonnaise with these easy-to-find ingredients.
For the Base
- Large egg – acts as the emulsifier for a creamy texture.
- Dijon mustard – adds a delightful tang that enhances flavor.
- Red or white wine vinegar – provides acidity to balance the richness.
- Fine sea salt – enhances all the other flavors in your mayo.
For the Oil
- Safflower oil or vegetable oil – use either for a neutral flavor and silky finish.
Optional Twist
- Fresh lemon juice – a touch brings brightness and freshness to the homemade mayonnaise.
How to Make Homemade Mayonnaise
-
Combine the egg, Dijon mustard, red wine vinegar, and sea salt in a mixing bowl. This is the flavorful base of your mayonnaise. Whisk these ingredients together until they’re well blended, creating a vibrant concoction.
-
Drizzle in the safflower oil slowly while whisking continuously. Watch as the mixture starts to emulsify and thicken—this is the magic moment! Keep whisking vigorously for about 1-2 minutes until you achieve that creamy texture.
-
Mix in the fresh lemon juice, if using, until fully incorporated. This optional addition gives your homemade mayonnaise a refreshing brightness. Taste it, and enjoy the burst of flavor!
Optional: Add a pinch of garlic powder for an extra kick.
Exact quantities are listed in the recipe card below.
What to Serve with Homemade Mayonnaise?
Elevate your meals with delightful sides and pairings that complement the creamy richness of this homemade condiment.
-
Crispy Sweet Potato Fries: The natural sweetness and crisp texture provide a fantastic contrast to the tanginess of the mayonnaise.
-
Fresh Garden Salad: A medley of vibrant vegetables drizzled with homemade mayonnaise creates a refreshing, crunchy delight that tastes like sunshine.
-
Grilled Chicken Sandwiches: Juicy chicken paired with the rich and creamy mayo brings a luscious element that enhances each bite.
-
Classic Potato Salad: Creamy and tangy, a potato salad dressed with this homemade mayonnaise is a nostalgic favorite perfect for picnics.
-
Zesty Coleslaw: Crunchy cabbage and carrots combined with the mayo create a creamy texture that adds a flavorful pop to any barbecue spread.
-
Savory Tuna Salad: This mayo adds a rich creaminess that perfectly complements flaked tuna, making for a satisfying lunch or snack.
-
Spicy Deviled Eggs: Using homemade mayonnaise instead of store-bought elevates these bite-sized goodies to a whole new level of flavor and texture.
-
Crisp Veggie Platter: Bright, colorful veggies dipped into creamy mayo make for a satisfyingly crunchy and healthy snack.
Whether you’re enjoying a simple meal at home or hosting a gathering, these pairings will surely highlight your wonderful mayonnaise creation!
Homemade Mayonnaise Variations
Unleash your creativity in the kitchen by experimenting with these exciting twists and substitutions.
- Herb-Infused: Add fresh chopped herbs like basil, dill, or chives for a burst of flavor that complements any dish perfectly.
- Spicy Kick: Mix in a teaspoon of sriracha or your favorite hot sauce to give your mayonnaise a delightful heat that will tantalize your taste buds.
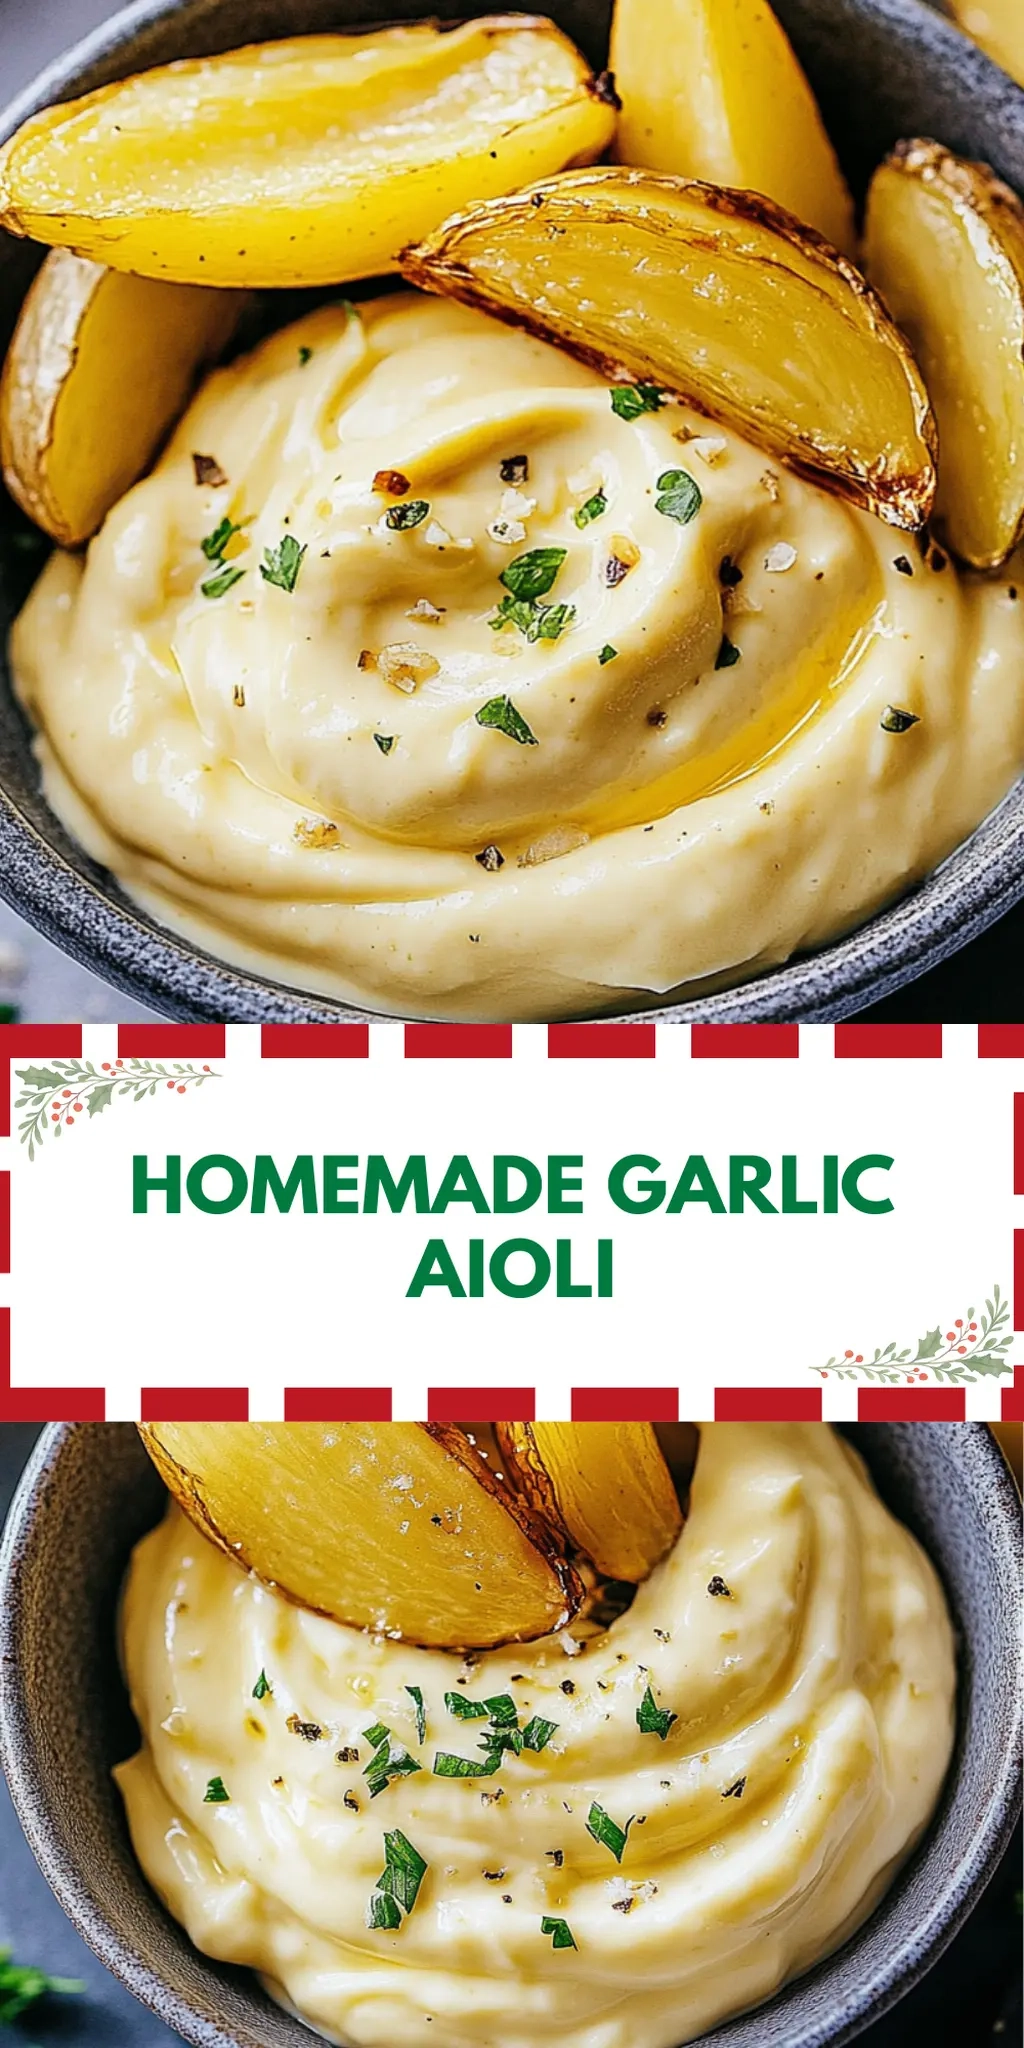
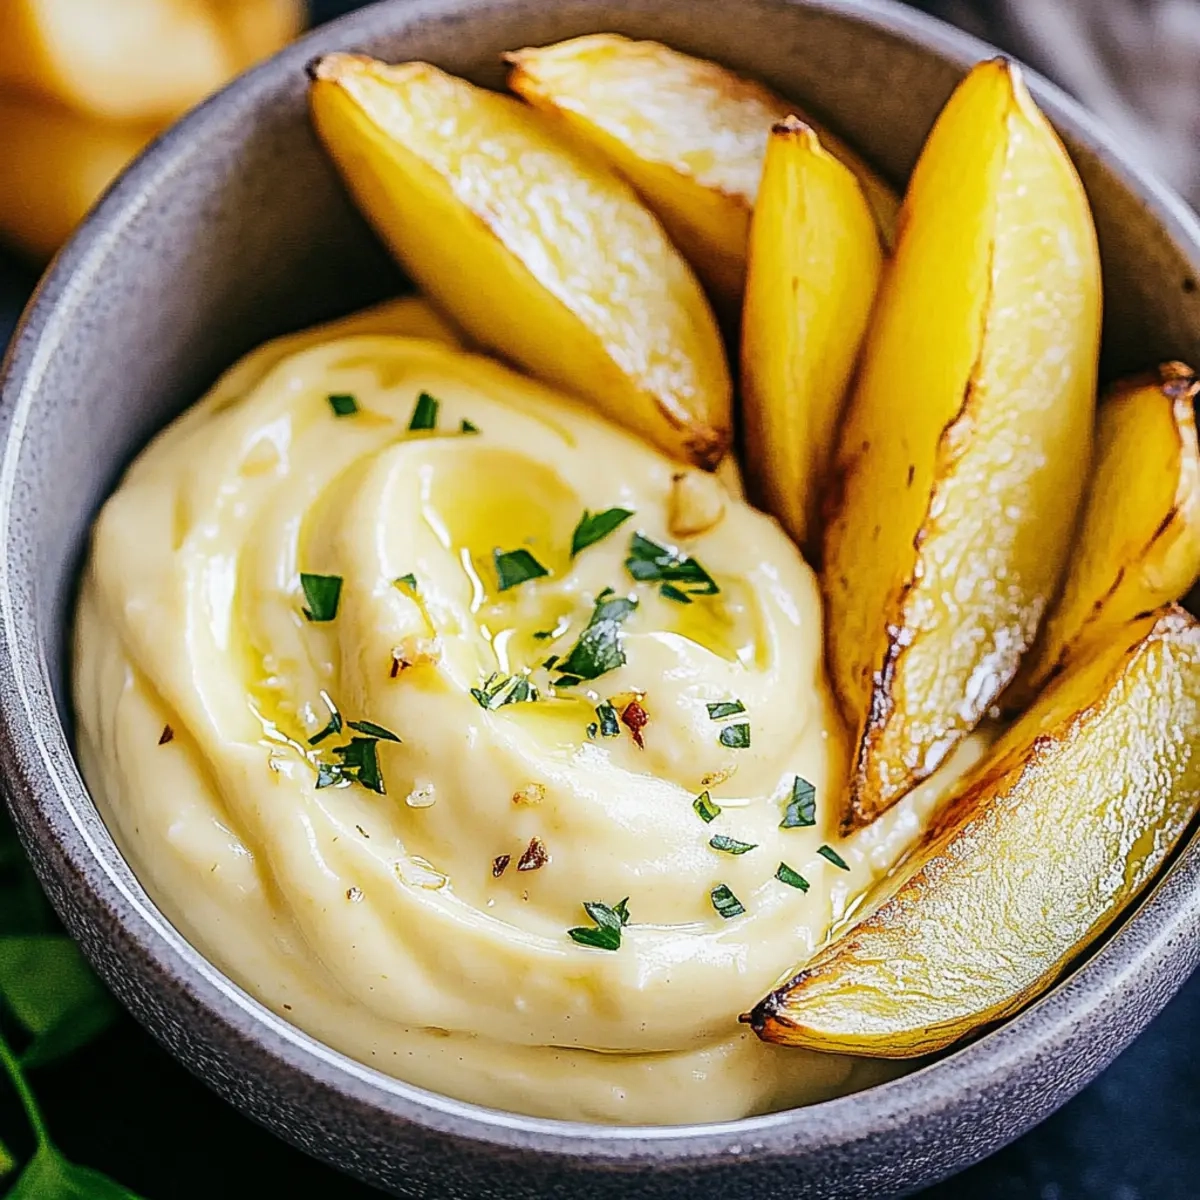
- Garlic Aioli: Incorporate minced garlic for a classic aioli variant; it adds depth and richness that pairs beautifully with vegetables and seafood.
- Vegan Version: Substitute the egg with aquafaba (chickpea brine) for a vegan mayo that’s just as creamy and flavorful—no one will know the difference!
- Tangy Twist: Use apple cider vinegar instead of wine vinegar for a sweeter, fruitier flavor that brings a unique twist to your recipes.
- Smoky Flavor: Stir in a dash of smoked paprika to introduce a rich, smoky undertone that enhances sandwiches and dips alike.
- Citrus Zing: Brighten your mayo by adding a teaspoon of orange or lime juice for a refreshing twist that’s perfect for summer dishes.
- Nutty Taste: Fold in a tablespoon of sesame oil for an Asian-inspired mayonnaise that pairs beautifully with salads and grilled meats.
Let your imagination run wild as you play with these variations, making your homemade mayonnaise as unique and delicious as you desire!
Make Ahead Options
These homemade mayonnaise preparations are perfect for busy home cooks looking to save time during the week! You can whisk together the egg, Dijon mustard, red wine vinegar, and sea salt up to 24 hours in advance and store the mixture in an airtight container in the refrigerator. This not only ensures flavor meld but also allows for easy emulsification later. When you’re ready to finish your homemade mayonnaise, simply add the safflower oil while whisking, as it will save you the hassle later and ensures a fresh taste. Remember, for the best quality, avoid adding lemon juice until just before serving to keep its vibrant flavor intact. Enjoy the convenience of homemade goodness with minimal effort!
How to Store and Freeze Homemade Mayonnaise
Room Temperature: Homemade mayonnaise is best stored in the fridge, but if left out, it can sit for a maximum of 2 hours. After that, discard it for safety.
Fridge: Keep your homemade mayonnaise in an airtight container for up to 1 week. Ensure the lid is tight to prevent contamination and maintain freshness.
Freezer: While freezing is not recommended for mayonnaise due to its emulsified nature, if necessary, you can freeze it for up to 2 months in a freezer-safe container.
Reheating: If your mayonnaise has separated after freezing, let it thaw in the fridge and then gently whisk to re-emulsify. Enjoy the fresh taste of your homemade mayonnaise!
Chef's Helpful Tips
- When making Homemade Mayonnaise, ensure your egg is at room temperature to help the emulsification process.
- A common mistake is adding the oil too quickly; drizzle it slowly while whisking to create that desired creamy texture.
- Use a whisk or an immersion blender for smoother results, as this can significantly enhance the emulsification.
- Always taste your mayonnaise after mixing; if it seems too rich, a splash more vinegar or lemon juice can brighten it up perfectly.
Homemade Mayonnaise Recipe FAQs
What kind of egg should I use for homemade mayonnaise?
Absolutely! It’s best to use a large, fresh egg at room temperature. The freshness of the egg is crucial since it’s the primary emulsifier in the mayonnaise. Look for eggs that have no cracks, and if you can, use organic or free-range eggs for better flavor and quality.
How long can I store homemade mayonnaise?
You can store your homemade mayonnaise in an airtight container in the refrigerator for up to 1 week. Make sure to keep it tightly sealed to maintain its freshness and prevent any contamination. Always check for any off-smells or discoloration before using!
Can I freeze homemade mayonnaise?
Yes! You can freeze homemade mayonnaise for up to 2 months, although the texture might change slightly. To freeze, pour it into a freezer-safe container, leaving some space at the top for expansion. When you’re ready to use it, transfer it to the refrigerator overnight to thaw, and whisk gently before using to help restore its original texture.
What can I do if my mayonnaise doesn’t emulsify?
Very! If your mayonnaise doesn’t emulsify, don’t worry—just start over with a fresh egg yolk in a clean bowl, and slowly incorporate your failed attempt a little bit at a time. Whisk continuously as you add it. This method works because the fresh yolk acts as a new emulsifier, helping to bring it all together.
Is homemade mayonnaise safe for my family, including my kids?
Of course! However, keep in mind that homemade mayonnaise uses raw eggs, which can pose a risk of salmonella. If you’re serving it to young children, pregnant women, or anyone with a weakened immune system, consider using pasteurized eggs to ensure safety. It’s an extra layer of protection while enjoying all that creamy goodness!
How can I enjoy homemade mayonnaise outside of just sandwiches?
Ah, the more the merrier! Homemade mayonnaise is a versatile condiment. Use it as a base for creamy salad dressings, blend in herbs for a delicious dip, or even incorporate it into a pasta salad for extra richness. You can even use it in place of sour cream in certain recipes for a delightful twist. The options are endless!
Homemade Mayonnaise
Ingredients
Equipment
Method
- Combine the egg, Dijon mustard, red wine vinegar, and sea salt in a mixing bowl. Whisk until well blended.
- Drizzle in the safflower oil slowly while whisking continuously until creamy.
- Mix in the fresh lemon juice if using, and taste the refreshing burst of flavor!