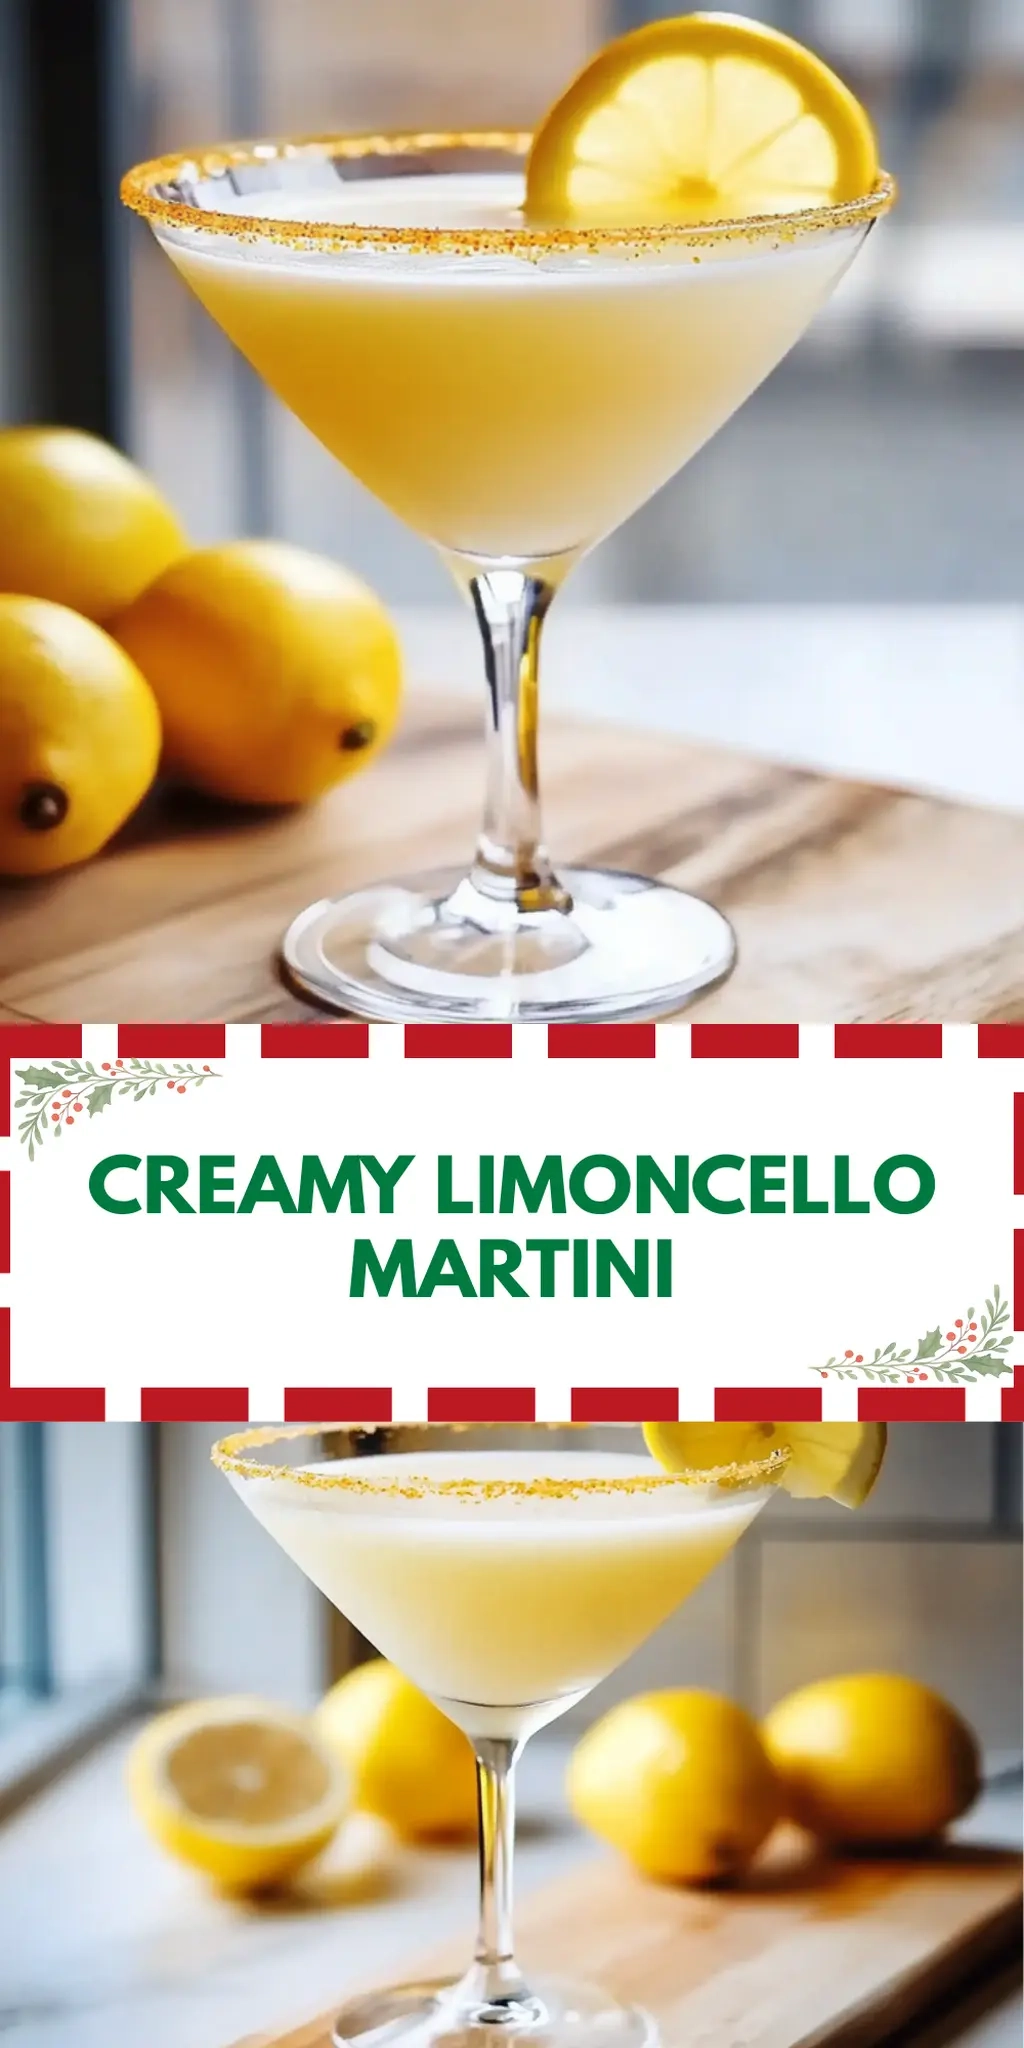
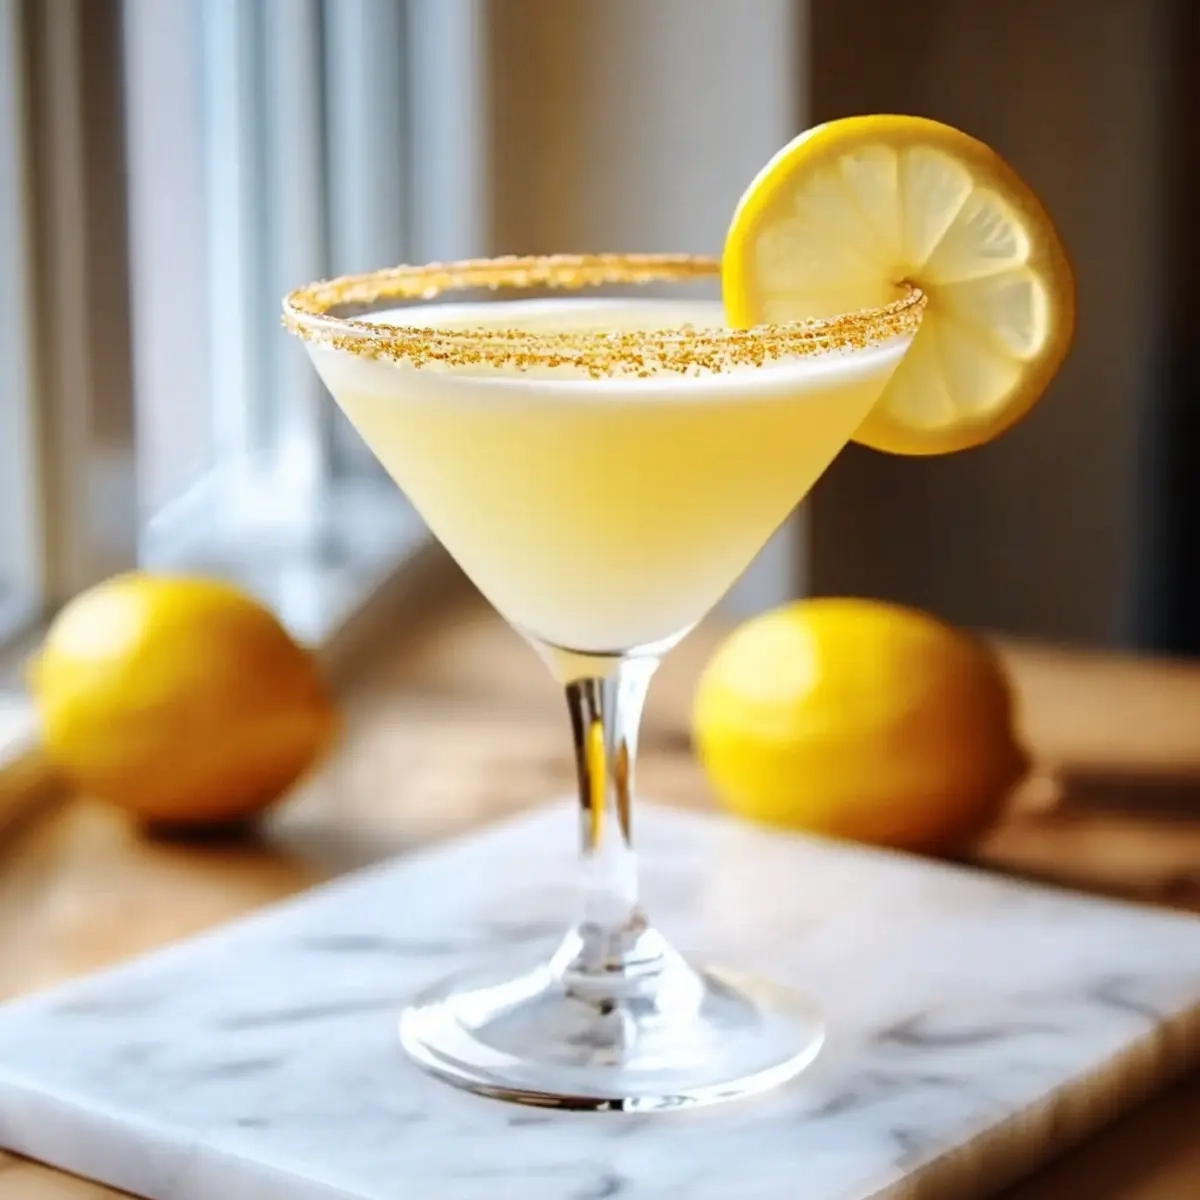
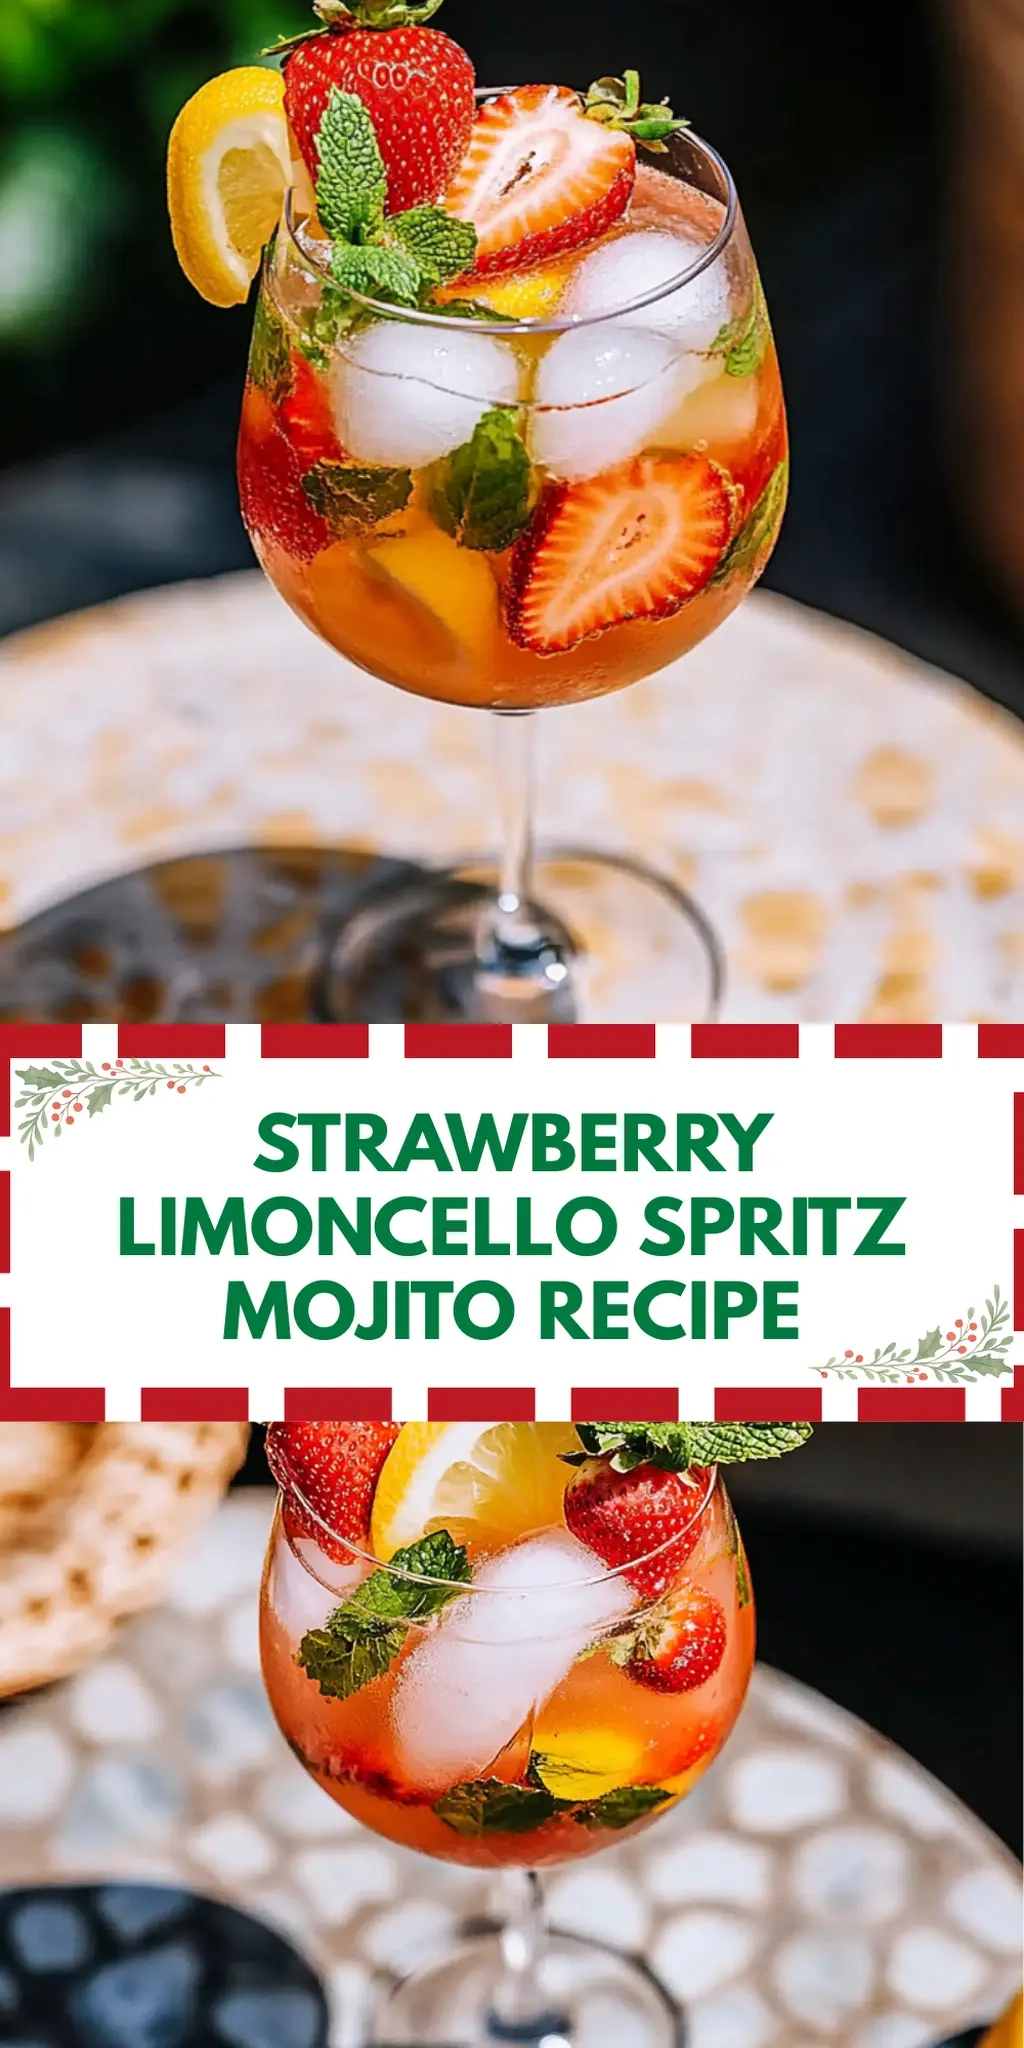
Picture this: a warm sunset illuminating your backyard, laughter echoing off the walls, and the air filled with the sweet scent of strawberries mingling with zesty limoncello. As I poured my first Strawberry Limoncello Spritz Mojito, I realized I had stumbled upon the perfect cocktail to set the mood for any gathering. This delightful drink transforms the classic mojito into something refreshingly vibrant and whimsically delicious with just a few ingredients!
After a long week, nothing beats unwinding with a drink that’s not only easy to whip up but also brings a burst of flavor that dances on your palate. With only five minutes of prep time, you’ll have this sparkling drink ready to impress your friends or lift your spirits solo. So, whether you’re a seasoned chef or looking to elevate your home bartending skills, let’s dive into this irresistible Strawberry Limoncello Spritz Mojito Recipe that’s sure to become a new favorite!
Why You'll Love This Strawberry Limoncello Spritz Mojito
- This Strawberry Limoncello Spritz Mojito is incredibly easy to make, requiring just five minutes of prep time.
- The combination of sweet strawberry and zesty limoncello creates a flavor explosion that will tantalize your taste buds.
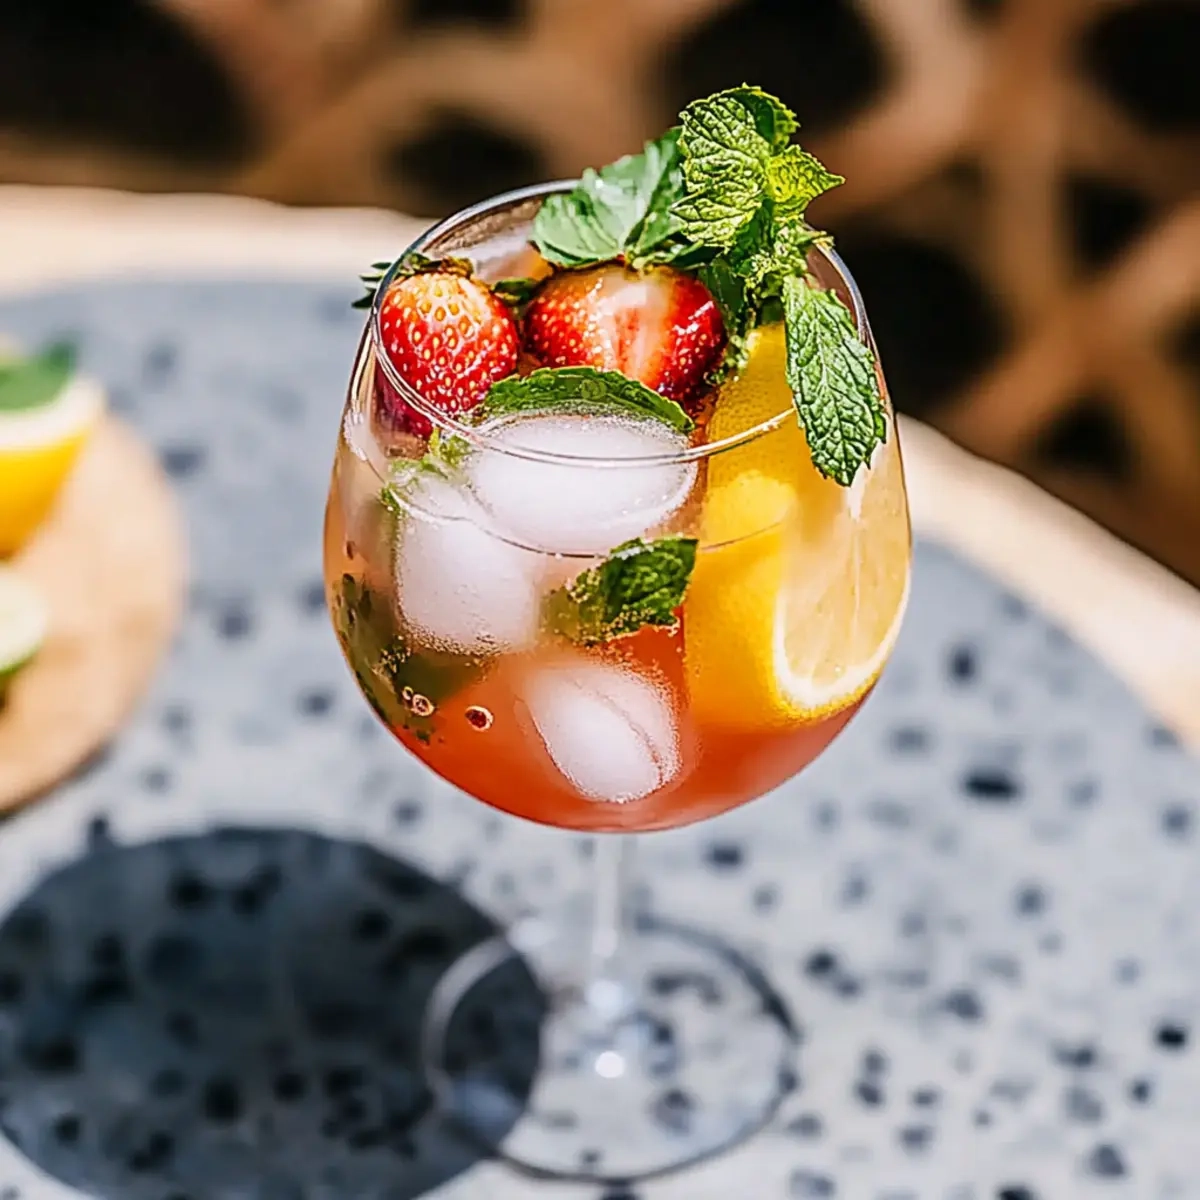
- Its stunning presentation with vibrant garnishes makes it a visual masterpiece that will impress your guests at any gathering.
- This cocktail is versatile enough to enjoy on a warm summer evening or as a refreshing treat any time of year.
Strawberry Limoncello Spritz Mojito Ingredients
To create this gorgeous cocktail, gather the freshest ingredients!
For the Cocktail
• Limoncello – adds a delightful citrusy sweetness that complements the strawberries beautifully.
• Strawberry Puree – fresh or frozen blended strawberries enhance the vibrant flavor and color of your drink.
• Prosecco – this sparkling wine introduces bubbly effervescence, making the mojito feel festive.
• Sparkling Water – a splash lightens up the drink while keeping it refreshing.
For the Garnish
• Lemon Slices – these bright slices not only look beautiful but also add a zesty aroma as you sip.
• Strawberries – fresh strawberries enhance the presentation and amplify the berry flavor.
• Edible Flowers – these add a touch of whimsy and elegance to your Strawberry Limoncello Spritz Mojito.
With these key ingredients in hand, you’re just moments away from rejuvenating your evening with this delightful cocktail!
How to Make Strawberry Limoncello Spritz Mojito
-
Combine Ingredients: In a suitable glass, pour in the 2 oz of limoncello and the 1 oz of fresh strawberry puree. This mix forms the zesty and fruity base of your drink.
-
Add Sparkle: Gently pour in 4 oz of prosecco for that bubbly touch, followed by a splash of sparkling water. The effervescence will lift the flavors and make it feel like a celebration in a glass.
-
Stir with Care: Using a spoon, stir the ingredients gently to combine them, ensuring you don’t lose any of that delightful fizz. A few swirls will do!
-
Garnish to Impress: Finish with beautiful garnishes by placing lemon slices, a few fresh strawberries, and edible flowers on top. These colorful accents not only enhance the look but also the aroma as you sip.
Optional: Consider adding a mint sprig for an extra burst of freshness!
Exact quantities are listed in the recipe card below.
What to Serve with Strawberry Limoncello Spritz Mojito?
What better way to elevate your cocktail experience than by pairing the refreshing Strawberry Limoncello Spritz Mojito with delightful accompaniments that tantalize your taste buds?
- Light Bruschetta: The fresh tomatoes and basil on crusty bread balance the cocktail’s sweetness, creating a perfect bite for your gathering.
- Zesty Shrimp Tacos: These tacos, with their citrusy marinade, echo the bright flavors of the drink, making them a match made in heaven.
- Crispy Veggie Chips: Crunchy and flavorful, these chips add an exciting texture that complements the mojito’s effervescence wonderfully.
Imagine crunching into these snacks while sipping your cocktail and enjoying the light summer breeze.
- Tart Lemon Sorbet: This icy treat captures the zesty essence of the drink but offers a delightful contrast with its tangy flavor.
- Herbed Goat Cheese Spread: This creamy spread with fresh herbs and tangy goat cheese provides a luscious and savory pairing for your fruity drink.
- Sparkling Water with Fresh Fruit: Enhance your mojito experience by serving a refreshing non-alcoholic beverage that keeps the flavor theme consistent, perfect for guests who prefer it!
Make Ahead Options
These Strawberry Limoncello Spritz Mojito Recipe components are perfect for meal prep, allowing you to enjoy a fresh cocktail with minimal fuss! You can prepare the limoncello and strawberry puree mixture up to 24 hours in advance; simply mix 2 oz of limoncello with 1 oz of strawberry puree and refrigerate it in an airtight container. This ensures the flavors meld beautifully without compromising quality. When you’re ready to serve, just pour the mixture over ice, add 4 oz of prosecco and a splash of sparkling water, stirring gently to maintain the fizz. Finish with your garnishes, and you’ll have a delightful drink ready to celebrate any occasion!
Storage Tips for Strawberry Limoncello Spritz Mojito
- Room Temperature: This cocktail is best enjoyed fresh; do not leave it at room temperature for more than 2 hours to maintain its vibrant flavor.
- Fridge: If you have leftovers, you can store the mixed drink in the fridge for up to 1 hour. Keep it covered with cling film to prevent losing carbonation.
- Freezer: Freezing is not recommended, as it can alter the texture and fizz of the Strawberry Limoncello Spritz Mojito.
- Reheating: Since this cocktail is served cold, simply enjoy it straight from the fridge. Avoid reheating to preserve its refreshing taste.
Strawberry Limoncello Spritz Mojito Variations
Feel free to play around with this delightful drink and make it your own!
-
Herbal Twist: Add fresh mint leaves for a refreshing minty flavor that complements the sweetness of strawberries beautifully. Muddle the mint with the limoncello for maximum infusion.
-
Fruit Fusion: Swap strawberry puree for other fruit purees like mango or peach for a tropical twist. Each fruit brings its own vibrant color and flavor profile!
-
Sparkling Filter: Use flavored sparkling water, like lemon or berry, to intensify the freshness. Just a splash can elevate your spritz and surprise your taste buds.
-
Sweetness Adjust: If you prefer a sweeter cocktail, stir in a teaspoon of simple syrup or agave nectar until dissolved. Balance is key, and a little sweetness can enhance the overall experience.
-
Bubbly Boost: Replace prosecco with champagne for a more luxurious feel. The added depth and elegance with champagne can turn your spritz into a true celebration of flavors.
-
Spice It Up: For a bit of heat, muddle in a slice of jalapeño or sprinkle in some chili powder. This unexpected kick provides a thrilling contrast to the sweet and zesty elements.
-
Non-Alcoholic Option: For a refreshing mocktail, replace limoncello and prosecco with lemonade and sparkling water. This variation retains the bright flavors and effervescence without the alcohol.
-
Floral Essence: Incorporate elderflower cordial or a dash of rose water for a floral touch that harmonizes beautifully with the lemon and strawberries. It’s like a spring garden in a glass!
Chef's Helpful Tips
- For the perfect Strawberry Limoncello Spritz Mojito, always use fresh strawberries for the puree as frozen can change the texture.
- Be careful not to over-stir the mixture after adding the prosecco to keep the bubbles lively.
- When garnishing, slice the lemons thinly to maximize their aroma and appearance.
- Serve the cocktail immediately after preparation to enjoy its refreshing effervescence at its best.
Strawberry Limoncello Spritz Mojito Recipe FAQs
What is the best way to select strawberries for this recipe?
Absolutely, the key to a wonderful Strawberry Limoncello Spritz Mojito is using ripe, fresh strawberries! Look for berries that are bright red, plump, and free of dark spots. If possible, smell the strawberries—ripe ones have a sweet aroma. I often recommend choosing organic strawberries if available, as they tend to have richer flavors compared to conventionally grown ones.
How long can I store my mixed Strawberry Limoncello Spritz Mojito?
If you have any leftovers, you can keep your cocktail in the fridge for up to 1 hour. Just make sure to cover it with cling film or a lid to prevent the loss of carbonation. However, it’s important to note that the drink is best enjoyed fresh for optimal taste and fizziness!
Can I freeze a Strawberry Limoncello Spritz Mojito?
Freezing this cocktail is not recommended. The carbonation from the prosecco and sparkling water will be lost, and the texture will change, resulting in a drink that doesn’t deliver the same refreshing experience. If you want to prepare ahead, consider blending the strawberries into a puree and freezing that, then mix your cocktail when you’re ready to enjoy.
What if my mixture is too sweet or too tart?
If you find your Strawberry Limoncello Spritz Mojito too sweet, you can balance it out by adding a splash more sparkling water or a squeeze of fresh lemon juice. Conversely, if it’s too tart, a bit of additional strawberry puree or a drizzle of honey can sweeten it up. Adjust the flavors to your liking, that’s part of the fun!
Are there any dietary considerations I should be aware of?
Very! It’s worth mentioning that limoncello contains alcohol, so please enjoy responsibly. For those avoiding alcohol, you can substitute limoncello with a non-alcoholic lemon-lime soda or lemonade. As for allergies, this recipe is naturally gluten-free, but always verify the specific brands of your ingredients for any other dietary concerns.
Strawberry Limoncello Spritz Mojito Recipe
Ingredients
Equipment
Method
- In a suitable glass, pour in the 2 oz of limoncello and the 1 oz of fresh strawberry puree.
- Gently pour in 4 oz of prosecco, followed by a splash of sparkling water.
- Using a spoon, stir the ingredients gently to combine.
- Finish with lemon slices, fresh strawberries, and edible flowers.