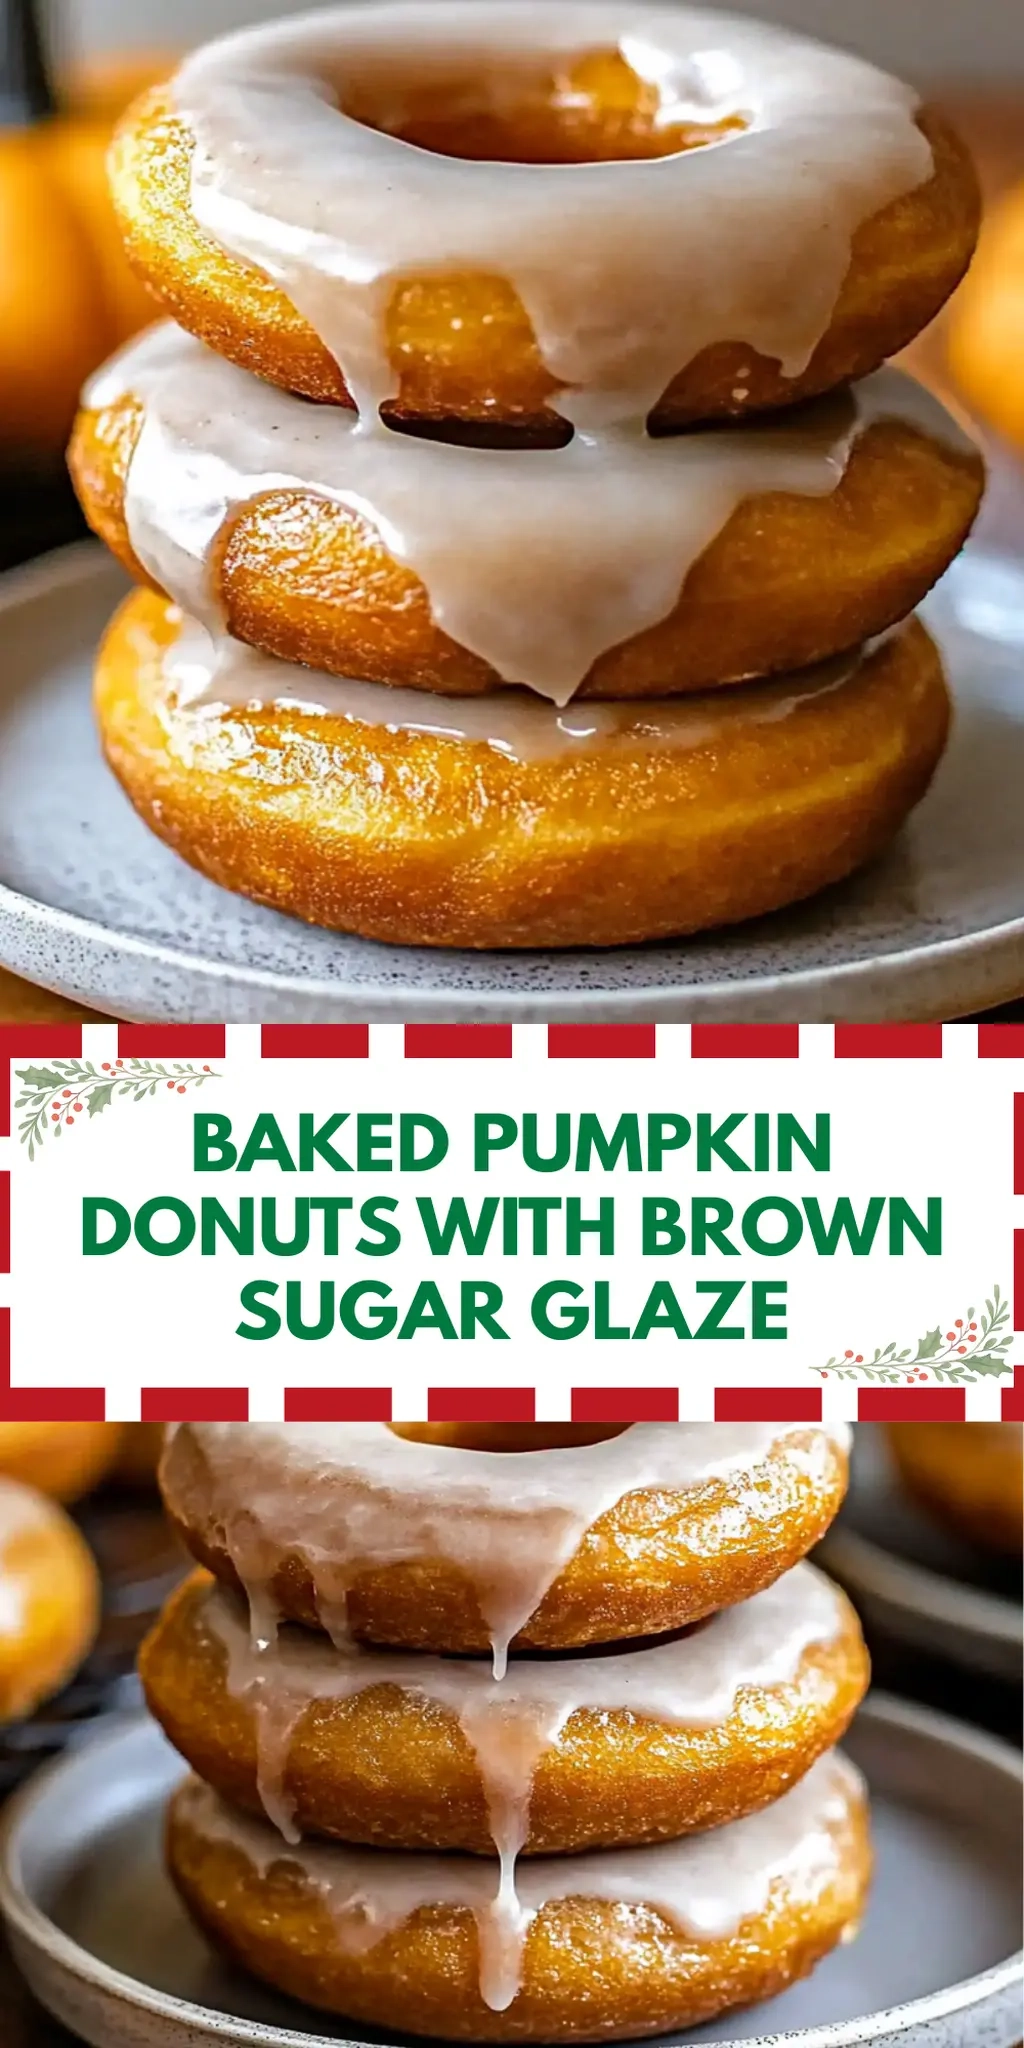
As the chill of autumn sets in and the leaves begin to paint the world in shades of gold and crimson, there’s nothing quite like the cozy sensation of baking fragrant treats in the kitchen. If you’re searching for a delightful way to embrace the season, look no further than these Baked Pumpkin Donuts with Brown Sugar Glaze. Every bite of these soft, spiced donuts is like a warm hug – rich pumpkin flavor complemented by the sweet, buttery glaze that glistens like sunshine on a crisp morning.
What I adore most about this recipe is not just its irresistible taste, but how easily it transforms an ordinary afternoon into a cozy baking adventure. With only 39 minutes from start to finish, you can create a batch of these treats perfectly suited for sharing with friends or savoring solo. So, gather your ingredients and roll up your sleeves—let’s make some autumn magic happen in the kitchen!
Why You'll Love This Baked Pumpkin Donuts with Brown Sugar Glaze
- These Baked Pumpkin Donuts with Brown Sugar Glaze are incredibly easy to make, allowing you to whip up a delicious treat in just 39 minutes.
- The flavor profile is simply divine, combining rich pumpkin with warm spices and a sweet, buttery glaze that will have everyone coming back for seconds.
- Their versatility means they can be enjoyed at breakfast, as a snack, or even at a festive gathering, making them perfect for any occasion.
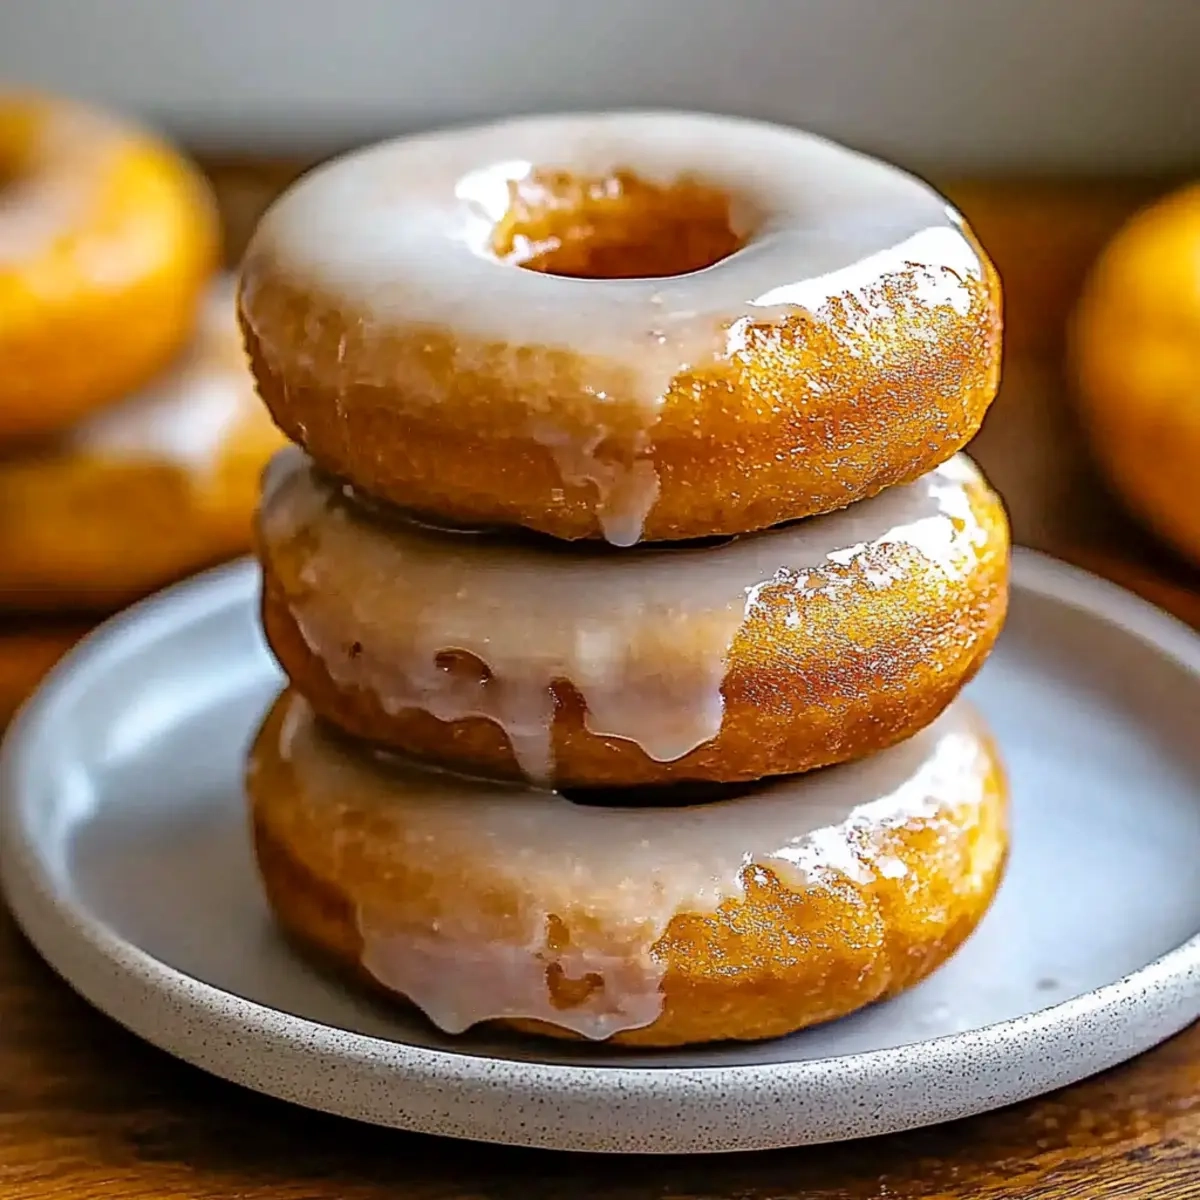
- Visually appealing with their glossy glaze, these donuts are sure to impress your friends and family, making them a crowd-pleaser that everyone will love.
Baked Pumpkin Donuts Ingredients
For the Donuts
• Pumpkin puree – adds moisture and a rich, seasonal flavor to your baked pumpkin donuts.
• Granulated sugar – sweetens the batter and helps create a tender crumb.
• Brown sugar – contributes to the deep flavor and adds caramel notes that enhance the pumpkin taste.
• Unsalted butter (melted & cooled) – provides richness and moisture; ensure it’s cooled to prevent cooking the eggs.
• Vegetable oil – keeps the donuts moist and fluffy; can be substituted with applesauce for a lighter option.
• Large eggs (room temperature) – bind ingredients together and add structure; use flax eggs for a vegan version.
• All-purpose flour – the base for your donuts, giving them structure; you can use whole wheat flour for a healthier option.
• Baking powder – ensures your donuts rise to a perfect fluffy consistency.
• Pumpkin spice – adds warm, aromatic flavors that evoke the essence of fall; feel free to use a homemade blend!
• Salt – enhances the sweetness and flavors of the other ingredients.
For the Glaze
• Unsalted butter (for glaze) – adds a glossy finish and richness to your sweet topping.
• Powdered sugar – gives the glaze its sweetness and smooth texture; sift it to prevent lumps.
• Heavy cream – creates a silky glaze that adheres beautifully to the donuts; you can substitute with milk for a lighter glaze.
• Vanilla extract – infuses added warmth and depth into the flavor of the glaze, balancing the sweetness perfectly.
How to Make Baked Pumpkin Donuts with Brown Sugar Glaze
-
Preheat the oven to 350°F (175°C) and generously grease a donut pan. This ensures your donuts come out perfectly without sticking, ready to shine with their glossy glaze.
-
Mix together pumpkin puree, granulated sugar, brown sugar, melted butter, vegetable oil, and eggs in a large bowl until smooth and well combined. This creates a wonderfully rich base filled with the flavors of autumn.
-
Whisk together flour, baking powder, pumpkin spice, and salt in a separate bowl. Mixing these dry ingredients well helps to distribute the baking powder and spices evenly throughout the batter for a perfect rise.
-
Combine the dry ingredients with the wet ingredients gradually, stirring gently until just combined. Overmixing can lead to denser donuts, so keep it fluffy!
-
Spoon the batter into the prepared donut pan, filling each cavity about 2/3 full. This gives your donuts room to rise without overflowing—trust me, they’ll be delightful!
-
Bake for 14 minutes or until a toothpick inserted into a donut comes out clean. This quick bake time ensures a soft texture that’s light and airy, perfect for indulgence.
-
Cool the donuts in the pan for a few minutes before transferring them to a wire rack. This allows them to set and makes glazing easier without smushing them.
-
Prepare the glaze by melting 4 tablespoons of butter in a bowl. Then whisk in the powdered sugar, heavy cream, and vanilla extract until smooth. This should be luscious and glossy, ready to elevate your donuts!
-
Dip the tops of the cooled donuts into the glaze and allow them to set on a wire rack. The glaze will harden slightly, creating a sweet, buttery crown that’s simply irresistible.
Optional: Sprinkle with extra pumpkin spice for an extra pop of flavor.
Exact quantities are listed in the recipe card below.
How to Store and Freeze Baked Pumpkin Donuts with Brown Sugar Glaze
Room Temperature: Store donuts in an airtight container at room temperature for up to 2 days. This keeps them soft and fresh for your enjoyment!
Fridge: If you prefer keeping them longer, store in the fridge for up to 5 days, but let them come to room temperature before enjoying to restore the glaze’s silkiness.
Freezer: For extended storage, freeze the donuts in a single layer on a baking sheet, then transfer to a zip-top bag for up to 3 months. Simply thaw at room temperature when you’re ready to indulge.
Reheating: To reheat, pop the donuts in the microwave for about 10 seconds for a warm treat, bringing back that fresh-baked comfort for your Baked Pumpkin Donuts with Brown Sugar Glaze!
What to Serve with Baked Pumpkin Donuts with Brown Sugar Glaze?
Indulge in the cozy flavors of autumn by pairing these soft, spiced treats with delightful sides that elevate your baking experience.
-
Hot Apple Cider: Warm and aromatic, this classic fall drink complements the pumpkin spice, creating a heartwarming experience. The cider’s sweetness will beautifully enhance every bite of your donuts.
-
Maple Pecan Coffee Cake: A tender, nutty coffee cake brings in crunch and sweetness, perfectly balancing the softness of the donuts. A slice of this cake alongside your donuts creates a dreamy dessert table.
-
Cinnamon Whipped Cream: Light and fluffy, this whipped cream adds a fresh touch to each donut, while a sprinkle of cinnamon enhances the spiced flavors. It’s an easy way to take your treat to the next level!
-
Spiced Tea: A warm cup of spiced tea mingles wonderfully with pumpkin flavors, making for a comforting pairing. The embrace of spices from the tea rounds out the experience beautifully.
-
Cream Cheese Frosting: Rich and tangy, this frosting adds a creamy texture that envelops the donuts in deliciousness. It’s a fun twist for those who want a bit more than just glaze.
-
Roasted Nuts: Crunchy and flavorful, a mix of roasted almonds or pecans adds an earthy note that contrasts beautifully with the sweet glaze. Perfect for snacking alongside or topping the donuts!
With these delightful pairings, your baking adventure will be even more special, inviting family and friends to join in on the flavorful celebration!
Make Ahead Options
These Baked Pumpkin Donuts with Brown Sugar Glaze are fantastic for busy cooks looking to save time! You can prepare the batter up to 24 hours in advance; simply mix the wet and dry ingredients separately, then combine them before filling the donut pan. To maintain quality, store the batter in an airtight container in the refrigerator. Additionally, the baked donuts can be covered and kept at room temperature for up to 3 days or refrigerated for up to a week—they’ll still be just as delicious! When you’re ready to serve, warm the donuts briefly in the microwave for a fluffy texture, glaze them, and enjoy the taste of autumn at your leisure!
Baked Pumpkin Donuts Variations
Feel free to explore these delightful twists and substitutions to make these baked pumpkin donuts uniquely yours!
-
Gluten-Free: Substitute all-purpose flour with a gluten-free flour blend, ensuring a tender yet safe treat for those avoiding gluten. Enjoy the same savory pumpkin deliciousness without the worry!
-
Vegan: Replace eggs with flax eggs (1 tablespoon flaxseed meal + 2.5 tablespoons water per egg) and use coconut oil instead of butter. Your donuts will be just as moist and flavorful!
-
Spiced Up: Add a pinch of cayenne pepper or a dash of ground ginger for a spicy kick that contrasts beautifully with the sweetness of the glaze. This will awaken your taste buds with every bite!
-
Chocolate Drizzle: Swap in a smooth chocolate glaze instead of the brown sugar glaze to offer a rich and decadent dessert experience. This chocolatey twist will have both kids and adults smiling!
-
Maple Glaze: Replace the vanilla extract in the glaze with pure maple syrup for a warm, fall-inspired flavor twist. This gives your donuts an even cozier vibe with earthy undertones.
-
Nutty Flavor: Toss in chopped walnuts or pecans into the batter for an added crunch that elevates both texture and taste. These nutty bits provide a lovely contrast to the soft donut!
-
Dairy-Free: Use almond milk or coconut cream instead of heavy cream for the glaze, and swap butter for a plant-based alternative. You’ll achieve a deliciously creamy texture without any dairy!
-
Pumpkin Chocolate Chip: Fold in mini chocolate chips to the batter before baking for that extra pop of sweetness and surprise. Each bite brings a delightful chocolatey richness that pairs perfectly with pumpkin!
Chef's Helpful Tips
- Make sure your eggs are at room temperature before mixing; this helps create a smooth batter for the Baked Pumpkin Donuts with Brown Sugar Glaze.
- Avoid overmixing the batter once you combine the wet and dry ingredients to ensure a light and fluffy texture.
- When filling the donut pan, use a piping bag or a zip-top bag with the corner snipped off for neat and easy portioning.
- Bake your donuts until a toothpick inserted comes out clean; this usually takes around 14 minutes, but keep an eye on them to prevent overbaking.
Baked Pumpkin Donuts with Brown Sugar Glaze Recipe FAQs
What type of pumpkin puree should I use?
Absolutely! You want to use 100% pure pumpkin puree, which is often found canned. Avoid the flavored pie fillings, as they contain added sugars and spices that could alter your donut recipe. If you’re feeling adventurous, you can also make your own by roasting and pureeing fresh pumpkin for the most vibrant flavor!
How should I store leftover donuts?
Very simply! Store your Baked Pumpkin Donuts with Brown Sugar Glaze in an airtight container at room temperature for up to 2 days. If you want them to last longer, placing them in the fridge extends their freshness to about 5 days. Just make sure to let them come to room temperature before indulging again to keep that glaze nice and silky.
Can I freeze the baked donuts?
Of course! Freezing these treats is a great way to enjoy them later. First, freeze them in a single layer on a baking sheet until firm. Then, transfer them to a zip-top bag or airtight container and store in the freezer for up to 3 months. When you’re ready to enjoy them, simply let them thaw at room temperature, and you can even warm them up in the microwave for about 10 seconds for that fresh-baked taste!
What should I do if my donuts sink in the middle?
It can be disheartening, but don’t worry! If your Baked Pumpkin Donuts do sink, it usually means the batter may have been overmixed or the oven temperature was too low. Ensure you gently combine the wet and dry ingredients until just combined for a fluffy texture. Also, make sure your oven is properly preheated to 350°F (175°C) for even baking.
Can I make this recipe vegan or gluten-free?
Absolutely! To make these delightful donuts vegan, substitute the eggs with flax eggs (1 tablespoon of ground flaxseed mixed with 3 tablespoons of water for each egg, let it sit until it thickens). You can also replace the butter with coconut oil or a vegan butter alternative. For a gluten-free version, swap the all-purpose flour with a 1:1 gluten-free baking mix, ensuring it includes xanthum gum for structure. Enjoy the versatility!
Baked Pumpkin Donuts with Brown Sugar Glaze
Ingredients
Equipment
Method
- Preheat the oven to 350°F (175°C) and generously grease a donut pan.
- Mix together pumpkin puree, granulated sugar, brown sugar, melted butter, vegetable oil, and eggs in a large bowl until smooth and well combined.
- Whisk together flour, baking powder, pumpkin spice, and salt in a separate bowl.
- Combine the dry ingredients with the wet ingredients gradually, stirring gently until just combined.
- Spoon the batter into the prepared donut pan, filling each cavity about 2/3 full.
- Bake for 14 minutes or until a toothpick inserted into a donut comes out clean.
- Cool the donuts in the pan for a few minutes before transferring them to a wire rack.
- Prepare the glaze by melting 4 tablespoons of butter in a bowl. Then whisk in the powdered sugar, heavy cream, and vanilla extract until smooth.
- Dip the tops of the cooled donuts into the glaze and allow them to set on a wire rack.
- Optional: Sprinkle with extra pumpkin spice for an extra pop of flavor.