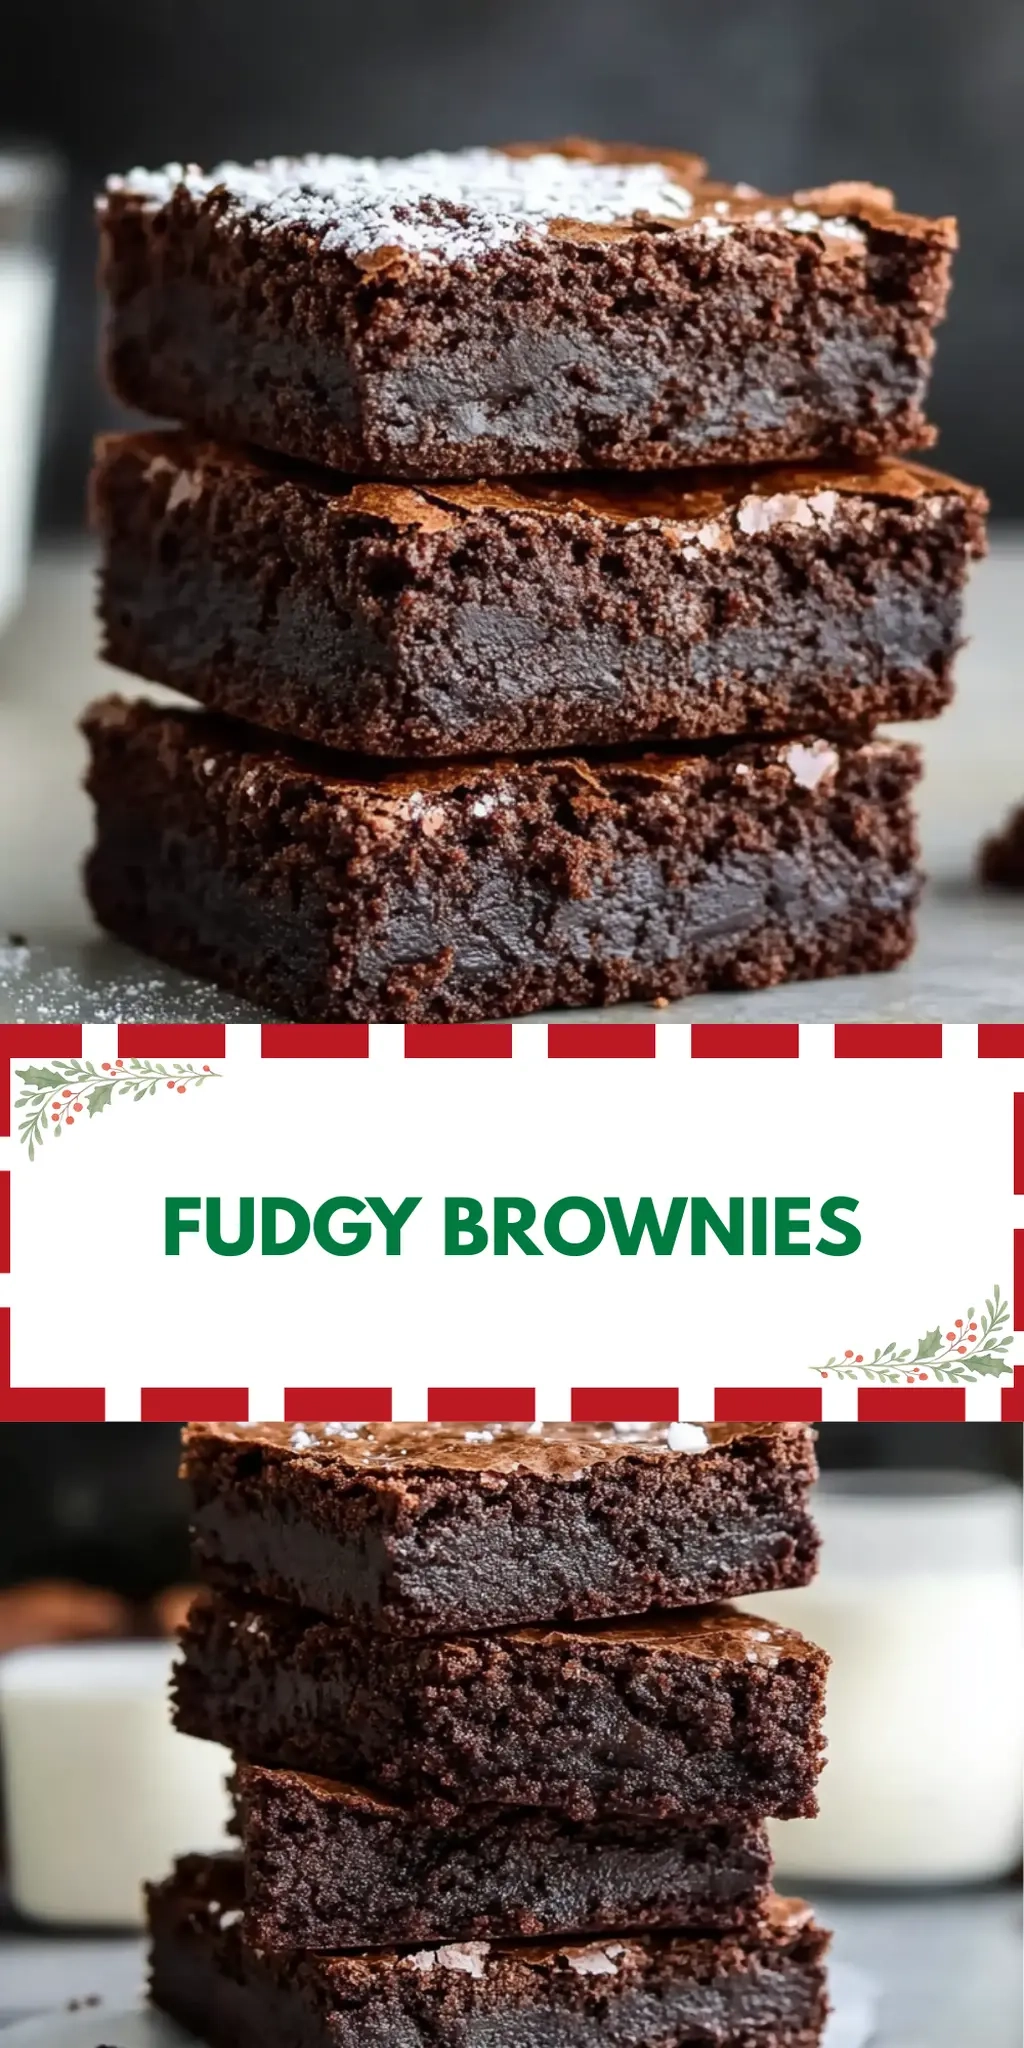
There’s a certain joy that washes over me when I pull a batch of fudgy brownies out of the oven. The rich, chocolatey aroma fills the kitchen, wrapping me in a warm embrace that’s impossible to resist. You know that moment when you take your first bite and it’s as if the world fades away, one fudgy layer at a time? That’s the magic of these brownies—a simple concoction of semi-sweet chocolate chips and just the right amount of espresso powder that elevates the experience to pure bliss.
After a long day, when the allure of fast food calls but I crave something heartwarming, these fudgy brownies come to the rescue. Not only do they satisfy that sweet tooth, but they also prove to be an easy, crowd-pleasing treat that makes everyone feel special. With just a handful of ingredients and a few steps, you’re on your way to creating your new go-to dessert. Grab your apron and let’s dive into this deliciously simple recipe that promises comfort in every bite!
Why You'll Love This Fudgy Brownies
- These fudgy brownies are incredibly easy to make, requiring just a handful of simple ingredients.
- The rich and decadent chocolate flavor will have you swooning with every bite, making them impossible to resist.
- Their versatility means you can add your favorite nuts or toppings to customize them just the way you like.
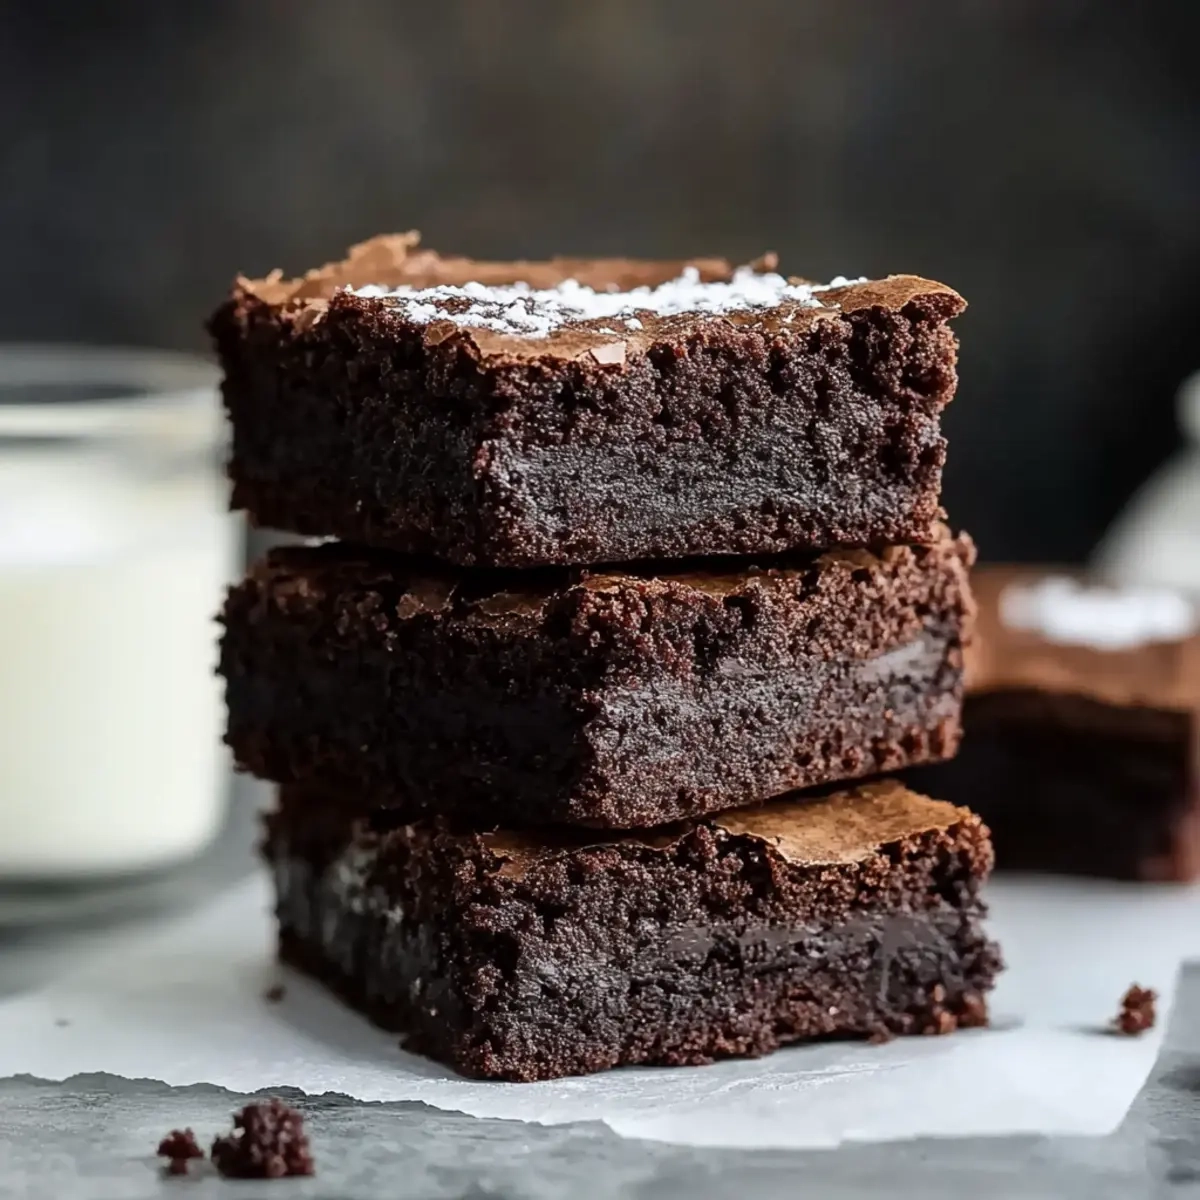
- Visually appealing with their shiny top and fudgy texture, they are sure to impress anyone lucky enough to taste them.
Fudgy Brownie Ingredients
Unleash the chocolatey magic!
For the Batter
• 1.5 cups semi sweet chocolate chips – perfect for achieving that ooey-gooey texture.
• 3/4 cup salted butter – adds richness and enhances flavor.
• 1/2 cup all purpose flour – helps bind the brownies together without making them cakey.
• 3/4 cup cocoa powder, Dutch process – intensifies the chocolate flavor for deeper fudginess.
• 1 tsp espresso powder – boosts the chocolate flavor; don’t skip it if you love rich taste!
• 1/2 tsp salt – enhances sweetness and balances the overall flavor.
• 1.75 cups granulated white sugar – provides sweetness and contributes to chewiness.
• 4 eggs – adds moisture and creates that signature fudgy texture.
• 1 tbsp vanilla (15 ml) – infuses warmth and enhances the chocolatey taste.
Feel free to play with these ingredients in your own way, because every twist can lead to a new favorite in your fudgy brownie repertoire!
How to Make Fudgy Brownies
-
Preheat Oven: Begin by preheating your oven to 350°F (175°C), prepping a cozy environment for those fudgy brownies to bake perfectly.
-
Prepare Pan: Lightly spray a 9×9″ metal baking pan with non-stick spray. This will ensure your brownies come out easily and stay perfectly moist.
-
Melt Chocolate: In a microwave-safe bowl, melt the semi-sweet chocolate chips and salted butter together. Stir occasionally until smooth, then let it cool slightly.
-
Sift Dry Ingredients: In a small bowl, sift together the all-purpose flour, cocoa powder, espresso powder, and salt. This helps mix and aerate, giving you that dreamy texture.
-
Mix Wet Ingredients: In a large bowl, combine the eggs, granulated sugar, and vanilla. Mix with an electric mixer on medium speed for about three minutes, until the mixture becomes pale in color.
-
Combine Chocolate: Gently fold the cooled chocolate and butter mixture into the egg mixture. Make sure they’re combined without over-mixing; you want fudgy brownies, not cake!
-
Add Dry Ingredients: Tip in the dry ingredients and gently fold until just combined, ensuring not to overwork the batter to keep it fudgy.
-
Bake the Brownies: Pour the batter into the prepared pan, spreading it evenly. Bake in the preheated oven for 34-40 minutes. The center should wobble just slightly when shaken; that’s the sweet spot!
-
Cool Completely: After baking, let your brownies cool completely in the pan for at least three hours. This wait is essential for that perfect fudgy texture.
-
Slice and Enjoy: Once cooled, remove the brownies from the pan and cut them into 16 squares. Get ready to experience pure bliss with each bite!
Optional: Top with a sprinkle of sea salt for a delightful contrast.
Exact quantities are listed in the recipe card below.
How to Store and Freeze Fudgy Brownies
Room Temperature: Keep fudgy brownies in an airtight container at room temperature for up to 3 days to maintain their deliciously moist texture.
Fridge: If you’d like them to last a bit longer, store brownies in the refrigerator for up to 1 week, but be mindful they may dry out slightly.
Freezer: For longer storage, wrap individual brownies tightly in plastic wrap, then place them in a freezer-safe bag. They’ll stay fresh in the freezer for 3 months—just thaw at room temperature before indulging!
Reheating: To enjoy warmed fudgy brownies, pop them in the microwave for about 10-15 seconds, or until just warmed through—enjoy that gooey goodness!
What to Serve with Fudgy Brownies?
Indulging in fudgy brownies is just the beginning; let’s create the perfect spread of delightful accompaniments that elevate this experience.
-
Vanilla Ice Cream: Creamy and cool, it balances the rich chocolate, creating a heavenly contrast that’s irresistible. A scoop nestled beside warm brownies is pure magic—a classic pairing for any dessert lover.
-
Fresh Berries: Tart raspberries or sweet strawberries brighten up the plate, adding a pop of color and a refreshing bite. Their natural acidity cuts through the chocolate richness, enhancing every velvety bite.
-
Chocolate Sauce: Drizzle on a rich chocolate sauce for an extra hit of decadence. It takes your fudgy brownies into the realm of indulgence, perfect for those who crave an even more intense chocolate experience.
-
Whipped Cream: Light and airy, whipped cream provides a delightful textural contrast. Top your brownies for an elegant twist; maybe even add a sprinkle of cocoa for a touch of sophistication.
-
Espresso: A warm cup of espresso makes for a fantastic pairing, enhancing the brownie’s chocolatey flavor. The bitterness of the coffee perfectly complements the sweetness of your treat, creating harmony in every sip and bite.
-
Caramel Drizzle: Sweet and salty caramel adds an indulgent touch. Drizzling it over your brownies transforms this dessert into an unforgettable treat with layers of flavor.
-
Peanut Butter Cream: A rich peanut butter frosting takes your brownies to the next level. The nutty flavor pairs beautifully with chocolate; every bite feels like a cozy hug!
-
Milk or Plant-based Milks: A cold glass of milk is a classic accompaniment that washes down the sweet richness beautifully. Choose almond or oat milk for a dairy-free option; both complement the fudgy goodness!
-
Chocolate Mousse: For an elegant finish, serve a small dollop of chocolate mousse beside your brownies. The airy texture provides a delightful contrast that adds sophistication to your dessert table.
Fudgy Brownie Variations
Let your creativity shine as you customize these fudgy brownies to suit your taste and dietary needs!
-
Nutty Delight: Stir in 1 cup of chopped walnuts or pecans for added crunch and a toasty flavor. They bring delightful texture and rich nuttiness that beautifully complements the chocolate.
-
Minty Fresh: Add 1 teaspoon of peppermint extract for a refreshing twist that makes every bite feel like a summer breeze. Chocolate and mint are an iconic pairing that never fails to delight!
-
Gluten-Free: Substitute all-purpose flour with a gluten-free blend or almond flour to accommodate gluten sensitivities without compromising flavor. Your fudgy goodness will still shine through deliciously!
-
Spicy Kick: Incorporate 1/2 teaspoon of cayenne pepper or chili powder to introduce a mild heat that beautifully contrasts the sweetness. The warmth adds a unique layer to your brownies that will surprise and delight.
-
Dairy-Free: Opt for coconut or vegan butter to replace the salted butter and use dairy-free chocolate chips. Enjoy a rich and fudgy experience that’s suitable for a dairy-free lifestyle!
-
Add-Ins Galore: Fold in 1/2 cup of your favorite chocolate chunks or caramel pieces for bursts of flavor in each bite. These tasty surprises make every brownie a little adventure.
-
Fruit Fusion: Mix in 1/2 cup of dried cherries or raspberries for a tart contrast that balances the sweetness perfectly. This twist adds a juicy, fruity surprise that’s simply irresistible!
-
Cheesecake Swirl: Top your brownie batter with dollops of cream cheese mixture and swirl gently before baking for a decadent cheesecake fudge brownie. The creamy tang of cheese brings a heavenly richness to this classic dessert!
Make Ahead Options
These fudgy brownies are perfect for meal prep, saving you time on busy weeknights! You can prepare the brownie batter up to 24 hours in advance by mixing all the ingredients and storing the batter in an airtight container in the refrigerator. Be sure to bring it to room temperature before baking to maintain that luscious fudgy texture. Alternatively, baked brownies can be stored in an airtight container at room temperature for up to 3 days or frozen for up to 3 months. When it’s time to serve, simply reheat the brownies in the oven for a few minutes if needed, and you’ll enjoy their rich, chocolatey goodness just as if they were freshly baked!
Chef's Helpful Tips
- When making fudgy brownies, be sure to melt the chocolate and butter gently to avoid burning, which can ruin the flavor.
- A common mistake is over-mixing the batter once the dry ingredients are added; fold just until combined to preserve the fudgy texture.
- If you want an even richer chocolate flavor, consider using a higher percentage of cocoa in your chocolate chips.
- Baking time is crucial, so keep an eye on your brownies around the 34-minute mark; they should wobble slightly in the center but not be liquid.
Fudgy Brownies Recipe FAQs
How do I select the best chocolate for my fudgy brownies?
Absolutely! For the rich, chocolate flavor that fudgy brownies require, I recommend using semi-sweet chocolate chips. Look for high-quality brands that have a cacao content of at least 60%. Avoid chocolate that has a shiny surface with dark spots, as this could indicate it’s past its prime. Fresh chocolate bars or chips should be glossy and firmly packaged.
What’s the best way to store leftover fudgy brownies?
You can store fudgy brownies in an airtight container at room temperature for up to 3 days. If you’d like to extend their shelf life, refrigerate them for up to 1 week. Just keep in mind that refrigeration can slightly dry them out, so if you want to enjoy them warm, heat them in the microwave for 10-15 seconds for that just-baked feel!
Can I freeze fudgy brownies, and if so, how?
Yes, you can! To freeze fudgy brownies, first let them cool completely. Then, wrap them individually in plastic wrap to prevent freezer burn. Place those wrapped brownies in a freezer-safe bag and store them for up to 3 months. When you’re ready to enjoy one, simply thaw at room temperature for about 30 minutes. If you prefer, you can warm them up in the microwave for a few seconds.
What should I do if my brownies turn out too cakey?
Very good question! If your brownies end up being too cakey, this often happens due to overmixing the batter or baking for too long. To fix this for future attempts, mix the dry ingredients in gently and only until combined when adding to the wet mix. Also, be sure to take them out of the oven when the center is still slightly wobbly—it ensures that fudgy texture we’re aiming for!
Are these fudgy brownies suitable for people with nut allergies?
Absolutely! This fudgy brownies recipe is nut-free, making it suitable for those with nut allergies. However, always double-check ingredients to ensure there are no nut traces, as some chocolate products may be processed in facilities that handle nuts. Enjoy worry-free deliciousness!
How can I enhance the flavor of my fudgy brownies?
For a flavor elevation, consider adding a pinch of sea salt on top before baking, or a couple of tablespoons of your favorite nuts or chocolate chunks in the batter. For those who love a coffee kick, a tiny espresso shot can deepen the chocolate’s richness. The more, the merrier!
Fudgy Brownies
Ingredients
Equipment
Method
- Preheat your oven to 350°F (175°C) to prepare for baking the brownies.
- Lightly spray a 9×9" metal baking pan with non-stick spray.
- In a microwave-safe bowl, melt semi-sweet chocolate chips and salted butter together until smooth, then cool slightly.
- In a small bowl, sift together all-purpose flour, cocoa powder, espresso powder, and salt.
- In a large bowl, combine eggs, granulated sugar, and vanilla. Mix with an electric mixer on medium speed for about three minutes.
- Gently fold the cooled chocolate mixture into the egg mixture without over-mixing.
- Tip in the dry ingredients and gently fold until just combined.
- Pour the batter into the prepared pan, spreading it evenly, and bake in the preheated oven for 34-40 minutes.
- Let brownies cool completely in the pan for at least three hours.
- Remove from pan, cut into 16 squares, and enjoy!