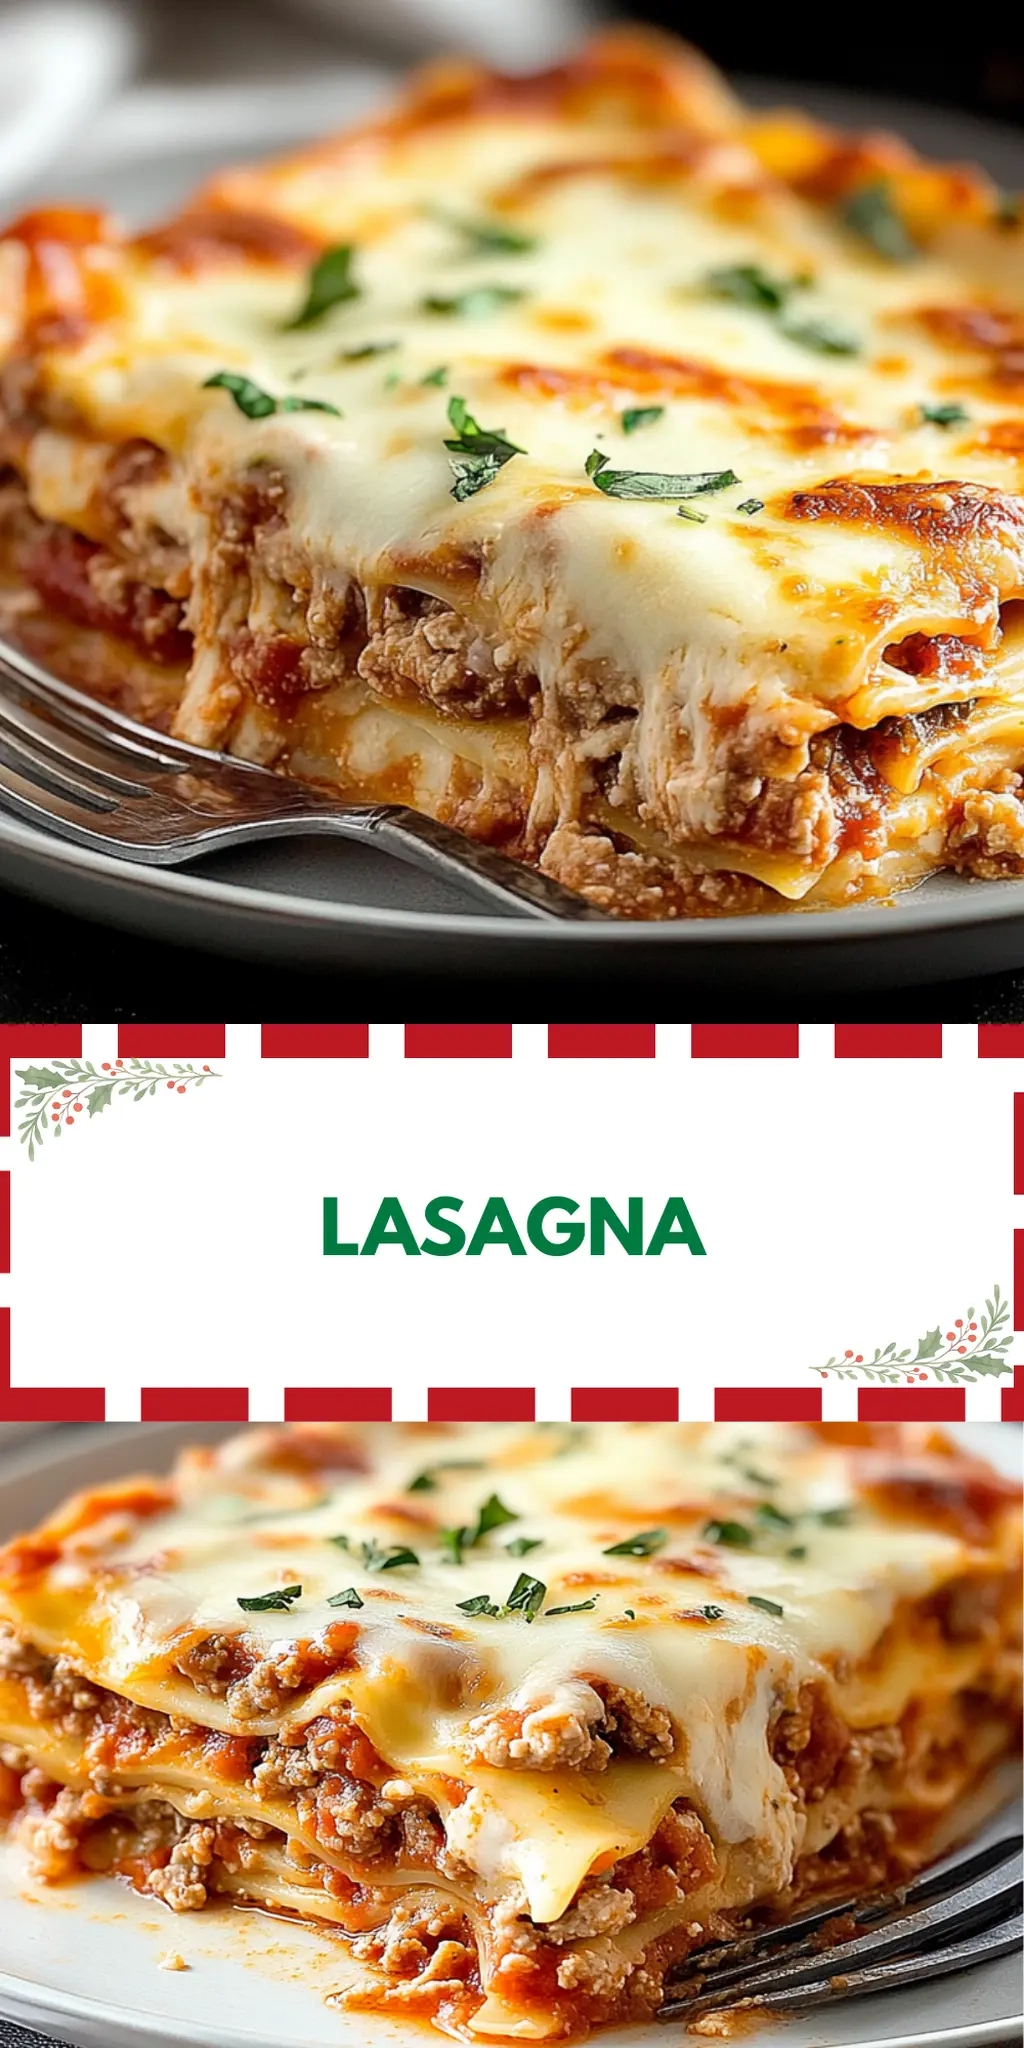
When my cravings for comfort food strike, there’s one dish that never fails to satisfy: lasagna. But as I embarked on a low-carb journey, I wanted to strip away the heavy pasta without sacrificing that warm, cheesy goodness I adore. That’s when I stumbled upon the idea of using zucchini as the backbone of a scrumptious Low Carb Keto Lasagna.
Imagine layers of tender zucchini enveloped in a rich, hearty marinara, paired perfectly with seasoned ground beef and creamy ricotta – it feels indulgent yet guilt-free! Just the thought of it makes my mouth water. Whether you’re a busy parent racing against the clock or a home chef looking to impress, this recipe will shake up your dinner routine and become a family favorite. Plus, it’s so simple and quick to whip up, you’ll wonder why you ever settled for takeout. Let’s dive into this delightful dish that brings all the flavors of traditional lasagna without the extra carbs!
Why You'll Love This Low Carb Keto Lasagna
- This Low Carb Keto Lasagna is incredibly easy to make, allowing you to enjoy a delicious, homemade meal without spending hours in the kitchen.
- The flavors are out of this world, with layers of savory ground beef and tangy marinara perfectly complementing the creamy ricotta and melty mozzarella.
- Not only is it healthy, but it’s also versatile; you can customize it with your favorite veggies or spices for a personal touch.
- Visually, the vibrant green zucchini layers make it a stunning dish that will wow your guests and family alike.
Lasagna Ingredients
For the Zucchini Layers
• Zucchini – The star of our low-carb lasagna, it replaces traditional pasta while adding a fresh taste.
For the Meat Filling
• Lean ground beef – Adds protein and hearty flavor; you can substitute with ground turkey for a leaner option.
• Garlic powder – Enhances the dish with aromatic undertones; fresh minced garlic can also be used for an extra punch.
• Dried oregano – A classic herb for Italian dishes that brings warmth and depth to the flavors.
• Salt and pepper – Essential for seasoning; always adjust to your taste for a perfectly balanced flavor.
For the Cheese Mixture
• Whole milk ricotta cheese – Gives a creamy texture to your lasagna; cottage cheese is a great low-fat alternative if desired.
• Shredded mozzarella cheese – Melts beautifully on top, providing that irresistible gooeyness that pairs perfectly with the zucchini and marinara.
For the Sauce
• Sugar-free marinara sauce – Keeps the dish low in carbs while providing that rich, hearty flavor every lasagna craves.
How to Make Low Carb Keto Lasagna
-
Preheat your oven to 375°F (190°C). This step is crucial for achieving a beautifully cooked lasagna. As it heats up, prepare the zucchini noodles.
-
Slice the zucchini lengthwise into thin strips. Sprinkle them with salt and let them sit on paper towels for about 15 minutes to draw out excess moisture. You’ll want them to absorb the flavors without making the dish watery.
-
Cook the ground beef in a skillet over medium heat for about 7-10 minutes until browned. Don’t forget to drain the excess fat! Stir in the garlic powder and dried oregano for that aromatic flavor boost.
-
Layer half of the marinara sauce in a greased baking dish. Next, add half of the zucchini noodles, followed by half of the ricotta mixture (seasoned with salt and pepper) and half of the cooked beef. Repeat these layers, creating a delicious medley!
-
Top your masterpiece with the remaining marinara sauce and lovingly cover it with mozzarella cheese. This is where it gets cheesy—literally!
-
Cover with foil and bake for 25 minutes. Then, remove the foil and continue baking for another 10-15 minutes until it’s golden brown and bubbling with delight.
-
Cool for 5 minutes before diving in. This waiting period allows the flavors to meld beautifully, enhancing your first bite!
Optional: Garnish with fresh basil for an extra touch of flavor.
Exact quantities are listed in the recipe card below.
Lasagna Variations
Feel free to explore these flavorful twists and make this lasagna your own masterpiece!
-
Vegetarian: Replace ground beef with sautéed mushrooms, spinach, and bell peppers for a hearty veggie option that’s packed with flavor.
-
Spicy: Add red pepper flakes or chopped jalapeños to the meat mixture for a kick of heat that balances beautifully with the creamy ricotta.
-
Dairy-Free: Swap ricotta and mozzarella for nut-based cheeses or tofu blended with nutritional yeast for a creamy alternative without dairy.
-
Herb-Infused: Mix in fresh basil or parsley into the ricotta layer for an aromatic touch that brightens the dish and adds vibrant flavors.
-
Cheesy Twist: Incorporate a blend of cheeses like provolone or fontina alongside mozzarella for a richer, more complex cheesy experience.
-
Pesto Infusion: Spread a layer of basil pesto over the zucchini before adding the meat for a fresh, herby flavor that elevates the entire dish.
-
Low-Carb Noodles: Experiment with egg-based or almond flour noodles as low-carb substitutes for zucchini, offering different textures while keeping it keto-friendly.
-
Beef Alternatives: Use ground turkey, chicken, or even plant-based meat substitutes for an equally satisfying filling that caters to your dietary preference.
What to Serve with Low Carb Keto Lasagna?
Elevate your dining experience with delightful sides and drinks that perfectly complement this hearty dish.
-
Garlic Breadsticks: These warm, buttery delights add a comforting crunch that balances the creamy lasagna layers beautifully. Perfect for dipping into leftover marinara!
-
Side Salad: A fresh mix of greens tossed with balsamic vinaigrette brings a zesty contrast to the rich flavors of the lasagna. The crunchy textures will make every bite refreshing.
-
Steamed Broccoli: Lightly seasoned broccoli adds vibrancy and nutrition to your meal. Its mild flavor provides a lovely, earthy balance to the richness of the cheese.
-
Zesty Coleslaw: The crispness and tang of coleslaw offer a refreshing brightness amidst the warmth of the lasagna. Plus, it’s a fun, crunchy side that everyone will love!
-
Roasted Cauliflower: This savory dish enhances the meal with its nutty flavor and satisfying texture. Roasting elevates its natural sweetness, making it a harmonious side dish.
-
Red Wine: A glass of full-bodied red wine enhances the flavors beautifully, making your dining experience even more indulgent. It perfectly pairs with the savory notes of the lasagna.
-
Chocolate Mousse: For dessert, a light and airy chocolate mousse serves as the perfect sweet ending. The richness of chocolate balances the savory main with a touch of elegance.
How to Store and Freeze Lasagna
Fridge: Store leftover lasagna in an airtight container for up to 3 days. Allow it to cool completely before sealing to maintain freshness.
Freezer: For longer storage, freeze individual portions wrapped tightly in plastic wrap or foil, then place in a freezer-safe bag for up to 3 months.
Reheating: Thaw frozen lasagna overnight in the fridge. To reheat, cover with foil and warm in the oven at 350°F (175°C) for about 25-30 minutes or until heated through.
Freshness Check: Always check for signs of spoilage before consuming leftovers; if in doubt, it’s best to discard!
Make Ahead Options
These delicious Low Carb Keto Lasagna layers are perfect for meal prep enthusiasts! You can prepare the zucchini noodles and the ground beef filling up to 24 hours in advance; simply slice the zucchini and season, then store in an airtight container in the refrigerator to prevent browning. The beef can be cooked and refrigerated as well, allowing you to assemble your lasagna quickly when ready to bake. When you’re ready to enjoy your meal, just layer the prepped ingredients in your baking dish, top with sauce and cheese, and bake as directed. This way, you’ll have a comforting, homemade dinner with minimal effort on busy nights!
Chef's Helpful Tips
- When making low carb keto lasagna, be sure to slice the zucchini as thinly as possible to achieve the best noodle-like texture.
- It’s important to sprinkle the zucchini with salt and let it sit to draw out moisture, preventing a watery dish.
- For a richer flavor in the meat filling, consider using fresh minced garlic instead of garlic powder for added depth.
- Ensure your oven is fully preheated to 375°F to guarantee even cooking and browning of the cheese on top.
- Allow the lasagna to cool for 5 minutes before serving; this resting time helps the layers set and improves the overall presentation.
Low Carb Keto Lasagna Recipe FAQs
How do I choose the right zucchini for my lasagna?
Absolutely! When selecting zucchini, look for firm, vibrant green ones with no dark spots. Opt for medium-sized zucchini, as they have a perfect balance of flesh and skin, making them ideal for those noodles. Overripe zucchinis may be too seedy and watery, so steer clear of those!
What’s the best way to store leftover lasagna?
To store your leftover low carb keto lasagna, allow it to cool completely before transferring it to an airtight container. It can be kept in the fridge for up to 3 days. If you want to enjoy it beyond that, I recommend freezing! Just wrap individual portions tightly and place them in a freezer-safe bag.
Can I freeze low carb keto lasagna? How should I do it?
Yes, you can definitely freeze it! I often make extra to enjoy later. First, slice it into individual portions and let them cool. Wrap each portion tightly in plastic wrap or foil, then place them in a freezer-safe bag labeled with the date. It should keep well for up to 3 months. When you’re ready to eat, thaw it overnight in the fridge and reheat to perfection!
What if my lasagna turned out watery?
Very good question! If your lasagna turned out watery, it might be due to excess moisture in the zucchini. Ensure to slice your zucchini thinly and sprinkle it with salt, letting it sit on paper towels to draw out moisture beforehand. If it happens despite this, you could try adding more cheese to absorb the liquid next time.
Are there any dietary considerations I should keep in mind?
It’s always a good idea to consider dietary restrictions! This low carb keto lasagna is gluten-free and perfect for those looking to reduce carbs. However, if you’re serving guests, check for allergies—particularly to dairy or any specific ingredients in your marinara sauce. You can easily customize ingredients to fit various dietary needs, like using dairy-free cheese or swapping ground beef for turkey or a vegetarian option!
How long does it take for the flavors to meld after baking?
I recommend allowing your low carb keto lasagna to cool for about 5-10 minutes after baking. This resting time lets the layers set and enhances the overall flavor experience. It may feel tempting to dive right in, but patience pays off with the perfect slice!
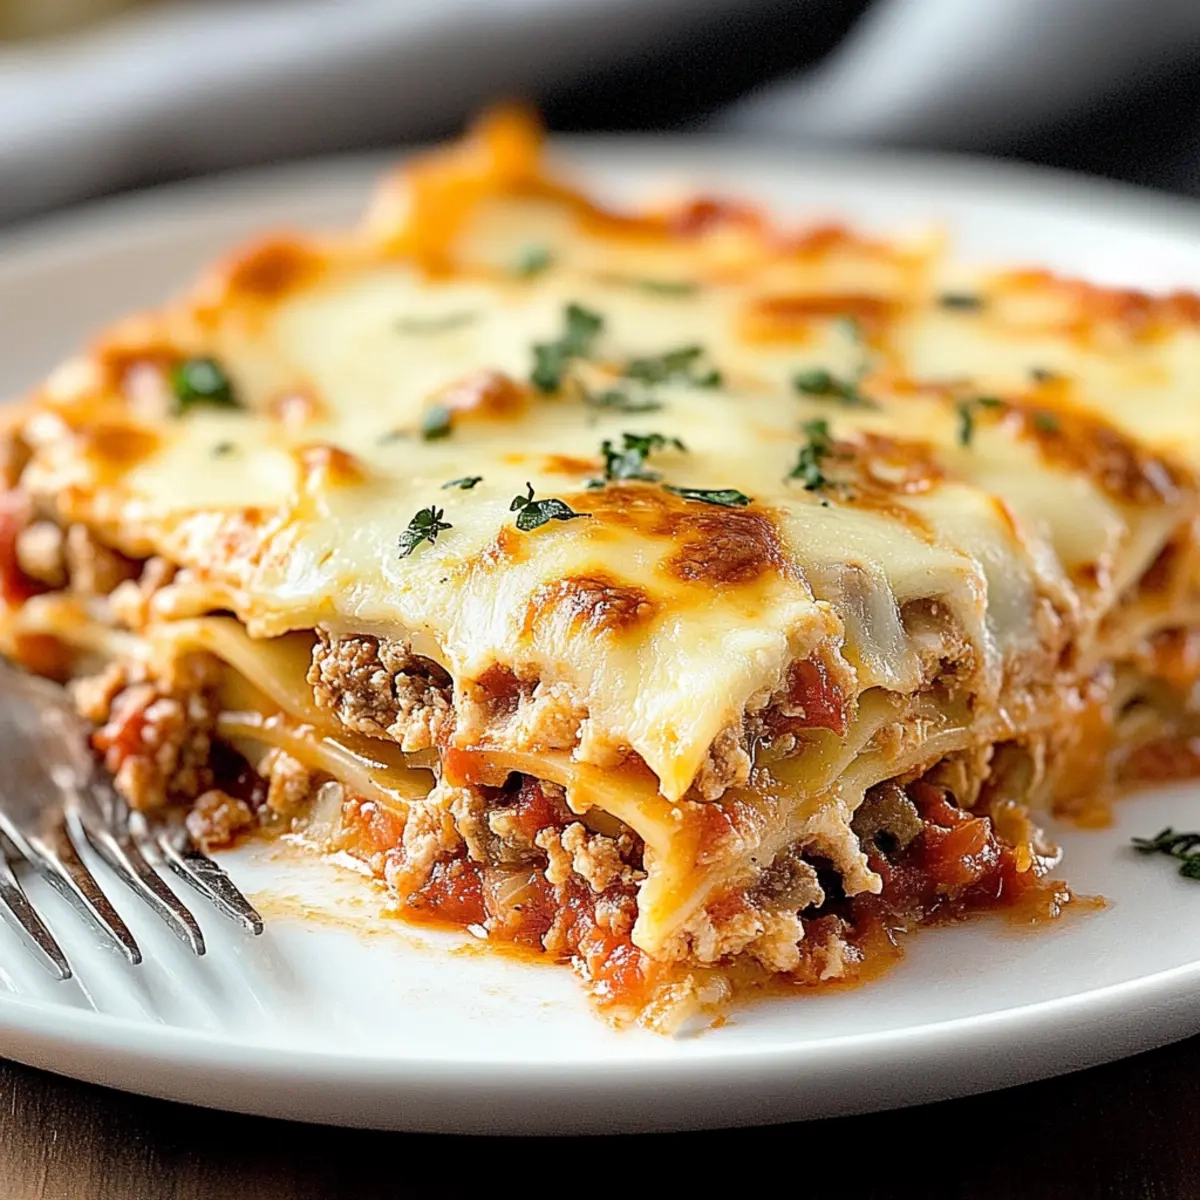
Lasagna
Ingredients
Equipment
Method
- Preheat your oven to 375°F (190°C).
- Slice the zucchini lengthwise into thin strips. Sprinkle them with salt and let them sit on paper towels for about 15 minutes to draw out excess moisture.
- Cook the ground beef in a skillet over medium heat for about 7-10 minutes until browned. Drain the excess fat and stir in garlic powder and dried oregano.
- Layer half of the marinara sauce in a greased baking dish. Add half of the zucchini noodles, half of the ricotta mixture, and half of the cooked beef. Repeat the layers.
- Top with the remaining marinara sauce and cover with mozzarella cheese.
- Cover with foil and bake for 25 minutes. Remove the foil and continue baking for another 10-15 minutes until golden brown.
- Cool for 5 minutes before serving.