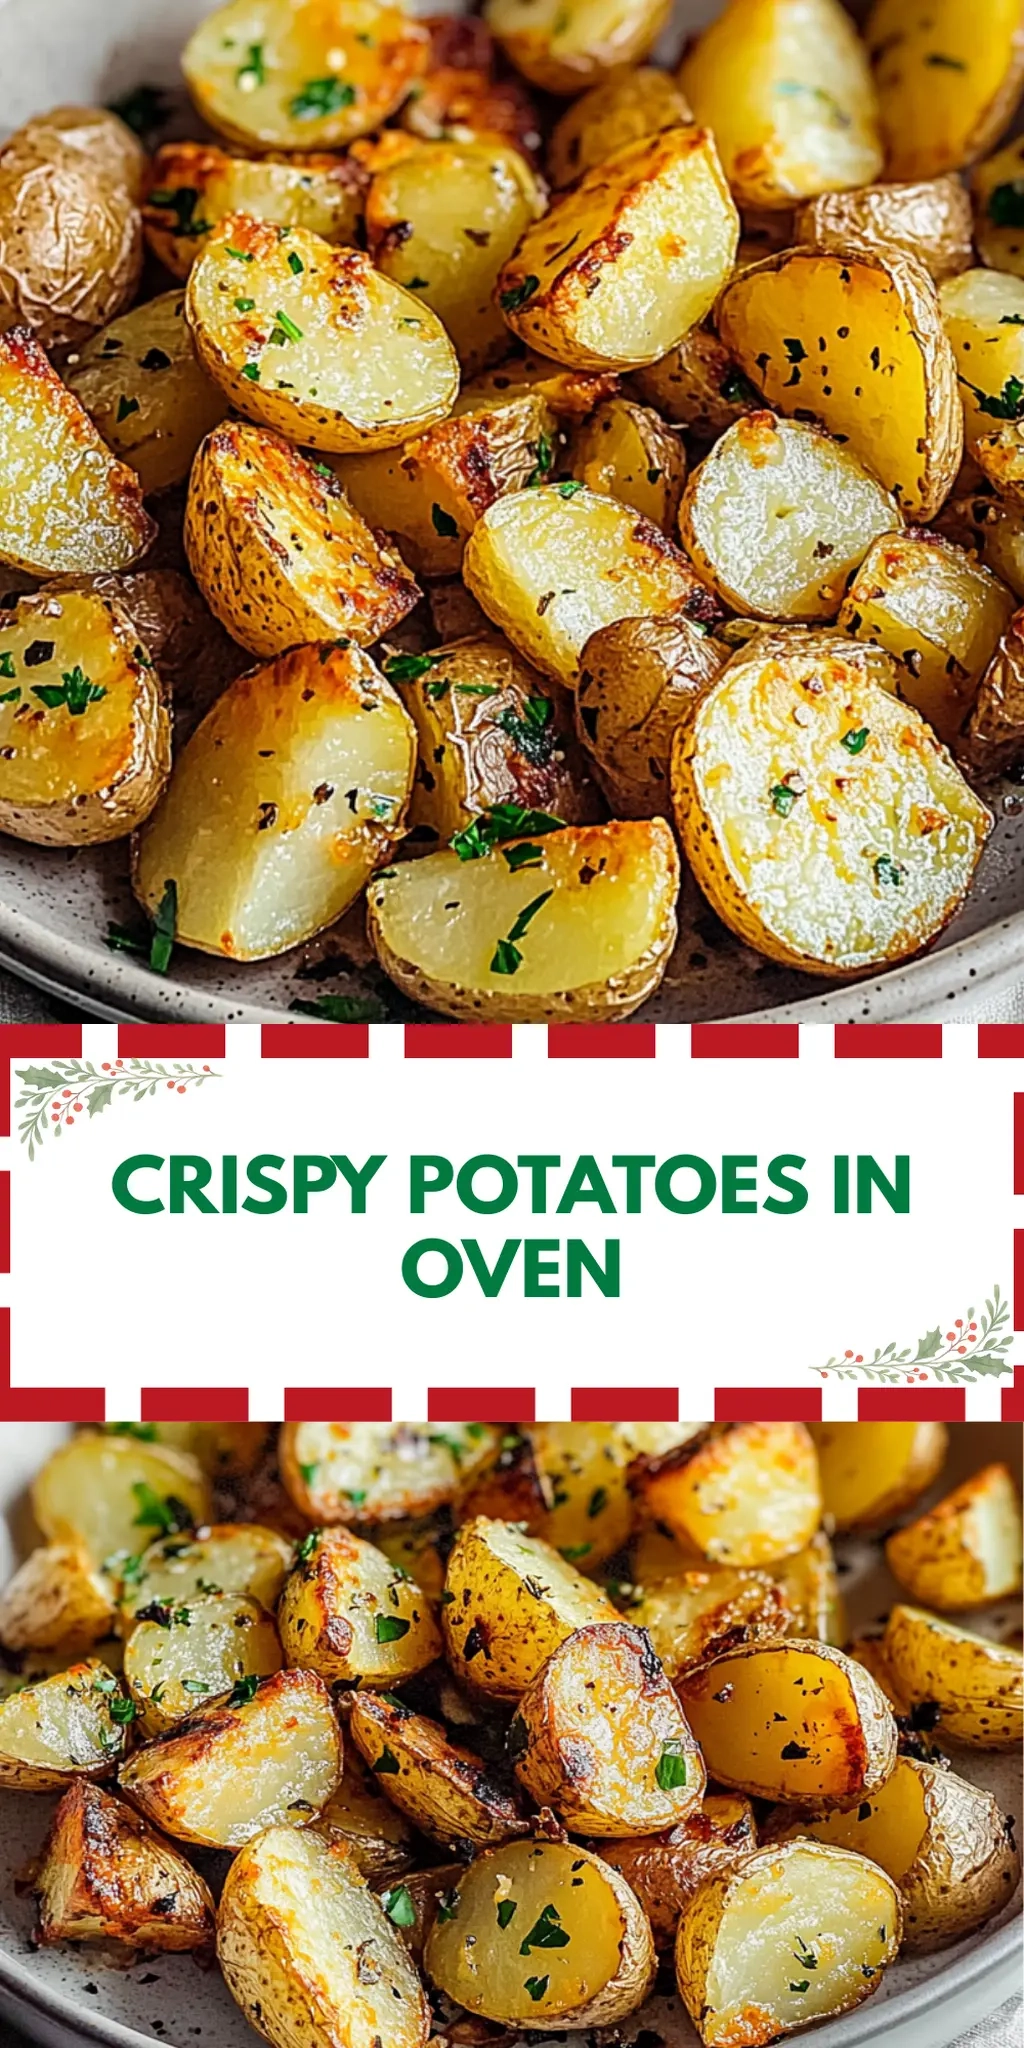
There’s a certain joy in watching potatoes transform into Golden-brown nuggets of crispiness in the oven. The first whiff of roasted garlic and fresh herbs wafting through my kitchen always sends my taste buds into a frenzy, reminding me just how delightful homemade food can be. In just a short while, you can bring that unbeatable crunch to your dinner table with my Crispy Potatoes in Oven recipe.
Picture this: it’s a busy weeknight, and I was craving something satisfying yet simple. The answer was right in my pantry, waiting to shine! With just a handful of ingredients, I crafted a dish that’s not only incredibly easy to whip up, but also complements nearly every meal. Whether you serve these crispy potatoes alongside a juicy steak, or just enjoy them as a snack, they’re guaranteed to become a family favorite. Ready to bring some excitement back to your kitchen? Let’s dive into this deliciously easy recipe!
Why You'll Love This Crispy Potatoes in Oven
- This recipe is unbelievably easy, making it perfect for busy weeknights when you want something delicious without the fuss.
- The flavor is out of this world, with the roasted garlic and fresh herbs transforming simple potatoes into a mouthwatering side dish.
- Its versatility shines as it pairs beautifully with a variety of entrees or stands alone as a tasty snack.
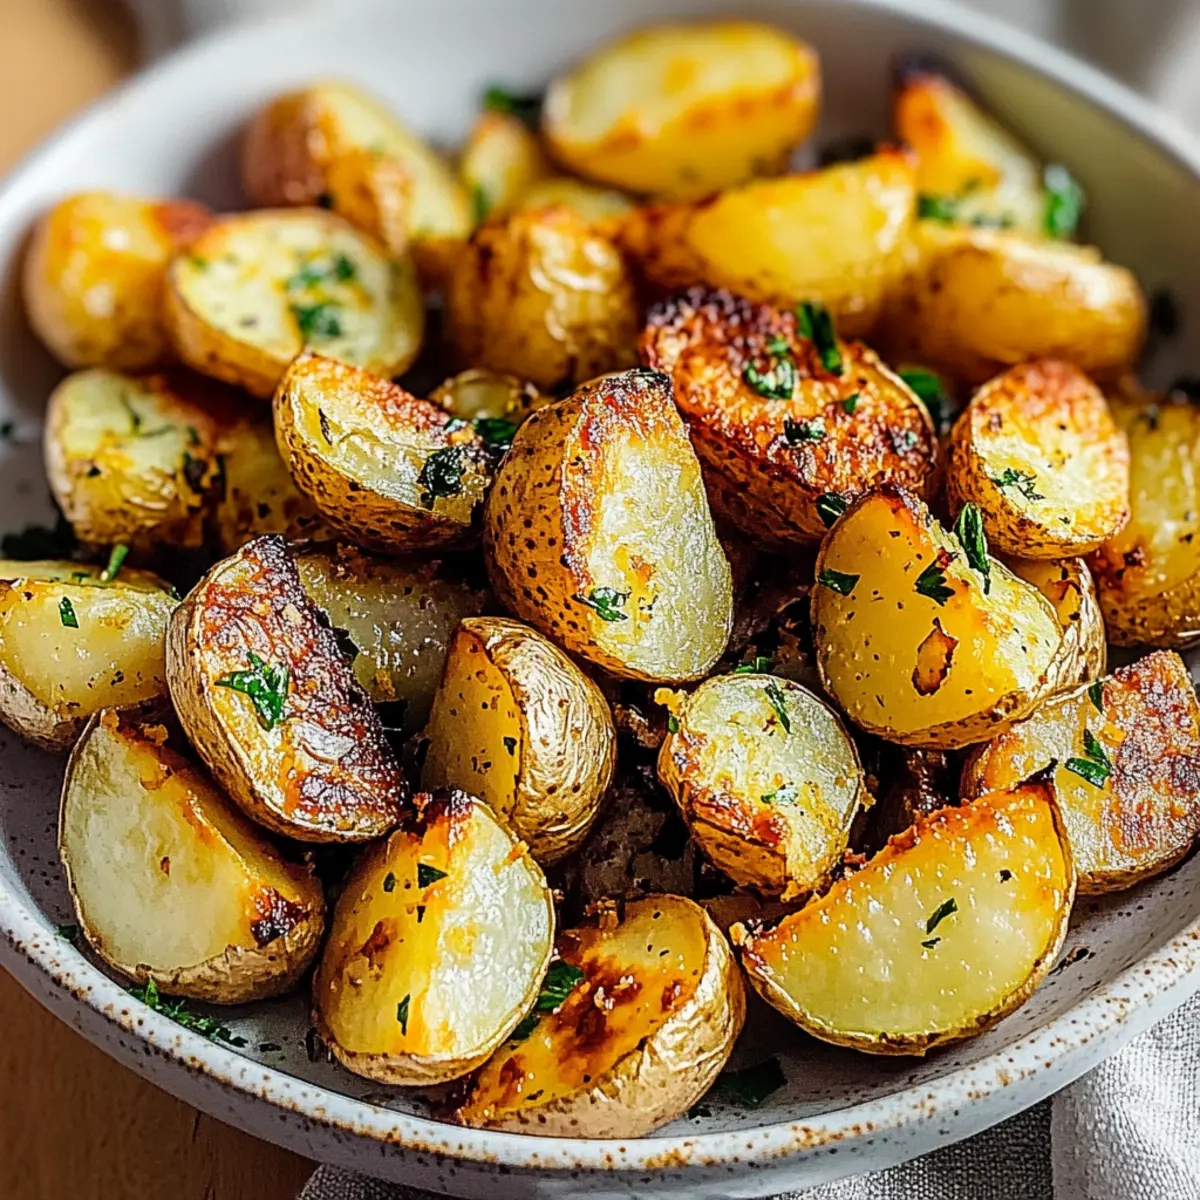
- Plus, the visual appeal of golden-brown crispy potatoes will have everyone at the table eagerly reaching for more.
Crispy Potatoes in Oven Ingredients
For the Potatoes
• 2 lbs potatoes – choose Yukon Gold for their buttery flavor or Russets for extra crispiness.
• 3 tbsp olive oil – enhances flavor and helps achieve that golden, crispy texture.
• 1 tsp kosher salt – essential for bringing out the natural flavor of the potatoes.
• ½ tsp black pepper – adds a touch of warmth and spice to the dish.
• 1 tsp garlic powder – infuses a delightful savory taste without the hassle of fresh garlic.
• 1 tbsp fresh herbs (rosemary or thyme) – either brings a fragrant aroma that perfectly complements the crispy potatoes in oven.
How to Make Crispy Potatoes in Oven
-
Preheat your oven to 425°F (220°C). This step is essential for achieving that delicious crunch on your potatoes, so don’t skip it!
-
Prepare the potatoes by washing them thoroughly. Peel them if you prefer, then cut them into uniform one-inch cubes to ensure even cooking.
-
Combine the potato cubes in a large bowl with olive oil, kosher salt, black pepper, garlic powder, and your choice of fresh herbs. Toss everything together until the potatoes are well-coated.
-
Arrange the seasoned potatoes in a single layer on a parchment-lined baking sheet. Spacing them out helps them roast evenly and crisp up beautifully!
-
Roast in the heated oven for 30-35 minutes, flipping them halfway through. Look for a lovely golden-brown color that indicates they’re perfectly crispy.
-
Serve hot right out of the oven! These crispy potatoes are best enjoyed fresh, but they’ll remain delicious as leftovers too.
Optional: Sprinkle with extra fresh herbs for added freshness before serving.
Exact quantities are listed in the recipe card below.
What to Serve with Crispy Potatoes in Oven?
Imagine a cozy dinner table filled with warm, inviting dishes that make your heart sing and stomach growl.
-
Juicy Grilled Chicken: Tender chicken complements the crispy texture, with its savory juices creating a delightful contrast.
-
Homemade Garlic Aioli: This creamy dip adds rich flavor and pairs perfectly with the crispy potatoes, making each bite unforgettable.
-
Sautéed Green Beans: The vibrant crunch of fresh green beans adds color and a refreshing balance to the meal, enhancing the overall experience.
-
Beef Stroganoff: The rich, creamy sauce drenched over flavorful beef forms a beautiful pairing. The crispy potatoes can be served alongside for soaking up every drop.
-
Roasted Vegetable Medley: A hearty mix of peppers, carrots, and zucchini provides a warm, rustic flavor that complements the crispy potatoes while providing a nutritious boost.
-
Zesty Side Salad: A crisp, tangy salad with lemon vinaigrette cleanses the palate and adds brightness to the hearty nature of the potatoes.
-
Chilled White Wine: A glass of chilled Sauvignon Blanc elevates the meal with its refreshing acidity, bringing out the flavors of the potatoes and accompanying dishes.
Make your meal even more memorable by mixing and matching these delightful pairings for a feast that’s bursting with flavor!
Crispy Potatoes in Oven Variations
Feel free to get creative with this recipe and make it your own!
-
Herbed Variation: Use a mix of dried Italian herbs instead of fresh for a punch of flavor.
-
Spicy Kick: Add a pinch of cayenne pepper or red pepper flakes for a delightful heat that elevates the taste.
-
Cheesy Delight: Sprinkle grated Parmesan or cheddar cheese on the potatoes during the last 5 minutes of roasting for a deliciously cheesy crust.
-
Sweet Twist: Try sweet potatoes instead for a naturally sweeter and healthier alternative, bringing a lovely color to your dish.
-
Garlic & Lemon: Toss in minced fresh garlic and a squeeze of lemon juice before serving for a bright, zesty finish that tantalizes your taste buds.
-
Paprika Flair: Use smoked paprika to add a smoky flavor that pairs beautifully with the crispy texture, giving your potatoes an unforgettable twist.
-
Balsamic Glaze: Drizzle balsamic reduction over the finished potatoes for a rich and tangy glaze that enhances their crispiness perfectly.
-
Mustard Seeds: For a unique crunch, sprinkle whole mustard seeds before roasting; they’ll pop and add a delicious tangy flavor.
Make Ahead Options
Making these Crispy Potatoes in Oven ahead of time is a fantastic way to simplify your meal prep! You can wash, peel (if desired), and cube the potatoes up to 24 hours in advance. Just keep them submerged in cold water in the refrigerator; this prevents browning and keeps them fresh. When you’re ready to enjoy your crispy potatoes, toss them with olive oil, seasonings, and fresh herbs right before roasting. Spread them out on your baking sheet and roast as instructed for 30-35 minutes. Preparing them this way means you’ll have restaurant-quality crispy potatoes with minimal effort on busy nights!
How to Store and Freeze Crispy Potatoes in Oven
Fridge: Store leftover crispy potatoes in an airtight container for up to 3 days. This keeps them fresh and prevents them from becoming soggy.
Freezer: For longer storage, freeze cooled crispy potatoes in a single layer on a parchment-lined baking sheet until solid, then transfer to a freezer bag for up to 1 month.
Reheating: For best results, reheat crispy potatoes in the oven at 400°F (200°C) for 10-15 minutes to restore their crunch. Avoid microwaving as it can make them soggy.
Serving Note: Enjoy the delightful flavors of your crispy potatoes in oven by adding a sprinkle of fresh herbs or a drizzle of olive oil after reheating!
Chef's Helpful Tips
- To achieve the best texture for your Crispy Potatoes in Oven, make sure to cut the potatoes into uniform one-inch cubes so they cook evenly.
- A common mistake is overcrowding the baking sheet, so always spread the potatoes in a single layer for maximum crispiness.
- For added flavor, try using a mix of olive oil and melted butter, which can enhance both taste and texture.
- Remember to flip the potatoes halfway through roasting to ensure they brown evenly on all sides.
Crispy Potatoes in Oven Recipe FAQs
What type of potatoes should I use for crispy potatoes in oven?
Absolutely! For the best results, I recommend using Yukon Gold potatoes for their buttery flavor and waxy texture or Russet potatoes for maximum crispiness. Both options produce delightful results, but the choice depends on your personal preference!
How long can I store leftover crispy potatoes in the fridge?
Leftover crispy potatoes can be stored in an airtight container in the fridge for up to 3 days. This helps maintain their flavor and prevents them from becoming soggy. When you’re ready to enjoy them again, just follow my reheating tips!
Can I freeze crispy potatoes?
Yes, you can! To freeze, allow the crispy potatoes to cool completely, then spread them in a single layer on a parchment-lined baking sheet. Freeze until solid, which takes about 2 hours. Once frozen, transfer the potatoes to a freezer bag and store for up to 1 month. This method helps maintain their texture and flavor!
What’s the best way to reheat frozen crispy potatoes?
For the best results, preheat your oven to 400°F (200°C). Spread the frozen crispy potatoes on a baking sheet and reheat for 10-15 minutes. This will help restore their crunch and warm them through. Avoid using a microwave, as this can lead to sogginess, losing that delightful crispiness that we love.
Are crispy potatoes safe for pets?
It’s best to limit or avoid giving your pets crispy potatoes. While plain cooked potatoes can be safe in small amounts, seasoned and roasted ones can contain ingredients like garlic or onion, which are harmful to pets. Always check the ingredients and consult your vet if you’re unsure!
What should I do if my crispy potatoes aren’t browning properly?
Very! If your crispy potatoes aren’t browning adequately, it might be due to overcrowding on the baking sheet. Make sure they’re spread in a single layer, allowing adequate space for air circulation. Another tip is to toss them in a bit more oil; this can help them crisp up and achieve that desirable golden color during roasting.
Crispy Potatoes in Oven
Ingredients
Equipment
Method
- Preheat your oven to 425°F (220°C).
- Prepare the potatoes by washing and cutting them into uniform one-inch cubes.
- Combine the potato cubes in a large bowl with olive oil, kosher salt, black pepper, garlic powder, and fresh herbs. Toss until well-coated.
- Arrange the seasoned potatoes in a single layer on a parchment-lined baking sheet.
- Roast in the heated oven for 30-35 minutes, flipping halfway through.
- Serve hot right out of the oven, optionally sprinkle with extra fresh herbs.