There’s a comforting familiarity to the clash of sweet and tangy that keeps me coming back for more, especially after a long day. Recently, I found myself yearning for a dish that could bring a delicious twist to our dinner table without the hassle of complicated recipes. Enter my Sweet & Sour Ground Chicken—perfectly balanced, vibrant, and bursting with flavors that tickle the taste buds.
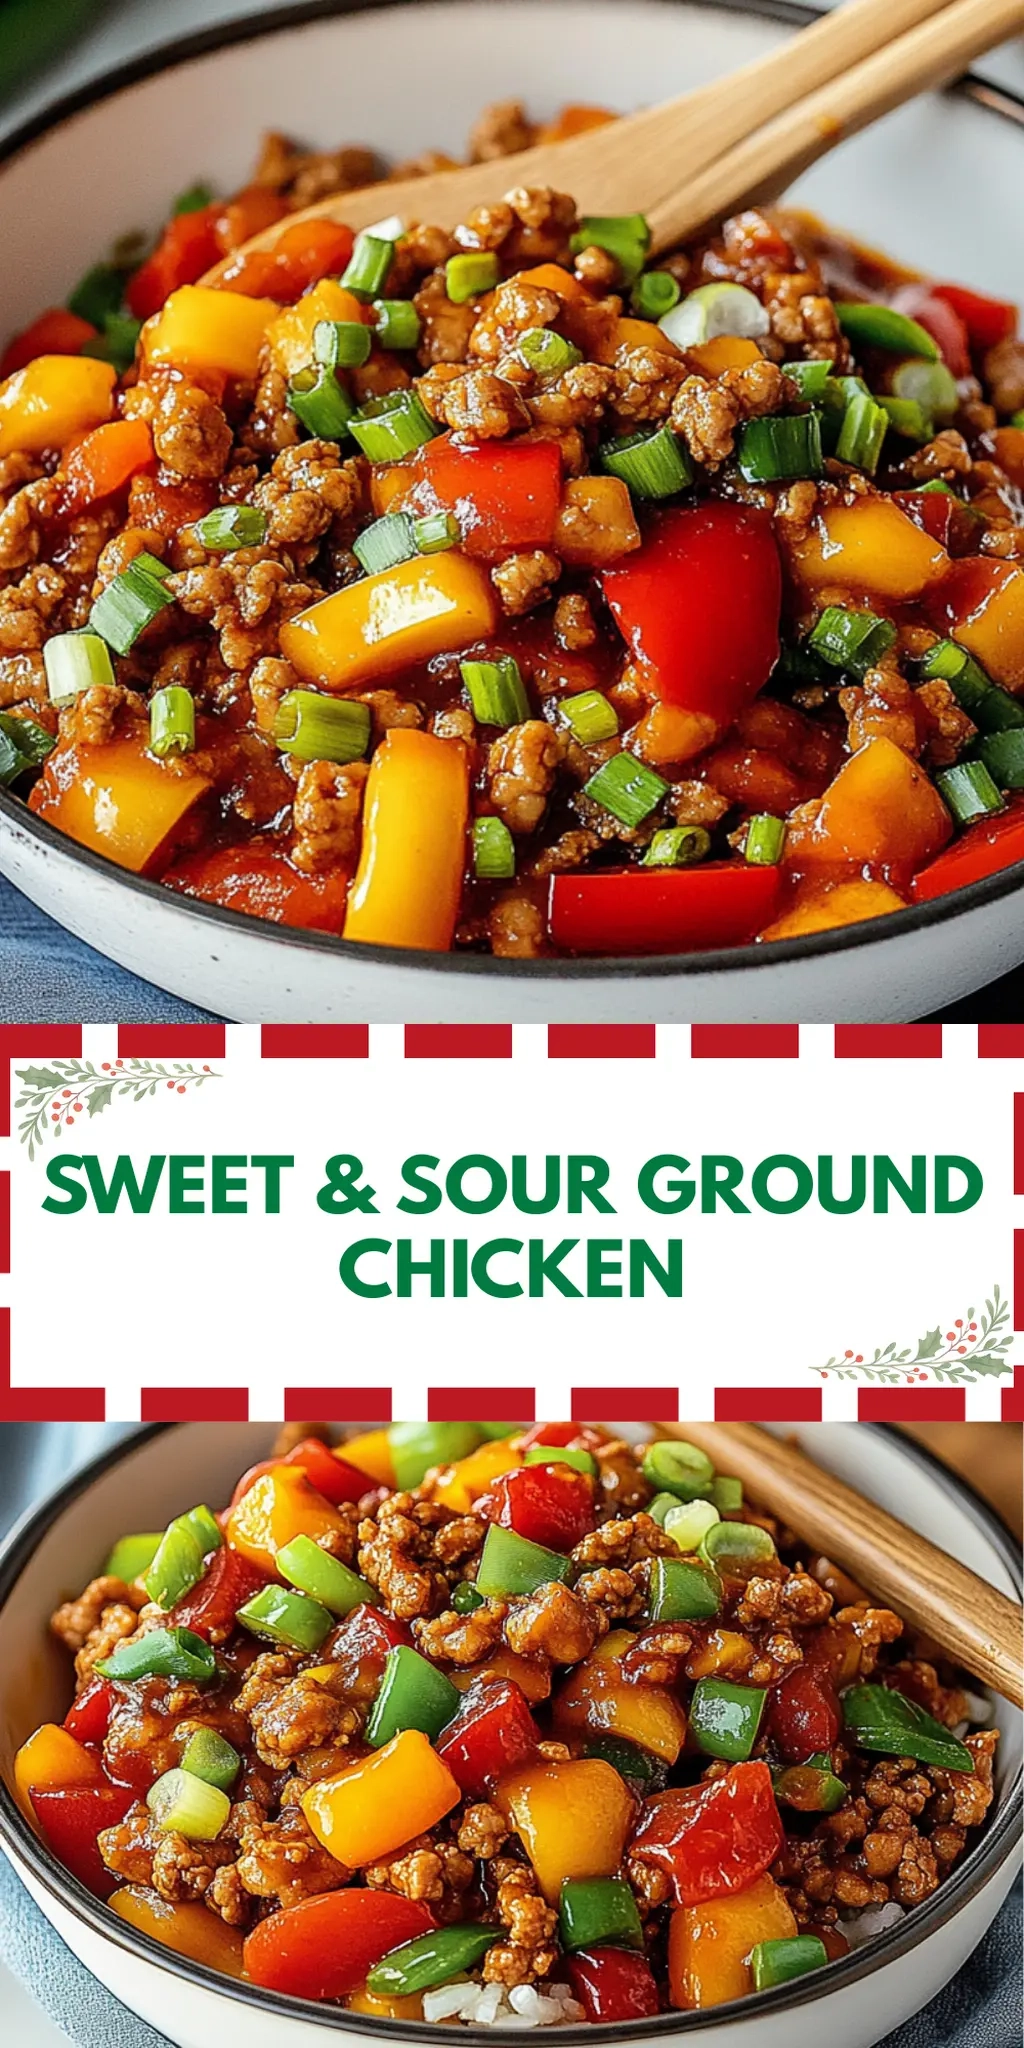
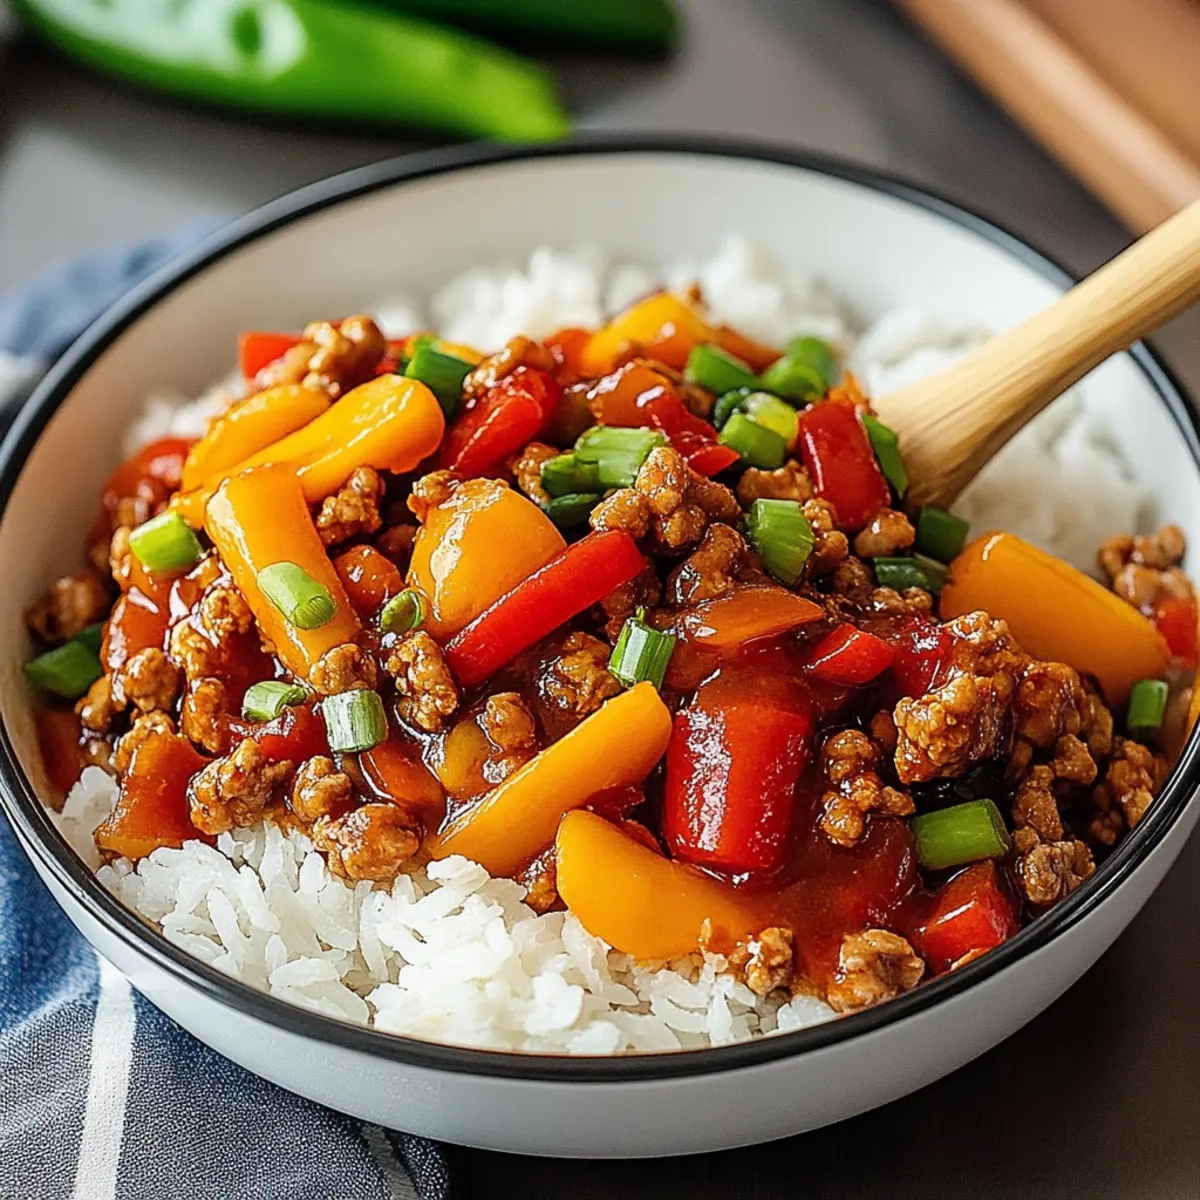
Imagine sizzling diced chicken, mingling with colorful bell peppers and the alluring aroma of garlic, all topped off with juicy pineapple. This recipe not only delivers incredible taste but also takes just 30 minutes to whip up, making it an ideal choice for busy weeknights. What’s more, it invites versatility; serve it over rice, noodles, or even on its own as a protein-packed dish.
Join me as I guide you through preparing this crowd-pleaser that will have everyone at the table asking for seconds. Trust me, once you try it, fast food will feel like a distant memory!
Why You'll Love This Sweet & Sour Ground Chicken
- This Sweet & Sour Ground Chicken is a breeze to prepare, taking only 30 minutes from start to finish, perfect for busy weeknights.
- The explosion of flavors, combining the sweetness of pineapple with the tanginess of the sauce, creates a delicious experience that will delight your taste buds.
- Its versatility allows you to serve it over rice, noodles, or even enjoy it on its own, making it a fantastic choice for any meal.
- Visually appealing with its colorful ingredients, this dish is sure to impress family and friends alike, transforming everyday dinners into something special.
- Enjoy a hearty meal that’s both nutritious and satisfying, making it a hit for the whole family.
Sweet & Sour Ground Chicken Ingredients
• Dive into this delightful dish with these essentials!
For the Chicken
• 1 lb boneless, skinless chicken breasts – diced for tender bites that absorb the sauce beautifully.
For the Stir-Fry
• 3 cloves fresh garlic – minced to add aromatic warmth and depth to the dish.
• 1 cup bell peppers – diced in mixed colors for a vibrant touch that enhances visual appeal.
• 1 cup pineapple chunks – fresh or canned, providing that signature sweetness that balances the dish.
For the Sauce
• 1/4 cup low-sodium soy sauce – use this to enhance umami without overwhelming saltiness.
• 2 tbsp brown sugar – adds sweetness and helps to balance the acidity in the sauce.
• 2 tbsp rice vinegar – brings a tangy kick that perfectly complements the dish.
• 1 tbsp vegetable oil – a neutral oil for sautéing that allows other flavors to shine.
Now you’re all set to create this mouthwatering Sweet & Sour Ground Chicken!
How to Make Sweet & Sour Ground Chicken
-
Heat the Oil: Start by warming the vegetable oil in a large skillet over medium heat. This should take about 2 minutes, perfect for guaranteeing a nice sizzle when you add the chicken.
-
Cook the Chicken: Once the oil is hot, add the diced chicken to the skillet. Cook for 6-8 minutes until the chicken is browned and no longer pink, stirring occasionally to ensure even cooking.
-
Add Aromatics: Stir in the minced garlic and diced bell peppers. Sauté for about 3-4 minutes, just until the peppers begin to soften. The aroma will be heavenly!
-
Prepare the Sauce: In a bowl, whisk together the low-sodium soy sauce, rice vinegar, brown sugar, and pineapple chunks. Pour this vibrant mixture over the chicken and vegetables in the skillet.
-
Simmer to Perfection: Allow the mixture to simmer for 5-7 minutes. You’ll notice the sauce thickening slightly, coating everything in a deliciously glossy glaze.
-
Serve and Enjoy: Serve your Sweet & Sour Ground Chicken hot over steamed rice or noodles for a satisfying meal. Enjoy the explosion of flavors!
Optional: Garnish with sesame seeds for an added crunch.
Exact quantities are listed in the recipe card below.
Sweet & Sour Ground Chicken Variations
Feel free to adjust this recipe to suit your taste—after all, cooking is all about exploration and creativity!
-
Pineapple Swap: Use mango chunks for a tropical twist, adding a different sweetness and texture to the dish.
-
Spicy Kick: Incorporate red pepper flakes or diced jalapeños for an exciting heat level that beautifully contrasts the sauce.
-
Vegetarian Option: Replace chicken with diced tofu, absorbing flavors while providing a protein-packed vegetarian dish.
-
Low-Sodium Twist: Opt for coconut aminos instead of soy sauce for a lower sodium alternative that still packs a punch of umami!
-
Nutty Flavor: Sprinkle in chopped cashews or peanuts just before serving for an added crunch and nutty flavor dimension.
-
Zesty Lime: Add the juice of half a lime to the sauce for a refreshing brightness that lifts the entire dish.
-
Sweet Alternative: Use honey or maple syrup in place of brown sugar for a natural sweetness that enriches the dish wonderfully.
-
Savory Greens: Stir in baby spinach or bok choy during the last few minutes of cooking for added nutrients and a pop of color.
Make Ahead Options
These Sweet & Sour Ground Chicken preparations are perfect for busy home cooks looking to save time during the week! You can chop the chicken, garlic, and bell peppers up to 24 hours in advance. Simply store them in airtight containers in the refrigerator to keep them fresh. The sauce can also be mixed beforehand—combine the soy sauce, rice vinegar, brown sugar, and pineapple chunks, and keep it sealed for up to 3 days. When you’re ready to cook, just heat the oil and add the prepped ingredients, then finish the recipe as usual! This way, you’ll still enjoy a delicious home-cooked meal without the last-minute rush.
What to Serve with Sweet & Sour Ground Chicken?
Transform your weeknight dinner into an extraordinary experience with vibrant sides and delightful complements!
-
Steamed Jasmine Rice: The fragrant, fluffy texture of jasmine rice soaks up the sweet and tangy sauce perfectly, making every bite a burst of flavor. It’s a classic pairing that balances the dish beautifully.
-
Vegetable Egg Rolls: Crispy on the outside, filled with fresh veggies inside, these egg rolls add a delightful crunch to your meal, enhancing the sweet and sour theme with every bite. Pair them with a side of sweet chili sauce for dipping.
-
Crispy Tofu Sticks: For a vegetarian twist, crispy tofu sticks lend a satisfying crunch and absorb the flavors of the sweet and sour sauce, providing a delightful contrast in texture. Serve them alongside for a hearty option.
-
Cucumber Salad: A refreshing cucumber salad with a vinegar dressing brightens the palate, offering a cool, crisp contrast to the warm, flavorful chicken. The acidity helps to balance the richness of the dish.
-
Sweet and Sour Slaw: Tossed with a light, tangy dressing, this colorful slaw adds crunch and zest, complementing the sweet and sour chicken beautifully. It’s a textural delight that brings freshness to the table.
-
Mango Lassi: This creamy yogurt drink provides a rich and refreshing counterbalance to the meal’s sweetness. Its tropical flavors enhance the overall experience, making every sip a treat.
-
Pineapple Upside-Down Cake: For dessert, this classic cake echoes the sweet flavors of the main dish and offers a delightful finish to your meal. Serve warm for a cozy, satisfying end to the evening.
How to Store and Freeze Sweet & Sour Ground Chicken
Fridge: Store leftovers in an airtight container for up to 3 days. Make sure to cool the dish to room temperature before sealing to maintain freshness.
Freezer: For longer storage, freeze in a freezer-safe container or bag for up to 3 months. Divide into portions for easy meals later!
Reheating: Thaw overnight in the fridge before reheating. Warm in a skillet over medium heat or in the microwave until heated through, stirring occasionally to keep moist.
Serving Suggestion: Reinvent meals by using leftover sweet & sour ground chicken in wraps, salads, or as a filling for tacos—delicious and versatile!
Chef's Helpful Tips
- When making Sweet & Sour Ground Chicken, ensure your skillet is adequately heated before adding the chicken to achieve a nice brown color and prevent sticking.
- Avoid overcooking the chicken, as it can become dry; cooking until it’s just no longer pink will keep it juicy.
- For a more vibrant dish, use a mix of colorful bell peppers, as they not only enhance the visual appeal but also provide varying flavors and nutrients.
- Remember to keep an eye on the simmering sauce, as it thickens quickly; stirring occasionally helps prevent sticking to the pan and promotes even coating on the chicken and vegetables.
Sweet & Sour Ground Chicken Recipe FAQs
How do I choose ripe bell peppers for this recipe?
Absolutely! Look for bell peppers that are firm and have shiny skin. Avoid those with dark spots or wrinkles, as they indicate overripeness. Colors matter too—choose a mix of red, yellow, and green for a visually appealing dish!
How long does Sweet & Sour Ground Chicken last in the fridge?
Very! This dish can be stored in an airtight container in the fridge for up to 3 days. Just make sure it’s completely cooled before storing, as this helps maintain quality and flavor over those days.
Can I freeze Sweet & Sour Ground Chicken?
Of course! To freeze, allow the dish to cool completely, then transfer it to a freezer-safe container. It will last for up to 3 months in the freezer. Mark the date on the container so you can keep track of freshness. When you’re ready to enjoy it again, thaw it in the fridge overnight before reheating.
What’s the best way to reheat leftover Sweet & Sour Ground Chicken?
I recommend reheating your leftovers in a skillet over medium heat. If the sauce has thickened too much, add a splash of water or broth to loosen it up. Stir occasionally until it’s heated throughout—this will keep your chicken tender and the dish delicious!
Is this recipe suitable for people with soy allergies?
No worries! If you’re avoiding soy, you can substitute the low-sodium soy sauce with coconut aminos or a homemade soy-free sauce made with beef or vegetable broth and a splash of vinegar for the tangy flavor.
My sauce didn’t thicken; what can I do?
That’s a common issue! If your sauce hasn’t thickened, let it simmer a bit longer and stir frequently. You can also mix a teaspoon of cornstarch with a tablespoon of water and stir that mixture into the sauce; it will quickly thicken up! Just keep an eye on it to prevent burning.
Sweet & Sour Ground Chicken
Ingredients
Equipment
Method
- Heat the vegetable oil in a large skillet over medium heat for about 2 minutes.
- Add the diced chicken to the skillet and cook for 6-8 minutes until browned and no longer pink.
- Stir in the minced garlic and diced bell peppers, sauté for 3-4 minutes until softened.
- Whisk together the soy sauce, rice vinegar, brown sugar, and pineapple chunks in a bowl.
- Pour the mixture over the chicken and vegetables in the skillet and simmer for 5-7 minutes.
- Serve hot over steamed rice or noodles.