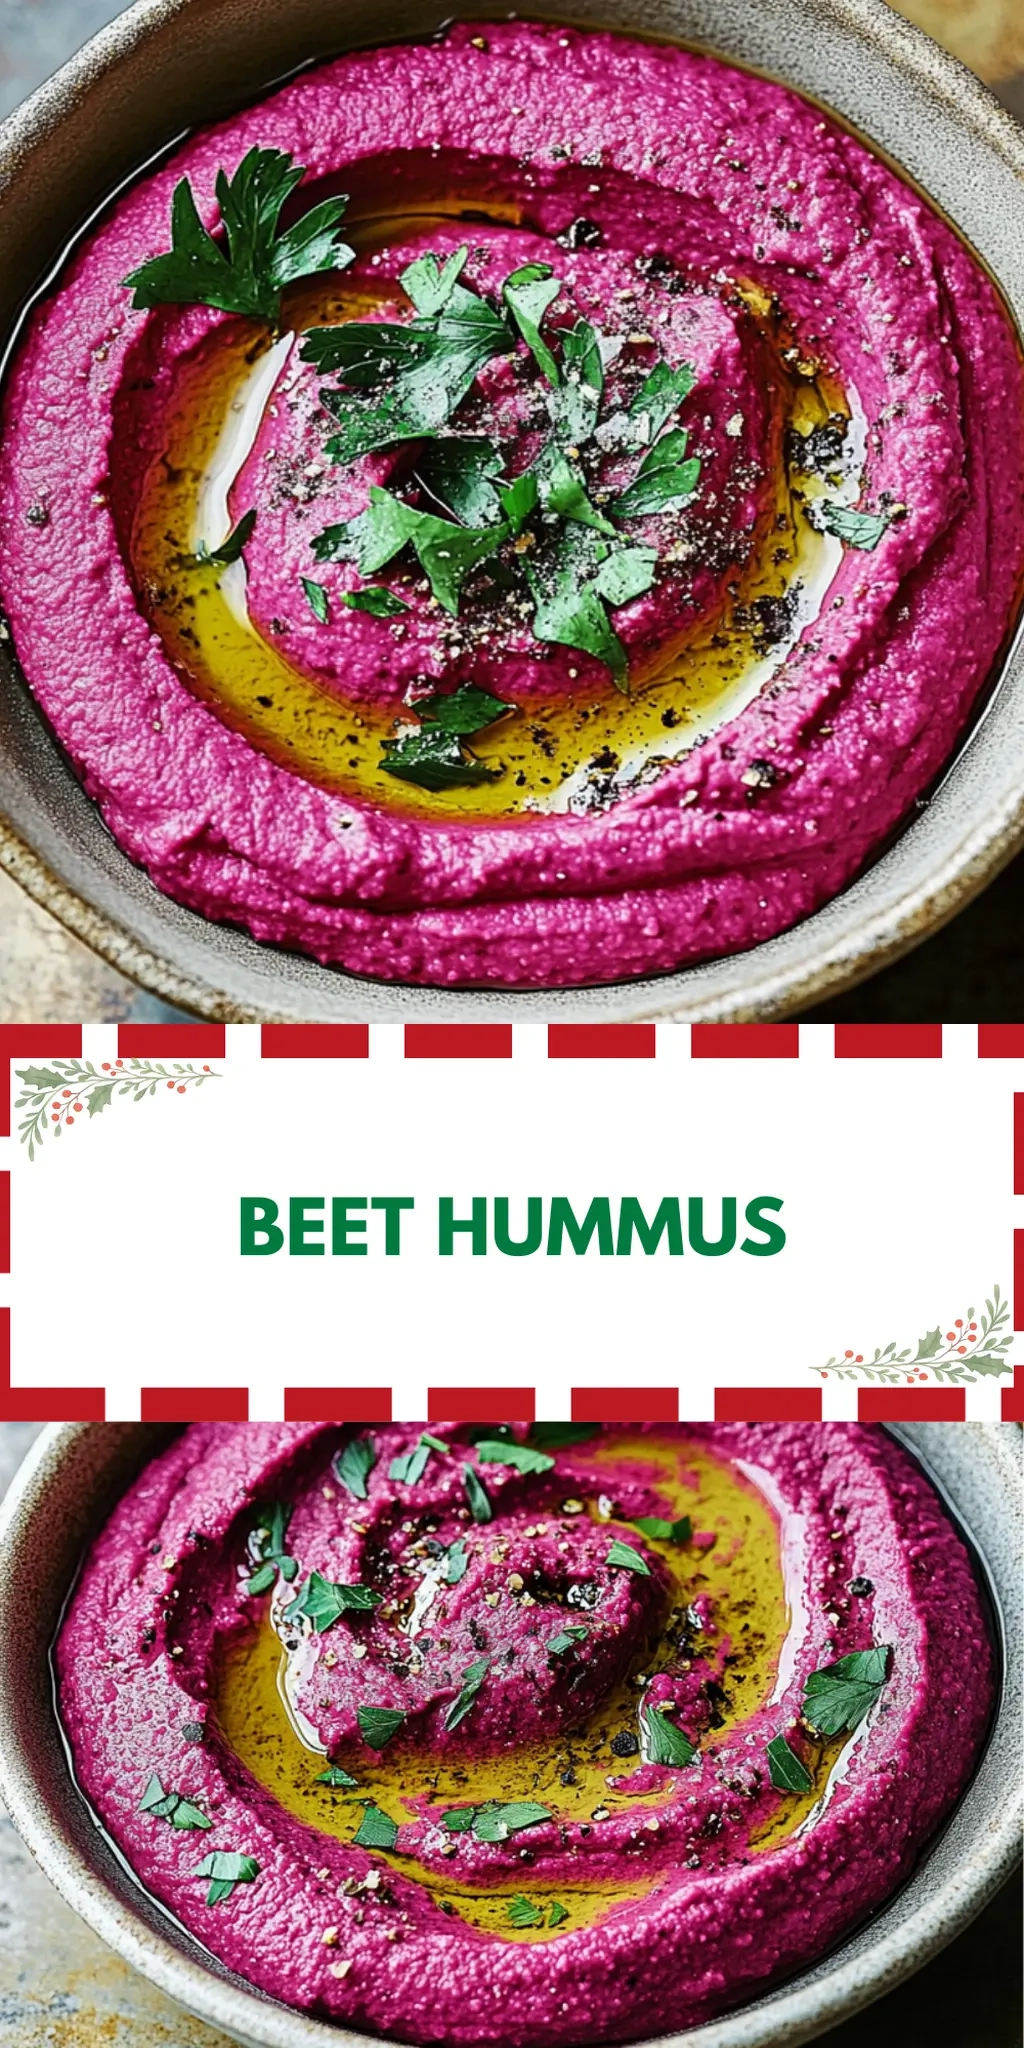
Roasting beets is a wonderful ritual in my kitchen that never fails to bring the vibrant colors of nature indoors. The moment those tender, sweet roots emerge from the oven, their earthiness fills the air, and I can’t help but dream of countless culinary possibilities. Enter this Beet Hummus—a dish that’s as delightful to behold as it is delicious to eat.
After tiring of the same old dips at gatherings, I decided to give the classic chickpea hummus a colorful twist. With just a handful of ingredients, including creamy tahini and zesty lemon, this recipe is effortless yet impressive. The striking magenta hue is sure to catch anyone’s eye and make them curious to try it.
Perfect for friends munching on pita chips during game nights or for quiet moments solo with fresh veggies, this Beet Hummus offers a surprising way to enjoy healthy snacking. Let’s dive into how to make this irresistibly flavorful dip that will breathe new life into your palate!
Why You'll Love This Beet Hummus
- This Beet Hummus is incredibly easy to make, requiring just a few simple ingredients and minimal prep time.
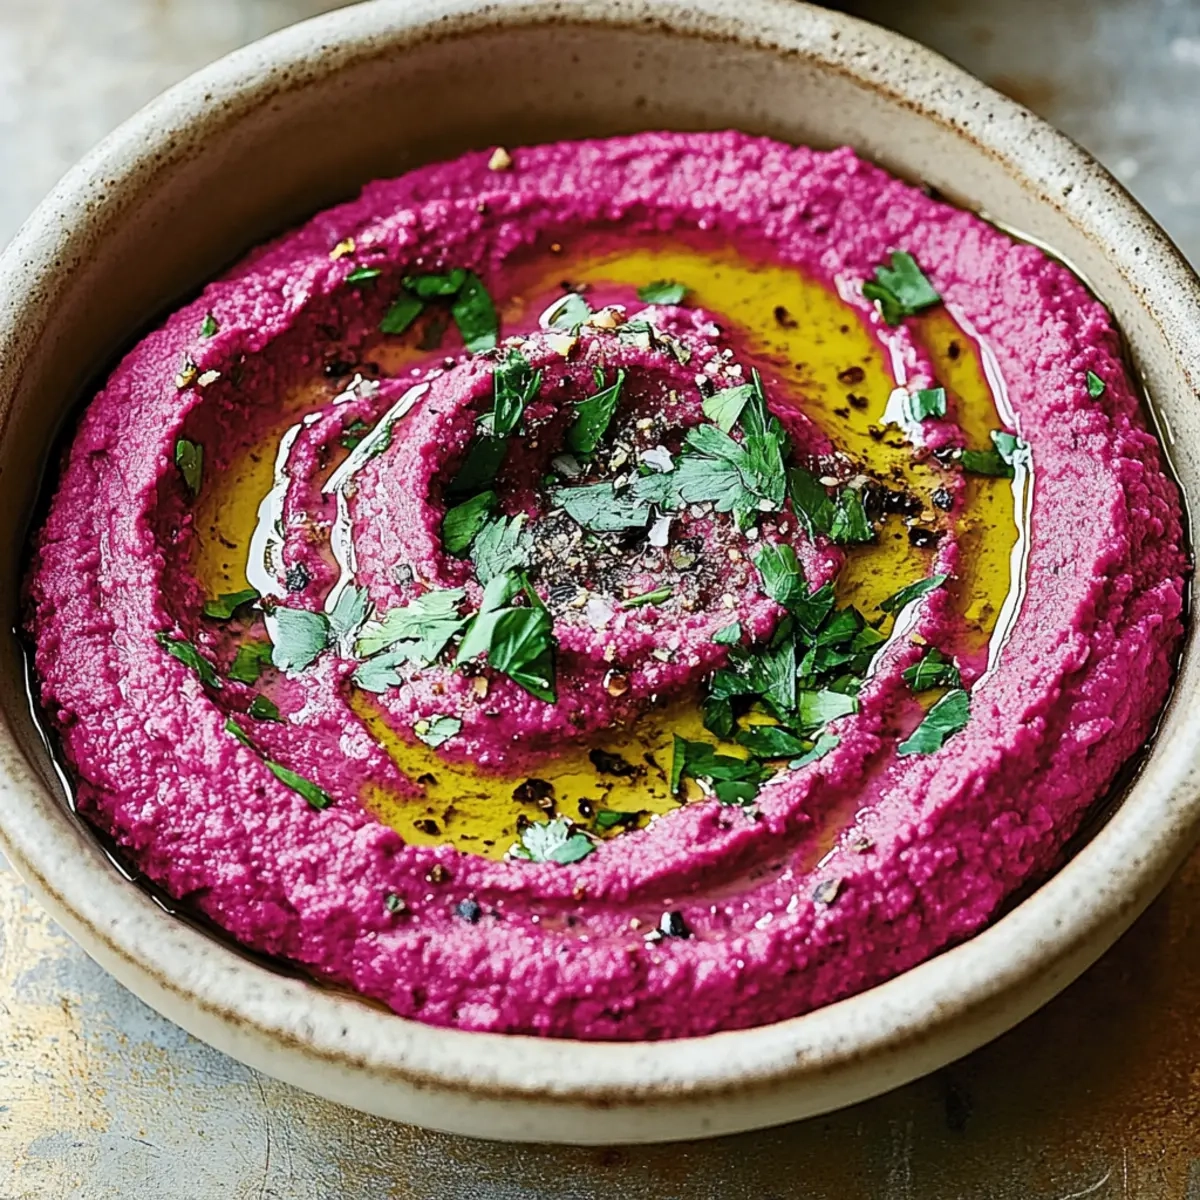
- The vibrant magenta color makes it visually stunning and perfect for impressing guests at any gathering.
- You’ll love its unique flavor that combines the earthiness of beets with the creaminess of tahini, creating a dip that’s both healthy and delicious.
- It’s a versatile dish that pairs perfectly with everything from pita chips to fresh veggies, making it a must-have for any snack table.
Beet Hummus Ingredients
• Fresh, simple components for a vibrant dip!
For the Hummus
- Cooked beets – These add a naturally sweet flavor and vibrant color, making your Beet Hummus stand out.
- Canned chickpeas – Provides a smooth texture and a good source of protein; you can also use dried chickpeas if you prefer cooking them yourself.
- Tahini – Adds creaminess and a nutty flavor; feel free to substitute with nut butter for a different twist.
- Fresh lemon juice – Brightens up the flavors and balances the earthiness of the beets; always opt for fresh for the best taste.
- Garlic – Infuses a bit of bite and depth; adjust the amount to your liking for more or less intensity.
- Extra virgin olive oil – Enhances richness and smoothness; you can substitute with avocado oil for a different flavor profile.
- Salt and pepper – Essential for seasoning to taste; don’t skip these as they elevate the overall flavor of your Beet Hummus.
How to Make Beet Hummus
-
Preheat your oven to 400°F (200°C) if using fresh beets. Wrap each beet in aluminum foil and roast them for about an hour until they are tender. Let them cool before peeling.
-
Combine the cooked beets, chickpeas, tahini, lemon juice, garlic, salt, and pepper in a food processor. Pulse the mixture until it becomes chunky and the ingredients are evenly mixed.
-
Drizzle in the olive oil while the food processor is running. This helps achieve a smooth and creamy consistency that makes your Beet Hummus irresistible.
-
Taste the hummus and adjust the seasoning as needed. If you want a bolder flavor, feel free to add more lemon juice or garlic according to your preference.
-
Transfer the Beet Hummus to a beautiful serving bowl and drizzle with additional olive oil. You can garnish it with sesame seeds or fresh herbs for an added touch.
-
Serve your vibrant Beet Hummus with pita chips or fresh veggies to create a colorful and healthy snack that’s sure to be a crowd-pleaser.
Optional: Serve with a sprinkle of paprika on top for an extra kick.
Exact quantities are listed in the recipe card below.
Beet Hummus Variations
Feel free to let your creativity shine as you customize this delightful dip to suit your taste!
-
Spicy Kick: Add a pinch of cayenne or a drizzle of sriracha for a spicy twist that wakes up your taste buds! This fiery addition takes the Beet Hummus on a flavor adventure that’ll leave everyone asking for more.
-
Herbed Delight: Blend in fresh herbs like dill or basil for a fragrant herbal note. The vibrant greens not only enhance the taste but also boost the visual appeal, making your hummus even more inviting.
-
Nutty Flavor: Substitute tahini with almond butter for a unique and nutty flavor profile. This swap provides a different dimension of creaminess, creating a deliciously unexpected beet experience.
-
Citrusy Burst: Incorporate orange zest along with the lemon juice to brighten the flavors. The citrus adds an aromatic touch that complements the earthiness of the beets beautifully.
-
Peanut Butter Bliss: For a playful twist, use peanut butter instead of tahini. This swap delivers a rich and creamy hummus that pairs amazingly with sweet veggies, making snacking even more fun!
-
Smoky Beet Hummus: Mix in a touch of smoked paprika for a rich, smoky flavor. This variation adds depth and personality, transforming the hummus into a standout dip that captivates the palate.
-
Crunchy Texture: Fold in toasted nuts or seeds before serving for an exciting crunch. This last-minute addition not only creates a delightful texture contrast but also brings an appealing visual element to the dish.
-
Sweet Touch: Drizzle in a bit of honey or maple syrup for a sweet touch. This unexpected sweetness balances the earthiness of the beets, making for a dip that tantalizes with every bite.
How to Store and Freeze Beet Hummus
Fridge: Keep your Beet Hummus in an airtight container for up to 5 days. This helps maintain its fresh flavor and vibrant color.
Freezer: For longer storage, freeze your Beet Hummus for up to 3 months. Use a freezer-safe container, leaving some space at the top for expansion.
Thawing: To enjoy your frozen Beet Hummus, transfer it to the fridge to thaw overnight. Stir well before serving, as it may separate slightly.
Reheating: If you prefer warm hummus, gently heat it on low in a saucepan, stirring frequently. Add a splash of olive oil if needed to regain creaminess.
What to Serve with Beet Hummus?
Elevate your snacking experience with delightful pairings that complement the vibrant and earthy flavors of this delectable dip.
-
Pita Chips: The crispy texture perfectly contrasts the creamy hummus, making each bite satisfying and crunchy. They soak up the flavors beautifully, adding fun to your snack time.
-
Fresh Veggies: Carrot sticks, cucumber slices, and bell pepper strips not only add freshness but also a satisfying crunch. They balance the richness of the hummus, creating a refreshing bite.
-
Toast Points: Serve your hummus on toasted baguette slices for a gourmet twist. The warmth of the bread enhances the flavors, turning your snack into a delightful appetizer.
-
Feta Crumbles: Sprinkle crumbled feta on top for a salty, creamy complement. This adds a savory zing that contrasts nicely with the sweetness of the beets.
-
Olive Tapenade: This olive mixture brings a briny depth that pairs perfectly with the sweetness of the beet hummus. It’s an exciting flavor bridge that keeps your taste buds engaged.
-
Sparkling Water: For a refreshing drink, pair your Beet Hummus with sparkling water infused with lemon or mint. This light beverage cleanses the palate and enhances the overall snacking experience.
-
Dark Chocolate: A small square of dark chocolate for dessert can round off your snack beautifully. The rich cocoa flavor contrasts with the sweetness of the beet, offering a luxurious finish.
Embrace these pairings, and your Beet Hummus will shine even brighter at your next gathering!
Make Ahead Options
These Beet Hummus make-ahead tips are a game-changer for busy weeknights! You can roast the beets and prepare the hummus mixture up to 3 days in advance. Simply roast and cool the beets, then combine them with the chickpeas, tahini, lemon juice, garlic, salt, and pepper in your food processor. Store the mixture in an airtight container in the refrigerator. To maintain its vibrant color and flavor, drizzle a little olive oil on top before sealing. When you’re ready to serve, simply blend in the olive oil for a creamy texture and enjoy your Beet Hummus with pita chips or fresh veggies just as delicious as when freshly made!
Chef's Helpful Tips
- When preparing your Beet Hummus, make sure to roast the beets until they are completely tender to ensure a smooth texture.
- A common mistake is not properly draining the chickpeas, which can lead to a watery consistency, so always rinse and drain them well.
- For an extra creamy finish, add the olive oil slowly while the food processor is running, allowing it to emulsify beautifully.
- Taste your hummus at the end and adjust the flavors, as adding more lemon juice or garlic can significantly enhance the overall taste.
Beet Hummus Recipe FAQs
What type of beets should I use for Beet Hummus?
Absolutely! You can use either fresh or pre-cooked beets. If you choose fresh beets, look for ones that are firm, smooth, and have no dark spots. They should feel heavy for their size. If using canned beets, make sure they are organic and without added sugars or preservatives for the best flavor.
How long can I store Beet Hummus in the fridge?
You can store your Beet Hummus in an airtight container in the fridge for up to 5 days. To ensure it stays fresh, try to keep it sealed well and avoid introducing additional moisture each time you dip into it. The color and flavor remain vibrant for a delightful snacking experience!
Can I freeze Beet Hummus?
Very! Freezing your Beet Hummus is easy. Transfer the hummus to a freezer-safe container and leave a little space at the top to accommodate expansion. It can be frozen for up to 3 months. Just remember to label the container with the date so you can enjoy it at its freshest!
How do I thaw frozen Beet Hummus?
To thaw your frozen Beet Hummus, simply transfer it to the fridge and let it thaw overnight. This gentle process helps maintain its texture and flavor. Before serving, give it a good stir to recombine, as it may separate slightly during freezing. If it’s a bit thick, don’t hesitate to add a splash of olive oil for a creamier consistency!
Is Beet Hummus safe for people with allergies?
Certainly! This Beet Hummus is generally safe for most diets; however, take note of the tahini, as it is a sesame product and might trigger allergies in some individuals. For a nut-free alternative, you can substitute tahini with sunflower seed butter, which works beautifully without compromising the flavor!
What should I do if my Beet Hummus is too thick?
If your lovely Beet Hummus turns out too thick, no worries—this is an easy fix! Simply add a small amount of water or olive oil, one tablespoon at a time, while blending until you achieve your desired consistency. Taste as you go, and adjust seasoning if needed. The more the merrier when it comes to flavors!
Beet Hummus
Ingredients
Equipment
Method
- Preheat your oven to 400°F (200°C) if using fresh beets. Wrap each beet in aluminum foil and roast them for about an hour until tender. Let cool before peeling.
- Combine the cooked beets, chickpeas, tahini, lemon juice, garlic, salt, and pepper in a food processor. Pulse until chunky and evenly mixed.
- Drizzle in the olive oil while the processor is running to achieve a smooth consistency.
- Taste and adjust seasoning as needed, adding more lemon juice or garlic for bolder flavor.
- Transfer to a serving bowl and drizzle with additional olive oil; garnish with sesame seeds or fresh herbs if desired.
- Serve with pita chips or fresh veggies for a colorful and healthy snack.