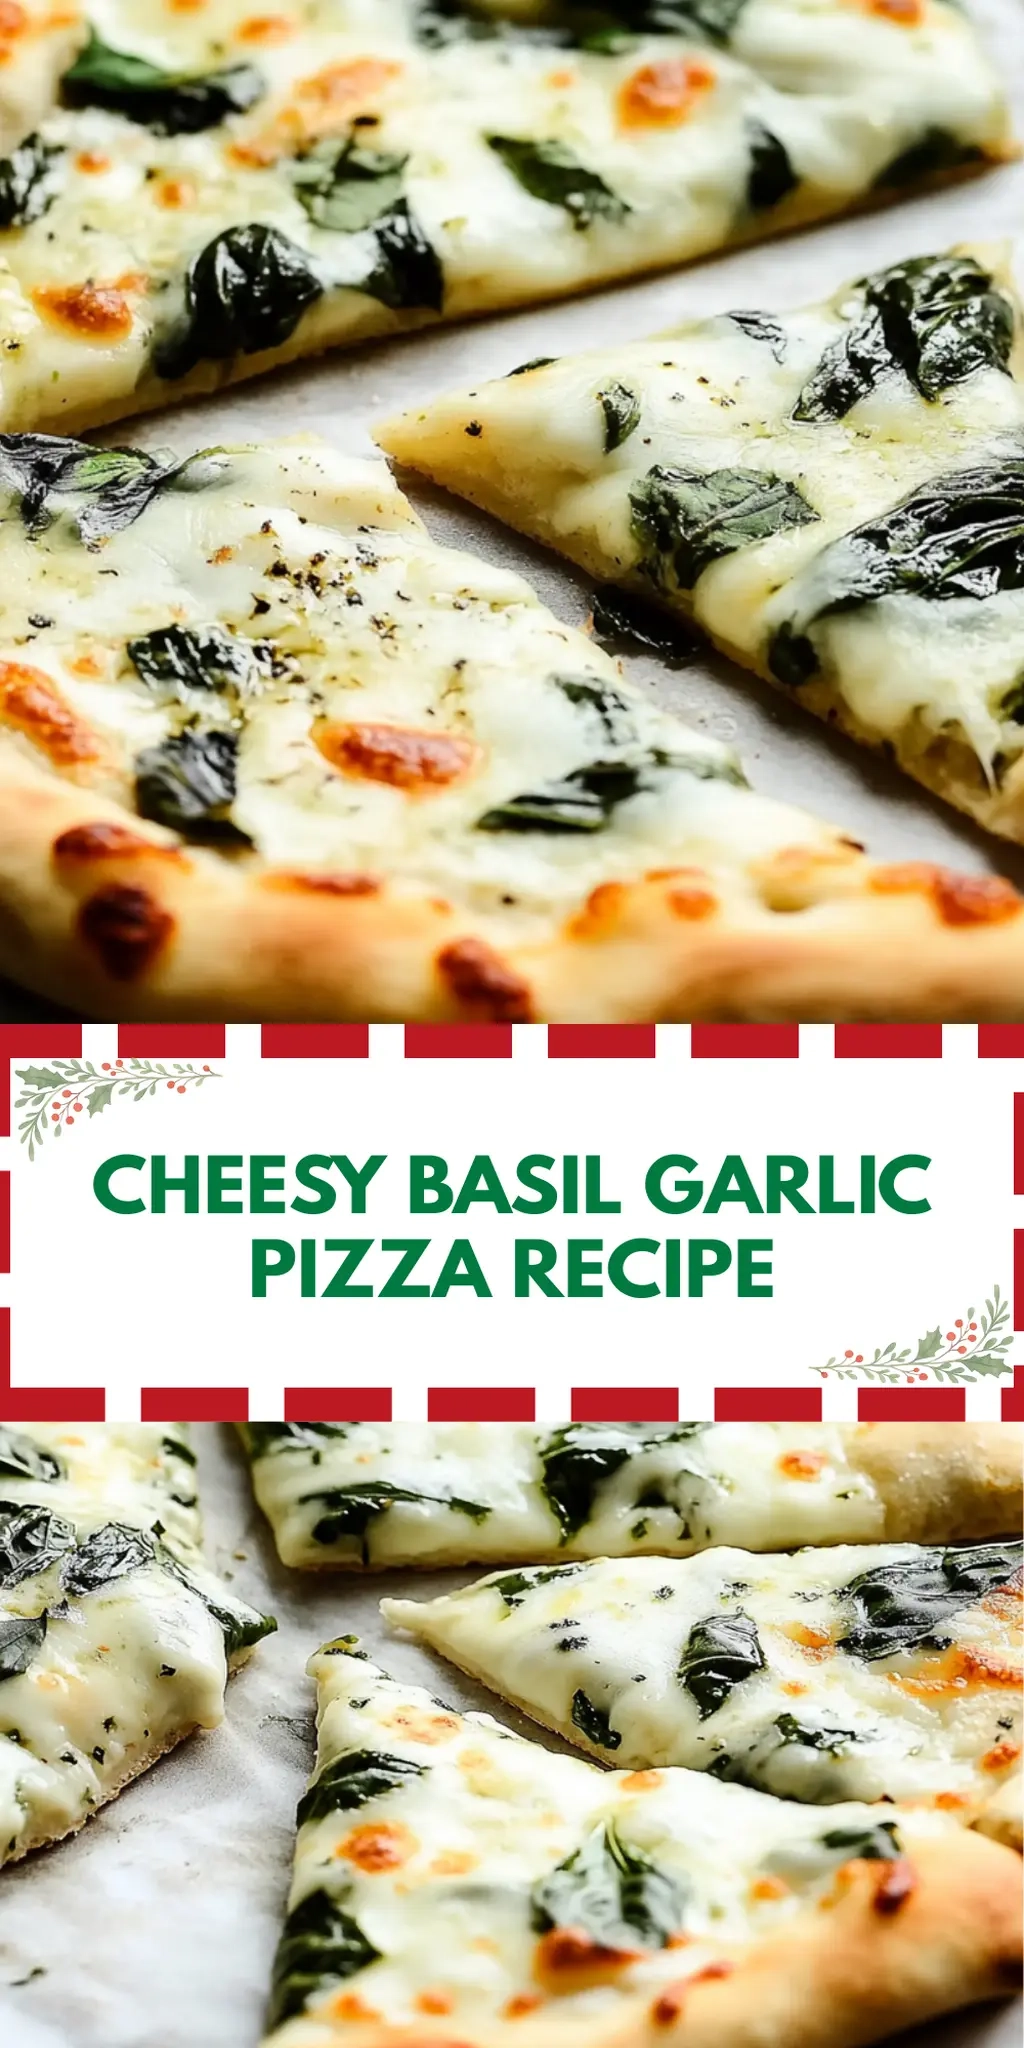
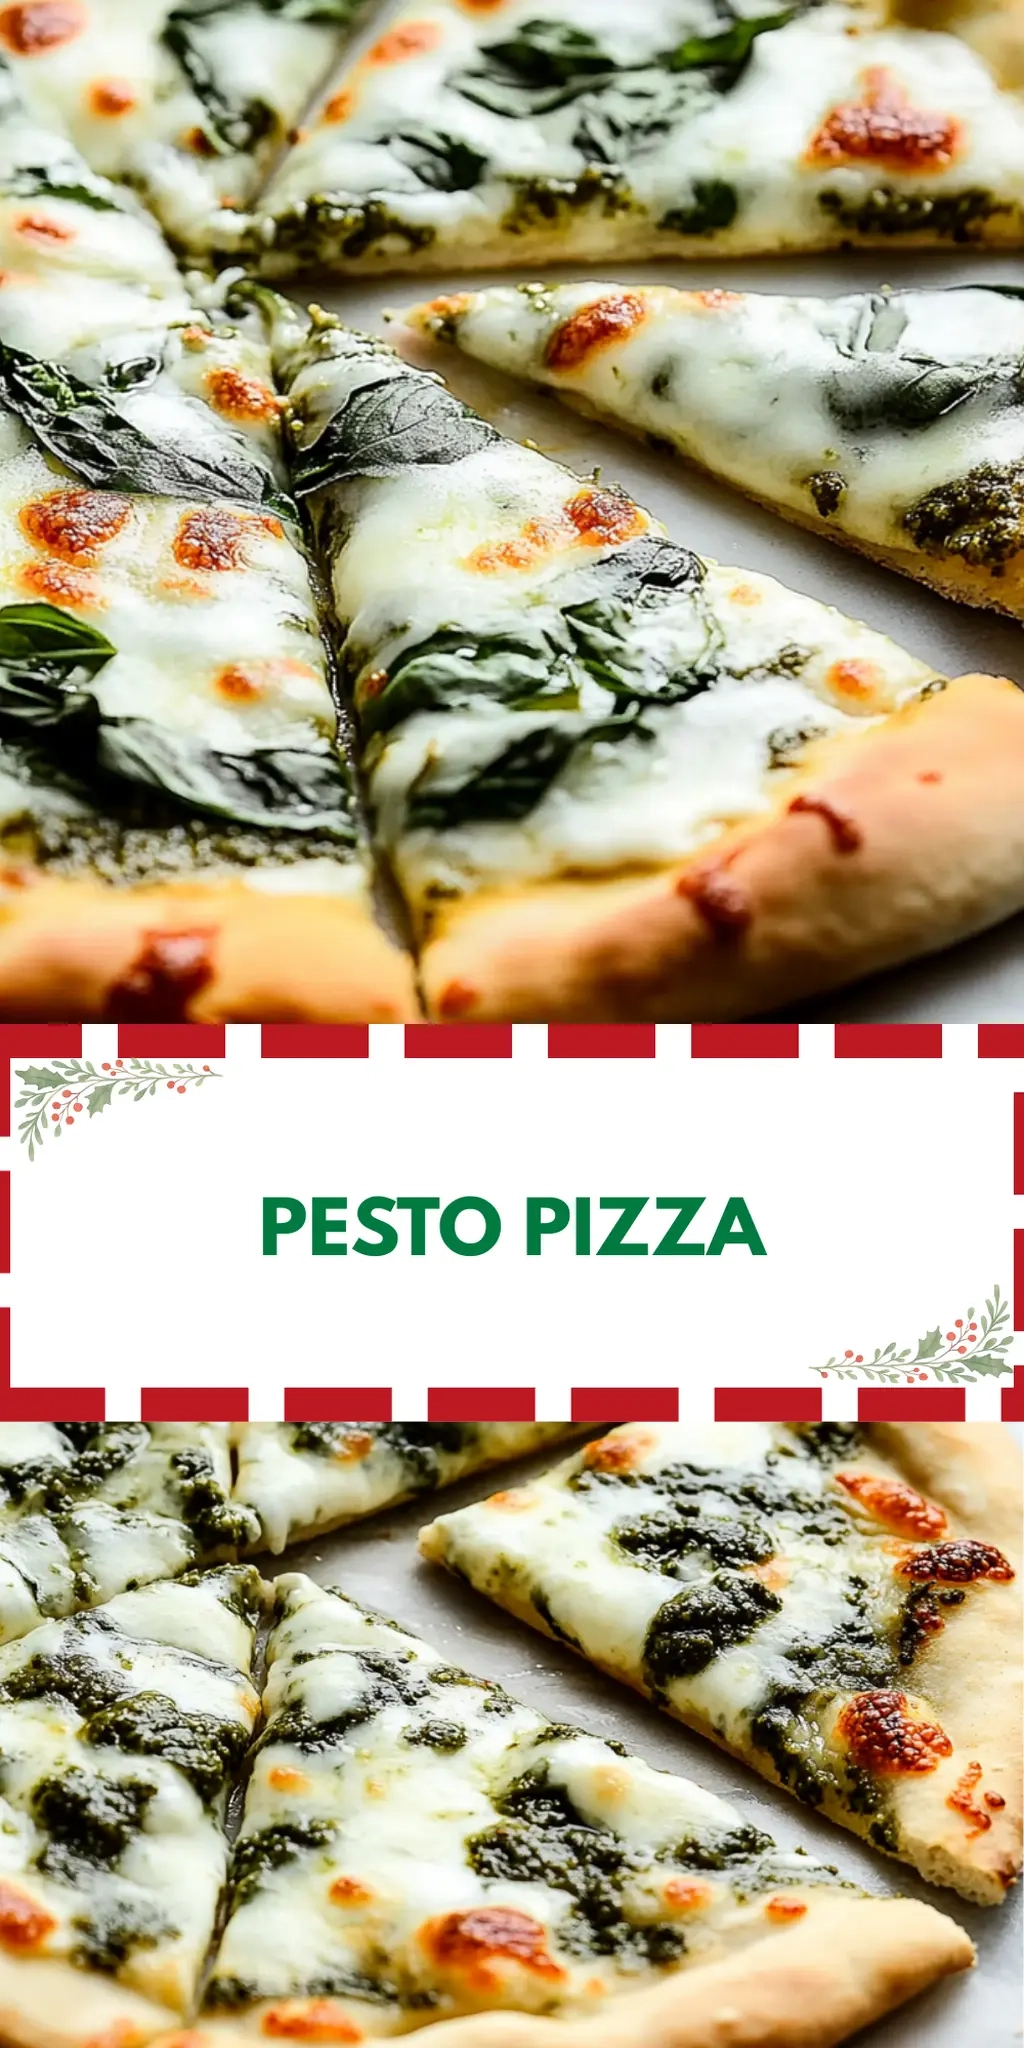
Picture this: A sunny Saturday afternoon, armed with a garden-fresh bunch of basil, I suddenly crave something vibrant and delicious. That’s when this glorious Pesto Pizza came to life in my kitchen. The moment I smell the earthy scent of basil mingling with nutty pine nuts and savory garlic, it’s like a warm hug to my senses.
What I love most about this recipe is its effortless charm. With just a handful of fresh ingredients, you can create a pizza that feels special, yet is surprisingly easy to master. Whether you’ve spent the week drowning in fast food or are simply looking for a delightful way to elevate your homemade pizza game, this dish strikes the perfect balance between comfort and gourmet, making dinner a joyous occasion.
Trust me, with a splash of vibrant green pesto, gooey mozzarella, and the sweet pop of cherry tomatoes, this Pesto Pizza will become your new go-to for any night of the week—and your taste buds will thank you! So, roll up your sleeves and let’s dive into crafting this delectable treat together.
Why You'll Love This Pesto Pizza
- This Pesto Pizza is incredibly easy to make, allowing you to whip up a gourmet meal without spending hours in the kitchen.
- Packed with bold flavors from fresh basil and savory garlic, each bite is a delightful explosion of taste that will satisfy your cravings.
- The versatility of this recipe means you can customize it with your favorite toppings, making it a great choice for everyone at the table.
- Its vibrant colors and beautiful presentation will impress your guests and transform any gathering into a festive occasion.
Pesto Pizza Ingredients
For the Pesto
• Fresh basil leaves – the star of this recipe, providing a fragrant herbal flavor.
• Pine nuts – add a rich, buttery taste; you can substitute with walnuts if needed.
• Parmesan cheese – offers a salty, nutty depth; feel free to use pecorino for a sharper flavor.
• Garlic – brings an aromatic punch; roast it for a milder sweetness.
• Olive oil – helps blend the pesto smoothly; extra virgin enhances the flavor.
• Fresh lemon juice – adds brightness; use zesty lime juice for a twist.
• Salt – enhances all the flavors; adjust according to taste.
• Freshly ground black pepper – provides a touch of heat; crush your own for better aroma.
For the Pizza
• Homemade pizza dough – perfect for an indulgent touch; store-bought is a great time-saver too.
• Store-bought pizza dough – saves time and is easily accessible; opt for whole wheat for a healthier option.
• Olive oil (divided) – ensures a crispy crust; brush on before baking.
• Cornmeal – prevents sticking and adds texture; can also use flour if cornmeal isn’t available.
• Shredded mozzarella cheese – melty goodness that pairs beautifully with pesto; try fresh mozzarella for a gourmet touch.
• Halved cherry tomatoes – provide a sweet burst on every slice; substitute with sun-dried tomatoes for a punch of flavor.
• Chopped fresh basil – for a fragrant garnish; fresh herbs always elevate your dish.
Optional Garnishes
• Extra pesto – a delightful swirl adds extra flavor and vibrancy.
• Shredded parmesan cheese – a sprinkle enhances the savory notes; consider freshly grated for the best taste.
• Red pepper flakes – sprinkle for a spicy kick; adjust to your heat preference and enjoy the burst of flavor in this Pesto Pizza!
How to Make Pesto Pizza
-
Prepare the pesto: Start by adding fresh basil leaves, pine nuts, parmesan cheese, garlic, olive oil, lemon juice, salt, and black pepper to your food processor. Blend until smooth for a vibrant, fragrant pesto.
-
Roll out the dough: Grab your homemade or store-bought pizza dough and roll it out to your desired thickness. Transfer it to a pizza stone or baking sheet for easy handling.
-
Brush with olive oil: Lightly brush the dough with 1 tablespoon of olive oil to enhance its flavor and ensure a crispy base. Then, sprinkle cornmeal evenly over the surface to prevent sticking and create texture.
-
Spread the pesto: Generously spread your freshly made pesto over the rolled-out dough, making sure to cover every inch for that delightful burst of flavor.
-
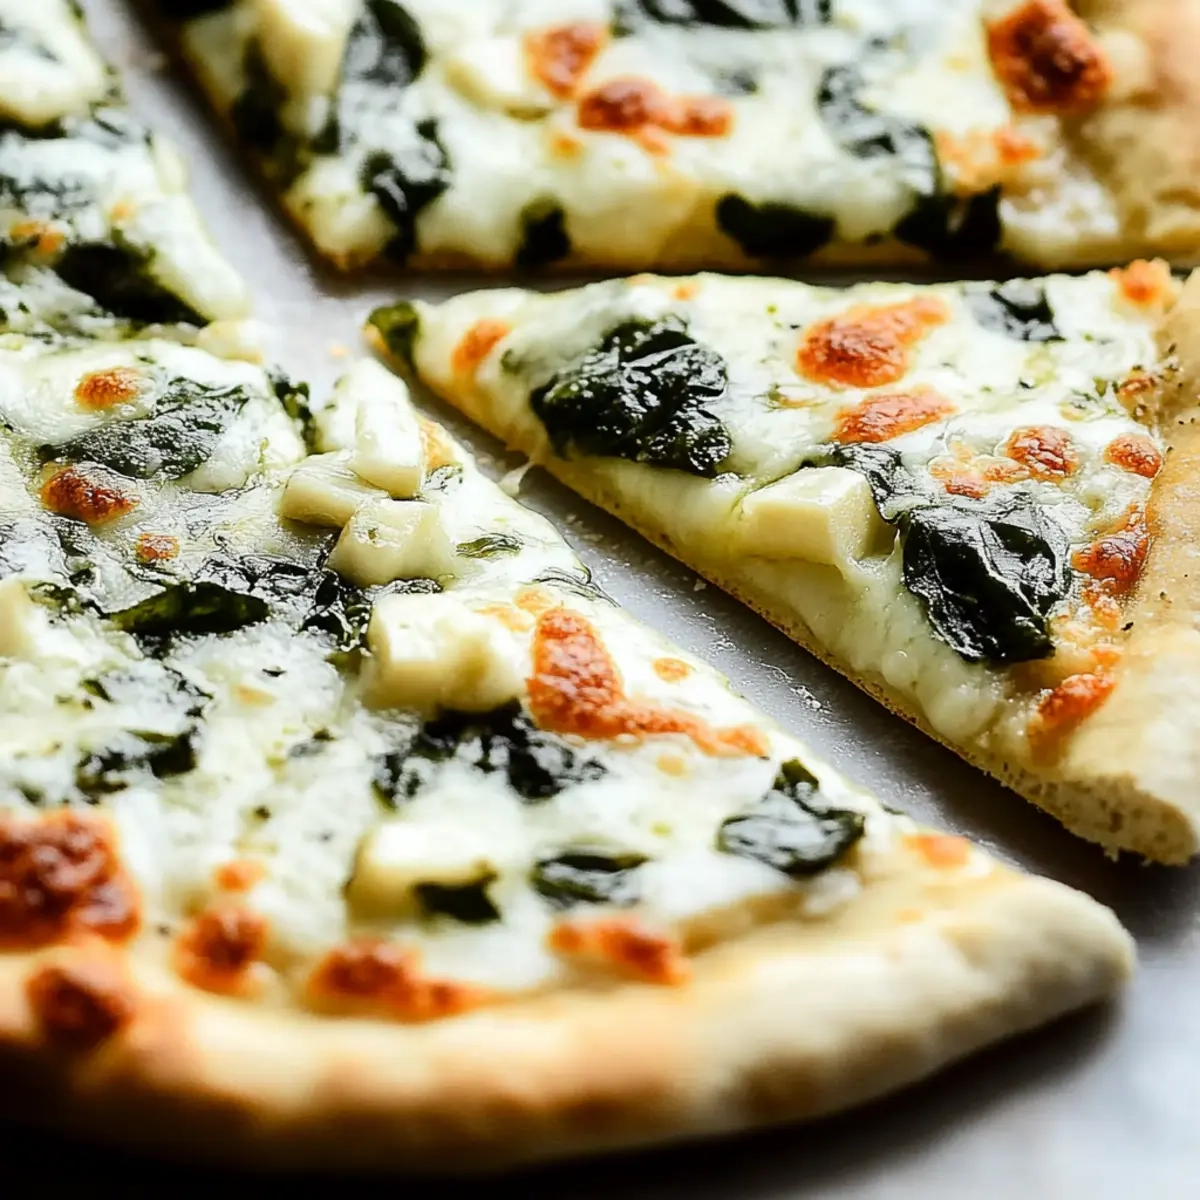
Add toppings: Sprinkle shredded mozzarella cheese over the pesto, followed by halved cherry tomatoes. These additions will create a beautiful and tasty topping that complements the pesto perfectly.
-
Bake the pizza: Place the pizza in your preheated oven at 475°F (245°C) and bake for 12-15 minutes. Keep an eye on it until the crust is golden brown and the cheese is bubbly.
-
Garnish: Once baked, remove the pizza from the oven and sprinkle with chopped fresh basil. Feel free to add more pesto if you’re a fan of extra flavor!
-
Serve and enjoy: Finish with optional garnishes like shredded parmesan cheese and red pepper flakes for that extra touch of flavor. Slice and serve while hot!
Optional: Drizzle with additional olive oil for extra richness.
Exact quantities are listed in the recipe card below.
How to Store and Freeze Pesto Pizza
Fridge: Store any leftover Pesto Pizza in an airtight container for up to 3 days. Reheat slices in the oven at 350°F (175°C) until warmed through for best results.
Freezer: To freeze, wrap individual slices in plastic wrap and then in aluminum foil. They can last up to 2 months in the freezer. Thaw in the fridge overnight before reheating.
Reheating: For a crispy crust, reheat your Pesto Pizza in a preheated oven at 375°F (190°C) for 10-15 minutes. You can also heat it in a skillet on low heat—keep it covered to retain moisture.
Preparation Tips: Make sure to prepare any fresh ingredients and pesto before freezing, as this will keep the flavors vibrant when you enjoy your Pesto Pizza later!
What to Serve with Pesto Pizza?
Imagine savoring a slice of Pesto Pizza, surrounded by vibrant sides and delightful drinks to complete your meal experience.
-
Garlic Bread: The buttery, garlicky flavor of fresh garlic bread complements the herby notes in the pizza and brings an irresistible crunch to every bite.
-
Caesar Salad: Crisp romaine lettuce, creamy dressing, and crunchy croutons add a refreshing contrast to the rich toppings on the pizza.
-
Roasted Vegetables: A medley of seasonal roasted vegetables offers a hearty and colorful side, enhancing the overall earthy and fresh flavors of your meal.
-
Caprese Salad: Layered fresh mozzarella, juicy tomatoes, and fragrant basil mirror the pizza’s ingredients, making for a delightful and harmonious pairing.
-
Pasta Primavera: Lightly sautéed vegetables tossed with olive oil and garlic create a lovely textural balance while echoing the basil scent from the pizza.
-
Wine Spritzer: A crisp, chilled spritzer made with sparkling water and fresh fruit is a refreshing drink choice that perfectly complements the vibrant pesto flavors.
-
Chocolate Mousse: End on a sweet note with a rich, creamy chocolate mousse that balances the savory elements of the dinner, leaving everyone smiling.
These pairings will elevate your dining experience and create a memorable meal that celebrates the delightful charm of homemade food.
Pesto Pizza Variations
Feel free to explore these tempting twists and swaps that will make your Pesto Pizza uniquely yours!
-
Nut-Free: Replace pine nuts with sunflower seeds or omit them entirely for a delicious pesto. This keeps the flavor bright and nut-free!
-
Vegan: Substitute parmesan with nutritional yeast and use vegan cheese for a fully plant-based delight. Your taste buds won’t miss the dairy at all!
-
Gluten-Free: Use a gluten-free pizza crust or try a cauliflower crust for a lighter option. It’s surprising how much fun and flavor can come from a creative base.
-
Spicy: Add sliced jalapeños or a dash of cayenne pepper to your pesto for an extra kick. This spice elevates the pizza while leaving that irresistible freshness intact.
-
Veggie-Loaded: Throw on some spinach, artichokes, or bell peppers before baking for added nutrition. Each slice becomes a vibrant and colorful feast!
-
Herbed Pesto: Experiment with different herbs, like cilantro or parsley, to give the pesto a unique twist. Each herb brings its own personality to the dish, making every bite exciting.
-
Cheesy: Mix in ricotta or goat cheese with the mozzarella for a creamy texture. This indulgent layer adds a delightful richness that transforms every slice.
-
Fruit Topping: Top with thinly sliced figs or peaches before baking for a sweet contrast. The combination of sweet and savory is a heavenly pairing that will wow your guests!
Make Ahead Options
These Pesto Pizza components are fantastic for make ahead meal prep, ensuring a quick and delicious weeknight dinner! You can prepare the pesto up to 3 days in advance and store it in an airtight container in the refrigerator to maintain its vibrant flavor. Additionally, you can roll out the pizza dough and lay it on a baking sheet, storing it in the fridge for up to 24 hours. This helps save time when you’re ready to bake. When it’s time to enjoy your Pesto Pizza, simply spread the prepared pesto, add your toppings, and bake as directed for a delightful meal that tastes just as fresh as when it’s made on the spot!
Chef's Helpful Tips
- When preparing your pesto for the Pesto Pizza, make sure to blend the ingredients long enough to achieve a smooth consistency without any large pieces.
- Consider toasting the pine nuts lightly before adding them to enhance their flavor, as this can greatly elevate your pesto.
- Remember to roll out the pizza dough evenly to ensure that it bakes uniformly, avoiding thick spots that may result in a doughy texture.
- Baking your pizza at the right temperature of 475°F is crucial for achieving a perfectly crisp crust, so preheat your oven well before placing the pizza inside.
Pesto Pizza Recipe FAQs
What is the best way to choose fresh basil leaves for the pesto?
Absolutely! Look for bright green basil leaves without any dark spots or wilting. The leaves should feel firm and have a fragrant scent. If you can, choose basil that was recently harvested for the freshest taste.
How should I store leftover Pesto Pizza?
For optimal freshness, keep your leftover Pesto Pizza in an airtight container in the fridge for up to 3 days. To reheat, I recommend using the oven at 350°F (175°C) to restore that crispness while warming through.
Can I freeze Pesto Pizza?
Yes, you can! To freeze, wrap individual slices tightly in plastic wrap, then cover them with aluminum foil. This keeps them fresh for up to 2 months. When you’re ready to enjoy, simply thaw overnight in the fridge before reheating for a delightful meal anytime!
What can I do if my pizza dough is too thick after rolling?
No worries! If your pizza dough is too thick, just take a rolling pin and gently roll it out again to the desired thickness. Aim for about ¼ inch thick for an ideal crust. If the edges keep pulling back, let the dough rest for 5-10 minutes before rolling it out again to relax the gluten.
Are there any dietary considerations for this Pesto Pizza?
Very! If you or someone you’re serving has a nut allergy, you can substitute pine nuts with sunflower seeds or omit them altogether. Additionally, ensure that the cheese is made from non-animal rennet if you prefer a vegetarian option. Always check labels to accommodate allergies and dietary needs.
What toppings can I add to customize my Pesto Pizza?
The more, the merrier! Feel free to experiment with toppings to make your Pesto Pizza your own. Consider adding sautéed mushrooms, fresh arugula, or olives for a Mediterranean twist. Just be mindful not to overload the pizza as it may affect the baking time and crust texture. Enjoy creating your perfect slice!
Pesto Pizza
Ingredients
Equipment
Method
- Prepare the pesto: Add fresh basil leaves, pine nuts, parmesan cheese, garlic, olive oil, lemon juice, salt, and black pepper to your food processor. Blend until smooth.
- Roll out the dough: Grab your pizza dough and roll it out to your desired thickness. Transfer it to a pizza stone or baking sheet.
- Brush with olive oil: Lightly brush the dough with olive oil and sprinkle cornmeal evenly over the surface.
- Spread the pesto: Generously spread your freshly made pesto over the rolled-out dough.
- Add toppings: Sprinkle shredded mozzarella cheese and halved cherry tomatoes over the pesto.
- Bake the pizza: Place the pizza in your preheated oven at 475°F (245°C) and bake for 12-15 minutes.
- Garnish: Remove the pizza from the oven and sprinkle with chopped fresh basil.
- Serve and enjoy: Finish with optional garnishes like shredded parmesan cheese and red pepper flakes. Slice and serve while hot!