When the first hint of Valentine’s Day draws near, my mind instantly fills with sweet memories of baking with loved ones. This year, I found myself wanting to create a treat that embodies both love and simplicity, resulting in these delightful Valentine Thumbprint Cookies. They’re not just cookies; they’re little bites of joy that bring a smile to your face and warmth to your heart.
Picture this: the buttery aroma wafting through your home as these cookies bake, filling the air with a sweet anticipation. With a soft center and a luscious jam pocket, each bite melts into a comforting reminder of childhood treats. What’s more, this recipe is effortlessly adaptable—choose raspberry for a tangy twist, or indulge in chocolate for the ultimate decadence.
Perfect for sharing with friends or snuggling up on the couch with your partner, these cookies create lasting connections and sweet moments. Let’s roll up our sleeves and bring a bit of love to the kitchen with these delectable Valentine Thumbprint Cookies!
Why You'll Love This Valentine Thumbprint Cookies
- These Valentine Thumbprint Cookies are a breeze to make, requiring just 30 minutes from start to finish, perfect for those busy days.
- The combination of buttery dough and your favorite jam creates a burst of flavor that will tantalize your taste buds.
- Not only are they delicious, but their charming presentation makes them an eye-catching addition to any dessert table.
- This recipe is versatile, allowing you to easily switch up the jam flavors to suit any occasion or preference, making every batch uniquely delightful.
Valentine Thumbprint Cookies Ingredients
• Get ready for a sweet adventure!
For the Dough
- All-purpose flour – essential for that perfect cookie texture.
- Unsalted butter (softened) – provides richness and a tender crumb; remember to let it soften to room temperature!
- Granulated sugar – adds sweetness and helps achieve that lovely golden color during baking.
- Brown sugar (packed) – brings moisture and a deep, caramel-like flavor to the cookies.
- Egg yolk – gives structure and moisture, enriching the cookie with a delightful flavor.
- Baking powder – helps the cookies rise, creating that soft, pillowy center.
- Vanilla extract – infuses a warm, aromatic flavor that takes these cookies to the next level!
For the Filling
- Favorite jam (raspberry, strawberry, or chocolate) – the star of your Valentine Thumbprint Cookies, choose your favorite for a personalized touch!

How to Make Valentine Thumbprint Cookies
-
Preheat your oven to 350°F (175°C) and line two baking sheets with parchment paper. This ensures your cookies bake evenly and don’t stick, making cleanup a breeze!
-
Cream together softened butter, granulated sugar, and brown sugar in a large bowl. Beat until light and fluffy, which takes about 3 minutes; this aerates the mixture for light, delicious cookies.
-
Incorporate the egg yolk and vanilla extract until fully combined. You’ll want to mix until smooth, adding rich flavor to the dough that pairs beautifully with the sweet jam filling.
-
Whisk together flour and baking powder in a separate bowl. Gradually fold this into the butter mixture until just combined; overmixing can lead to tough cookies, so keep it gentle!
-
Scoop tablespoon-sized portions of dough and roll them into balls. Place these on the prepared baking sheets about 2 inches apart, allowing space for them to spread while baking.
-
Create indents in the center of each dough ball using your thumb or a spoon. This is where the jam will go, so make sure the wells are deep enough to hold that luscious filling!
-
Fill each indent with your favorite jam. Don’t be shy—more jam means more flavor!
-
Bake for 12-15 minutes, until the edges are lightly golden. The scent will be heavenly—just wait until you taste them!
Optional: Drizzle with melted chocolate for an extra indulgent touch.
Exact quantities are listed in the recipe card below.
Valentine Thumbprint Cookies Variations
Feel free to get creative with these delightful cookies and make them your own!
-
Nutty Twist: Add 1/4 cup of finely chopped nuts, like almonds or walnuts, to the dough for added crunch and flavor.
-
Citrus Zest: Incorporate 1 tsp of lemon or orange zest into the dough for a fresh, invigorating twist that brightens up every bite!
-
Whole Wheat Swap: Use whole wheat flour instead of all-purpose for a heartier texture and a nutty taste without sacrificing flavor.
-
Vegan Option: Replace unsalted butter with coconut oil and the egg yolk with a flax egg (1 tbsp flaxseed meal + 2.5 tbsp water) for a plant-based treat!
-
Spiced Variation: Sprinkle in 1/4 tsp of cinnamon or nutmeg to the dough for a warm spice that complements your favorite jam beautifully.
-
Chocolate Delight: Dive deep into dessert by folding in 1/2 cup of mini chocolate chips into the dough for a sweet surprise in every bite.
-
Chili Infusion: For a spicy kick, mix in a pinch of cayenne pepper to the dough, enhancing the jam’s sweetness with a delightful heat.
-
Decadent Ganache: After baking, dip the cooled cookies in chocolate ganache for a rich and indulgent finish that takes these treats to luxurious heights.
How to Store and Freeze Valentine Thumbprint Cookies
Room Temperature: Store cooled cookies in an airtight container at room temperature for up to 3 days to maintain freshness.
Fridge: For longer storage, keep the cookies in the fridge in a sealed container for up to a week. This helps preserve their texture and flavor.
Freezer: Freeze baked cookies in a single layer on a baking sheet for about 1 hour, then transfer them to an airtight container or freezer bag. They’ll stay good for up to 3 months.
Reheating: To enjoy freshly baked flavors, reheat cookies in a preheated oven at 300°F (150°C) for 5-8 minutes after thawing.
Make Ahead Options
These Valentine Thumbprint Cookies are ideal for meal prep and can save you precious time on busy days! You can prepare the cookie dough up to 24 hours in advance—just mix all the ingredients, scoop the dough into balls, and refrigerate them in an airtight container to keep them fresh. Additionally, you can fill the indents with jam up to 3 days ahead of time; simply chill the filled cookies and take them out when you’re ready to bake. When you’re ready to enjoy your cookies, bake them straight from the fridge, adding an extra minute or two to the baking time. This way, you’ll have warm, delicious Valentine Thumbprint Cookies that are just as delightful as when freshly made!
What to Serve with Valentine Thumbprint Cookies?
Indulging in these delightful cookies is only the beginning; let’s create a heartwarming meal to complement them!
- Vanilla Ice Cream: The creamy vanilla pairs beautifully with the fruity jam, creating a delightful contrast of textures.
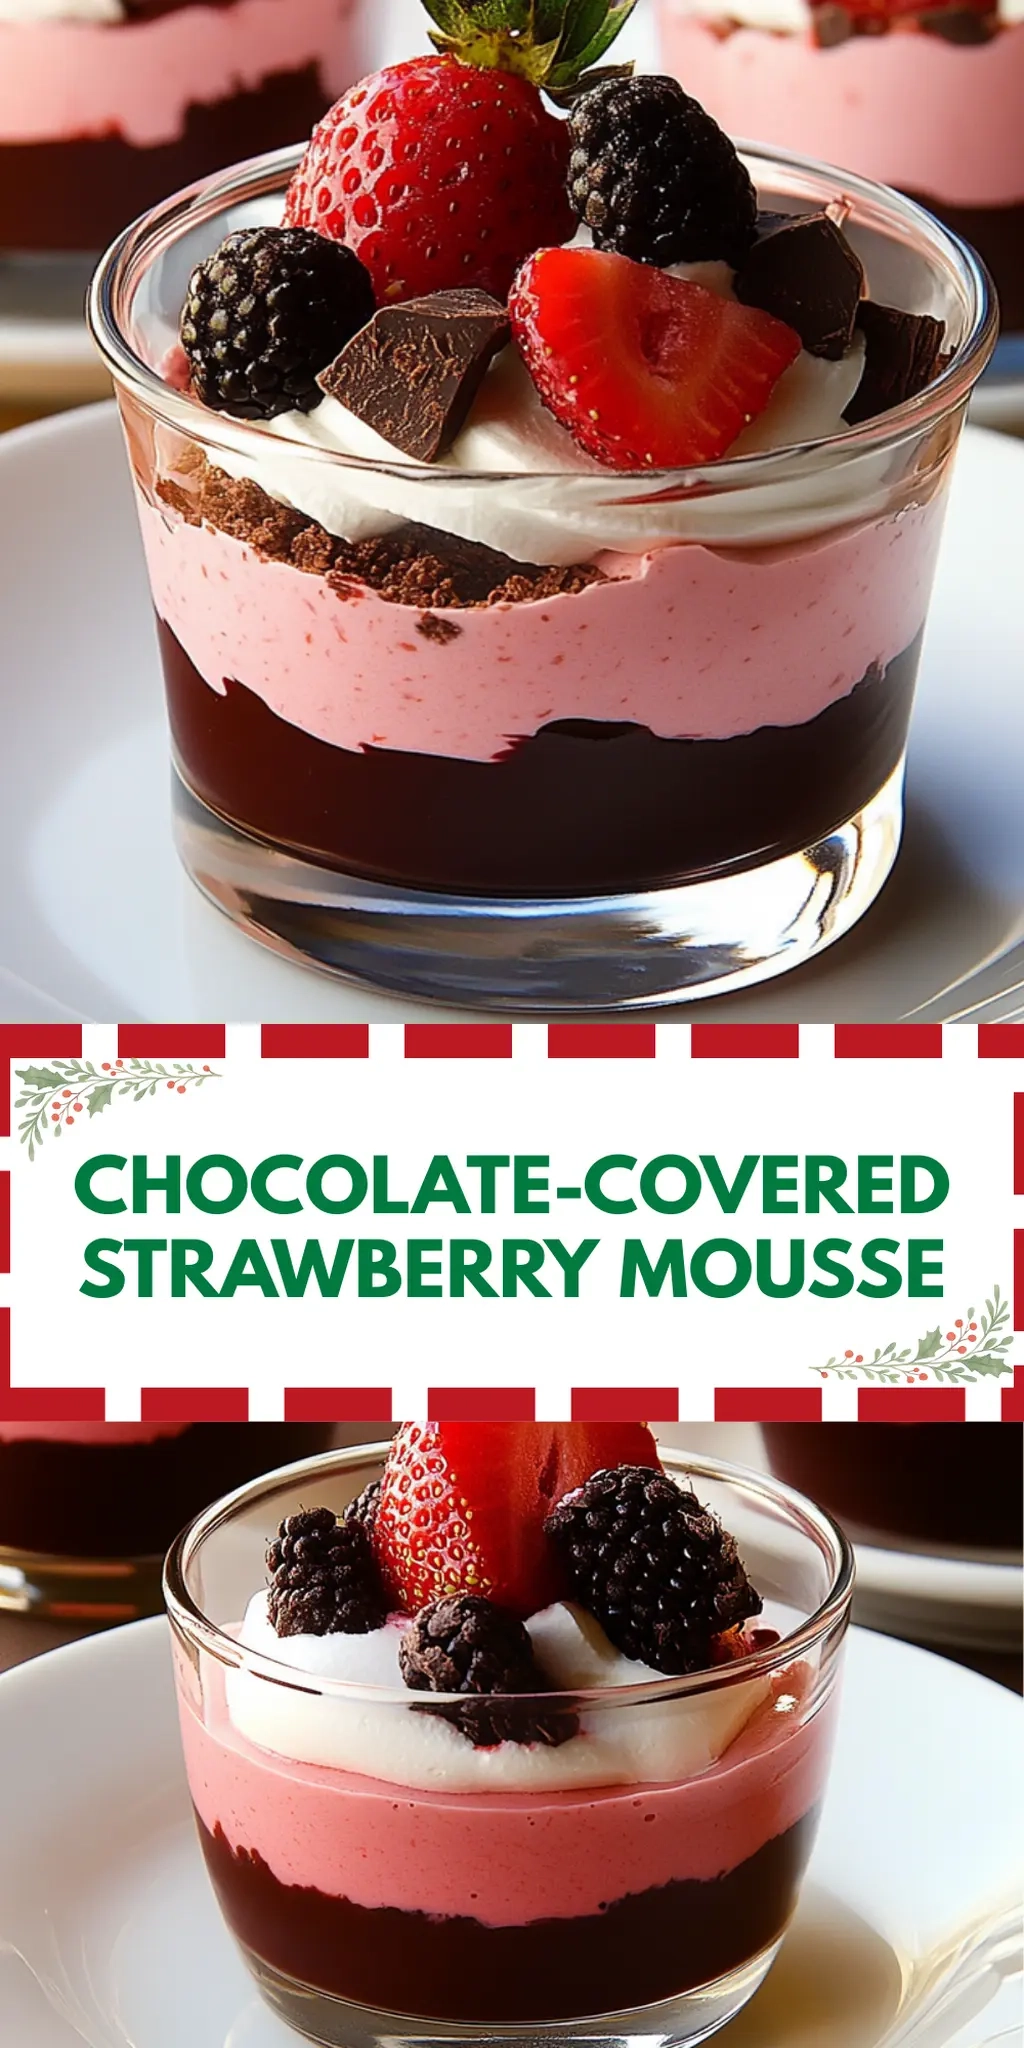
- Chocolate-Covered Strawberries: A sweet, romantic touch that mirrors the cookie’s charm and elevates any dessert experience.
- Fresh Fruit Salad: This refreshing mix adds a burst of color and natural sweetness, balancing the richness of the cookies perfectly.
- Coffee or Espresso: A warm cup enhances the cookie flavors while providing a cozy touch that’s perfect for any gathering.
- Sparkling Wine: Celebrate with a bubbly treat that adds elegance and elevates festive moments shared over cookies.
- Chocolate Drizzle: A simple melted chocolate drizzle over the cookies can turn an already delicious treat into something truly sinful!
- Tea (Earl Grey or Chamomile): For a calming touch, these brews complement the sweet taste of the cookies while inviting an intimate atmosphere.
- Cheese Platter: Soft cheeses like brie or mascarpone with crackers can create a delightful savory contrast, perfect for mixing flavors on the palate.
Chef's Helpful Tips
- When making Valentine Thumbprint Cookies, ensure your butter is properly softened to room temperature for easy creaming and a light texture.
- Avoid overmixing the dough after adding the flour to prevent tough cookies; mix until just combined.
- For the best jam filling, make sure to create a deep enough well in the dough to hold a generous amount without overflowing.
- Keep an eye on the cookies while baking, as ovens can vary; they should be removed when the edges are lightly golden for that perfect chewy center.
Valentine Thumbprint Cookies Recipe FAQs
How do I know if my butter is softened properly?
Absolutely! To achieve the perfect softened butter, take it out of the fridge and let it sit at room temperature for about 30 minutes to an hour. It should be slightly cool to the touch but easily pressed with a finger, allowing it to cream beautifully with the sugars for those dreamy Thumbprint Cookies.
How should I store my Valentine Thumbprint Cookies?
To keep your delightful cookies fresh, store them in an airtight container at room temperature for up to 3 days. If you want them to last longer, refrigeration is your friend! Just seal them in a container, and they’ll be good for up to a week, keeping them flavorful and soft.
Can I freeze Valentine Thumbprint Cookies? How?
Definitely! Freezing is a fabulous option for preserving your cookies. Start by placing the baked cookies in a single layer on a baking sheet for about 1 hour until they’re frozen solid. Then, transfer them to an airtight container or freezer bag. They’ll be delicious for up to 3 months. When you’re ready to enjoy them, simply thaw at room temperature, and for a fresh-out-of-the-oven taste, reheat in a preheated oven at 300°F (150°C) for 5-8 minutes.
What should I do if my cookies spread too much during baking?
The more the merrier! If your cookies spread excessively, it’s often due to softened butter being too warm or not measuring flour accurately. Ensure your butter is soft, not melted, and when measuring flour, spoon it into the cup and level it off rather than scooping directly from the container. For this recipe, keeping an eye on baking time is crucial—if they look too flat, you can also chill the dough for about 30 minutes before baking to help them hold their shape!
Can I use alternative fillings if I have allergies?
Very much so! If you or anyone you’re baking for has allergies, feel free to swap out the jam filling for something else. Nut butter, like almond or sunflower seed spread, can make a wonderful replacement. For a dairy-free option, use vegan butter and check your jam for any allergens. The beauty of Valentine Thumbprint Cookies is their adaptability!
How can I make these cookies more festive for Valentine’s Day?
For an extra touch of love, you can decorate your Valentine Thumbprint Cookies after they cool! Melt some white or dark chocolate and drizzle it over the cookies for elegance. Alternatively, sprinkles or edible glitter can add a festive vibe; just be creative!

Valentine Thumbprint Cookies
Ingredients
Equipment
Method
- Preheat your oven to 350°F (175°C) and line two baking sheets with parchment paper.
- Cream together softened butter, granulated sugar, and brown sugar in a large bowl until light and fluffy.
- Incorporate the egg yolk and vanilla extract until fully combined.
- Whisk together flour and baking powder in a separate bowl and gradually fold this into the butter mixture.
- Scoop tablespoon-sized portions of dough and roll them into balls, placing them on the prepared baking sheets.
- Create indents in the center of each dough ball using your thumb or a spoon.
- Fill each indent with your favorite jam.
- Bake for 12-15 minutes, until the edges are lightly golden.