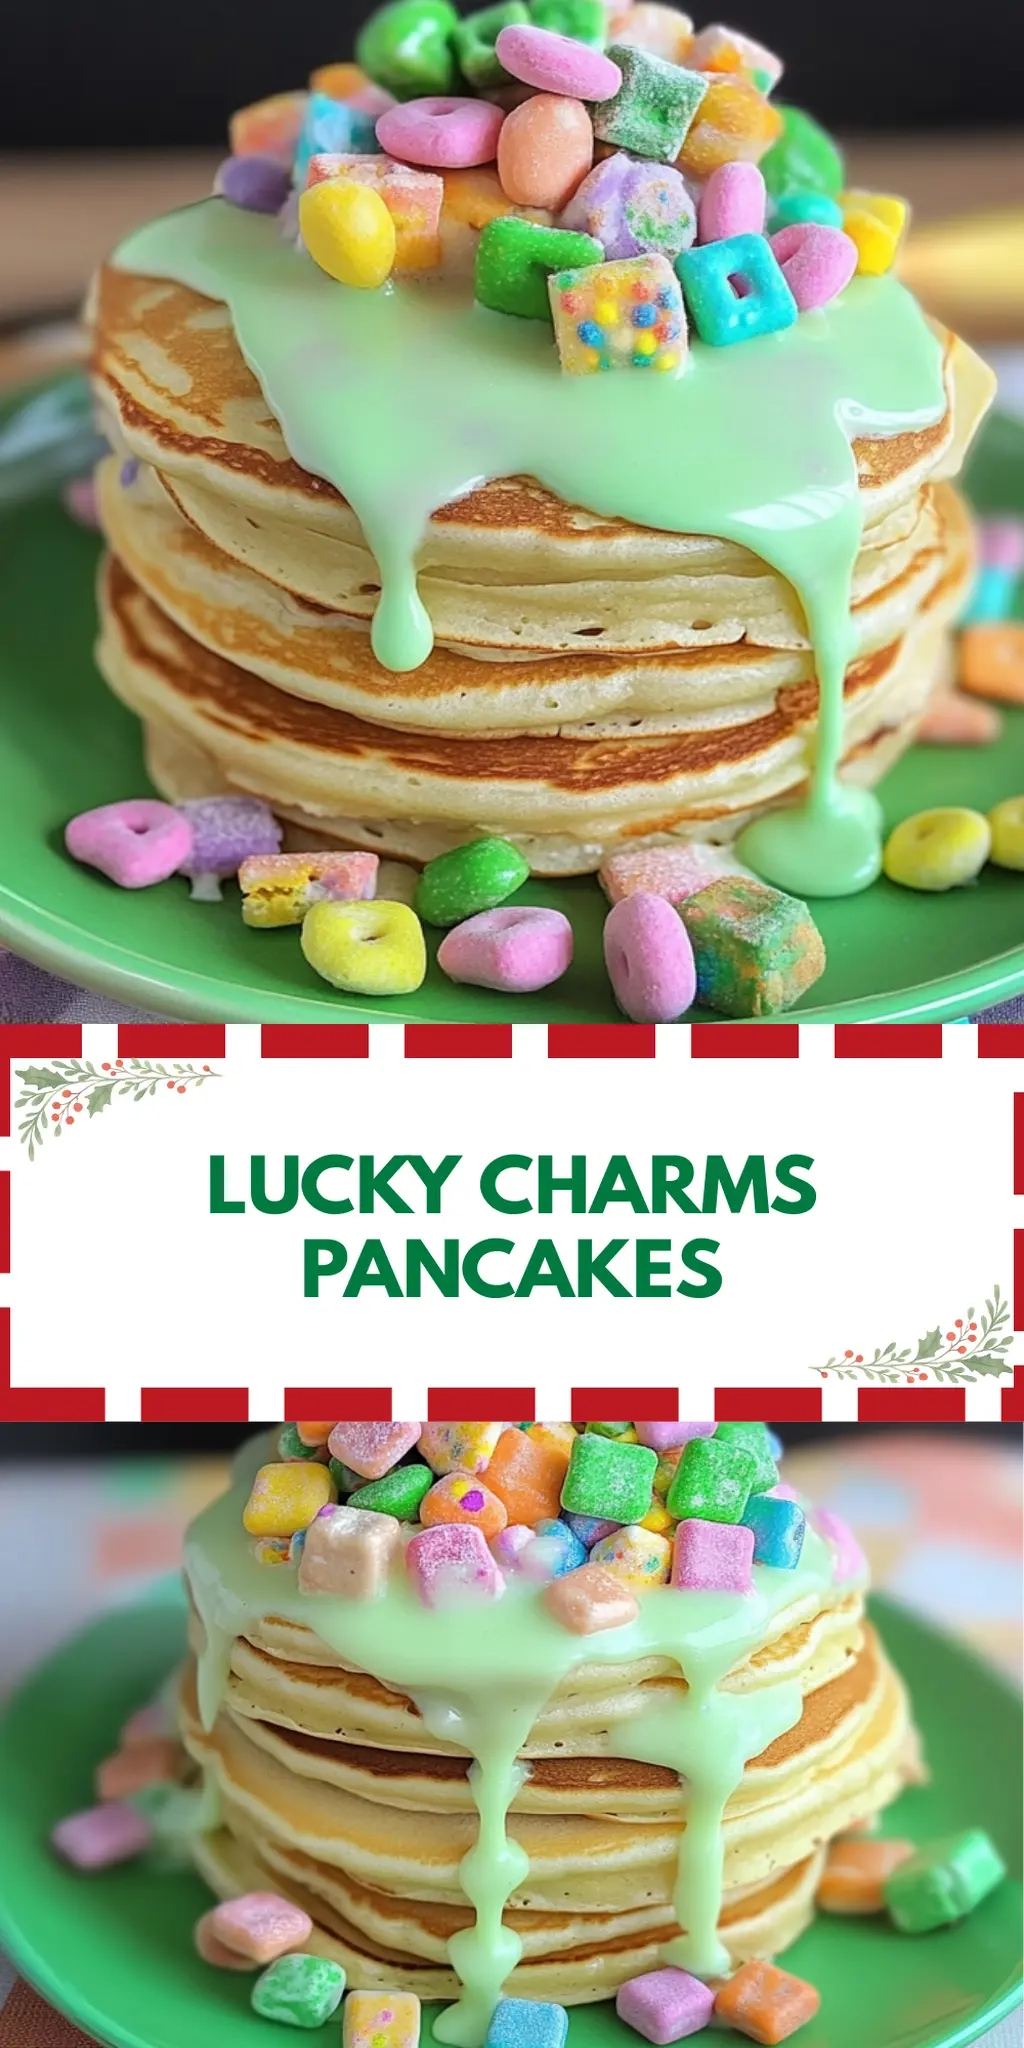
There’s something enchanting about the crunch of colorful cereal mingling with a fluffy pancake, and that’s precisely why I’m excited to share my Lucky Charms Pancakes with you! The moment you add that vibrant sprinkle of marshmallow goodness to a warm, buttery pancake, it transports you straight to Saturday mornings of joy and nostalgia.
After a week filled with work and the same old breakfast routine, this delightful twist on a classic comfort food is just what you need. It’s a recipe that’s perfect for impressing family or indulging your inner child, and the best part? It only takes 25 minutes from start to finish! Whether you’re looking to make a special brunch or wanting to spice up your weekday mornings, these pancakes offer a playful yet delicious escape from mundane meals. So grab your mixing bowls and let’s dive into this deliciously dreamy breakfast treat!
Why You'll Love This Lucky Charms Pancakes
- These Lucky Charms Pancakes are incredibly easy to make, taking just 25 minutes from start to finish, which is perfect for busy mornings or leisurely brunches.
- The delightful combination of fluffy pancakes and crunchy, colorful cereal creates a flavor explosion that both kids and adults will adore.
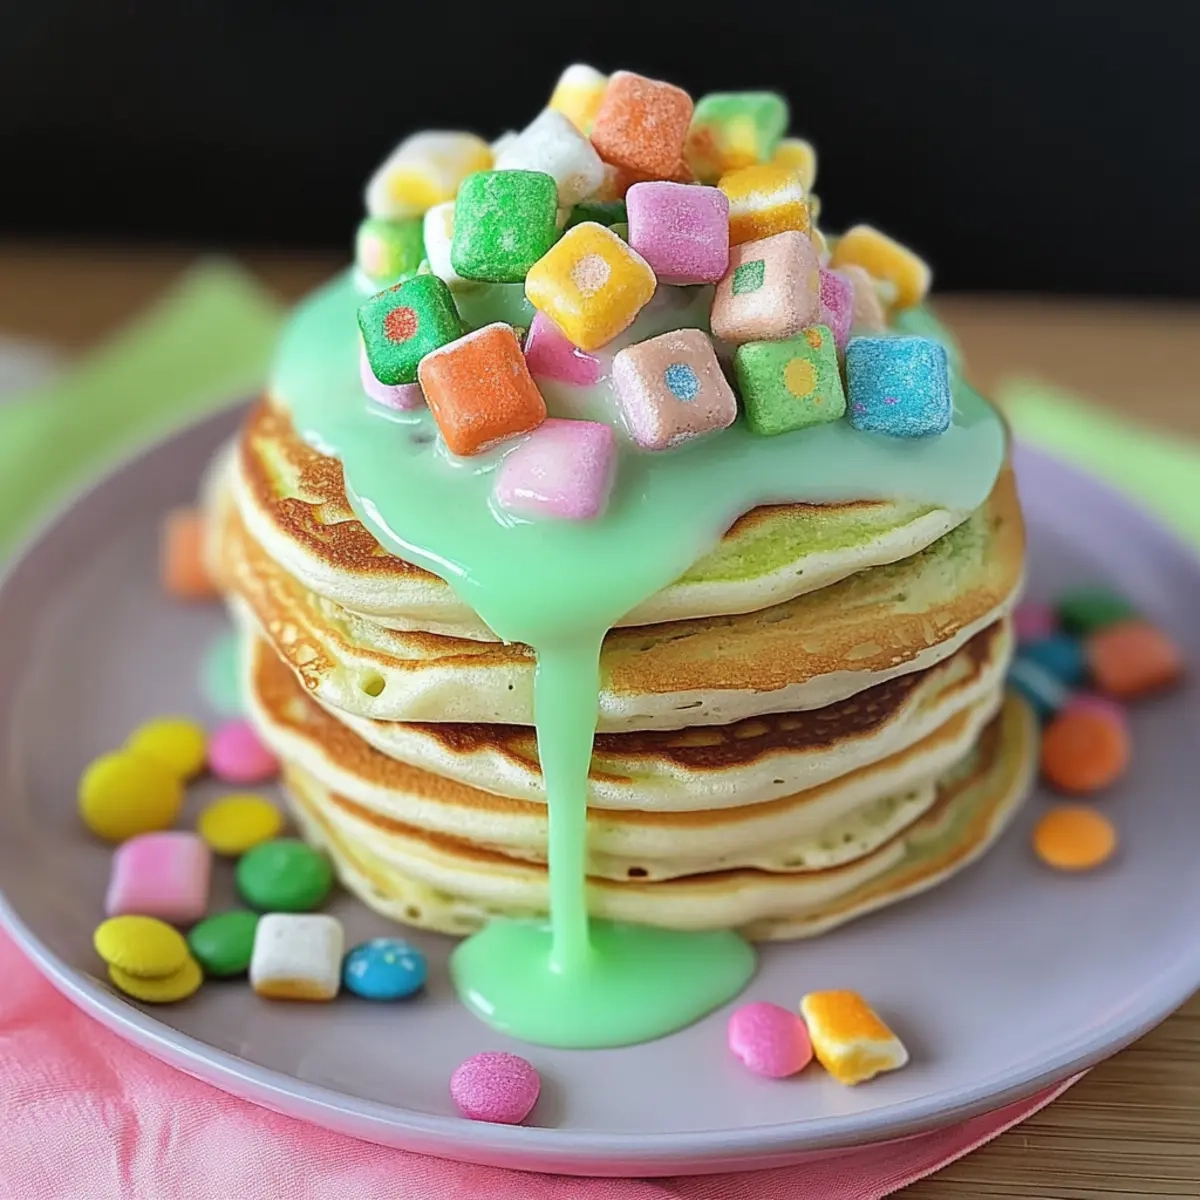
- Their vibrant visual appeal makes any breakfast table feel festive, ensuring that your meal is not just delicious but also Instagram-worthy.
- Plus, they are versatile enough to be served with additional toppings like fruit, whipped cream, or syrup, making them a crowd-pleaser for any occasion.
Lucky Charms Pancakes Ingredients
Get ready for a breakfast treat that feels like a sprinkle of magic in every bite!
For the Pancake Batter
- All-purpose flour – the base for fluffy pancakes that rise beautifully.
- Baking powder – ensures your pancakes are light and airy.
- Granulated sugar – adds just the right sweetness to balance the flavors.
- Salt – enhances all the delightful tastes in your pancakes.
- Milk – use non-dairy alternative if desired for a lactose-free option.
- Large egg – binds the ingredients together, giving structure to your pancakes.
- Melted butter – infuses richness and a buttery flavor into every pancake.
- Lucky Charms cereal – adds a fun, crunchy texture and sweet taste that makes these pancakes truly special.
Optional Toppings
- Whipped cream – for an extra indulgent finish that everyone loves.
- Fresh fruit – berries or bananas add a fresh, fruity balance to the sweetness.
- Maple syrup – drizzle for a classic touch that enhances the magical flavor of Lucky Charms.
With these Lucky Charms Pancakes ingredients, your breakfast will not only be a visual delight but a nostalgic treat that everyone will enjoy!
How to Make Lucky Charms Pancakes
-
Gather Ingredients: Begin by placing all the ingredients on your counter. This will make the cooking process a breeze and keep you organized!
-
Mix Dry Ingredients: In a large mixing bowl, whisk together the flour, baking powder, sugar, and salt. Mix until fully combined, creating a fluffy pancake base to celebrate.
-
Combine Wet Ingredients: In a separate bowl, beat together the milk, egg, and melted butter until smooth and creamy. This mixture will bring moisture to your pancakes.
-
Combine Mixtures: Pour the wet mixture into the dry ingredients and stir gently. Aim for just combined without over-mixing; some lumps are perfectly fine for a light pancake texture.
-
Fold in Cereal: Carefully fold in half of the Lucky Charms cereal. This addition will ensure every pancake has that magical crunch in each bite!
-
Heat Skillet: Preheat a non-stick skillet over medium heat, lightly greased with butter. Pour about half a cup of batter onto the skillet and sprinkle some additional Lucky Charms on top to make them extra special.
-
Cook Pancakes: Cook until bubbles form around the edges, then flip and cook until golden brown, about 2-3 minutes on each side. Your pancakes should be fluffy and perfectly browned.
Optional: Top with whipped cream and extra Lucky Charms for a delightful finish!
Exact quantities are listed in the recipe card below.
How to Store and Freeze Lucky Charms Pancakes
Room Temperature: Store leftover pancakes at room temperature for up to 2 hours if you plan to enjoy them soon. Keep them covered with a clean cloth or plate to prevent drying out.
Fridge: Keep your Lucky Charms Pancakes fresh in the refrigerator for up to 3 days. Place them in an airtight container to retain moisture and flavor, ensuring they’re ready for a quick breakfast.
Freezer: For longer storage, freeze the pancakes for up to 2 months. Place sheets of parchment paper between layers in an airtight freezer bag to prevent sticking. Just thaw and reheat for an easy treat!
Reheating: When ready to enjoy, reheat in a toaster or microwave. For a crispy texture, warm them briefly in a skillet over medium heat.
What to Serve with Lucky Charms Pancakes?
There’s nothing quite like a colorful breakfast that evokes smiles and bursts of joy, enhancing any meal occasion.
-
Fresh Berries: Their juicy sweetness provides a refreshing contrast to the sugary pancakes, brightening each bite and adding vibrant color.
-
Maple Syrup: A drizzle of this classic addition amplifies the pancake’s sweetness while adding a comforting, warm flavor that everyone loves.
-
Whipped Cream: Light and fluffy, whipped cream brings a luscious, creamy touch that enhances the already delightful experience of breakfast.
-
Chocolate Chips: For the ultimate indulgence, sprinkle some chocolate chips into your batter. They melt into gooey pockets of sweetness that kids will adore!
-
Sautéed Bananas: Caramelized bananas bring a warm, rich flavor that pairs beautifully with the tender pancakes’ texture and sweetness.
-
Breakfast Sausages: The savory bite of sausage provides a perfect salty complement, creating a satisfying balance to the sweet flavors of the pancakes.
-
Orange Juice: A glass of freshly squeezed orange juice adds a citrusy brightness that awakens the taste buds and complements the sweetness nicely.
-
Iced Coffee: For a refreshing beverage option, iced coffee brings a bold, roasted flavor that balances well with the sugary notes in the pancakes.
-
Chocolate Milk: For a fun twist, serve with chocolate milk to keep that playful spirit alive. It pairs wonderfully with the sweetness of Lucky Charms!
These delightful pairings will elevate your pancake experience, turning breakfast into a joyful celebration!
Make Ahead Options
These Lucky Charms Pancakes are perfect for meal prep enthusiasts! You can mix the dry ingredients (flour, baking powder, sugar, and salt) up to 3 days in advance and store them in an airtight container to save time. Furthermore, you can also whisk together the wet ingredients (milk, egg, and melted butter) and refrigerate them for up to 24 hours. When you’re ready to serve, simply combine both mixtures, fold in your Lucky Charms cereal, and cook your pancakes fresh on a skillet. This approach keeps the pancakes just as delicious and fluffy while saving precious cooking time, making busy mornings a breeze!
Lucky Charms Pancakes Variations
Feel free to bring your own flair to these whimsical pancakes with creative twists that add warmth and joy to your breakfast!
-
Whole Wheat: Substitute half of the all-purpose flour with whole wheat flour for added fiber and a nutty flavor. Your pancakes will have a heartier texture while remaining delightful.
-
Vegan: Use a flax egg instead of a large egg and a non-dairy milk to make these pancakes completely plant-based. The magic is still there, and you’ll hardly miss the dairy!
-
Chocolate Chip: Fold in a handful of chocolate chips for an extra indulgent treat. The sweet, melty bits will take every bite to new heights, making them even more irresistible!
-
Banana: Mash a ripe banana into your wet ingredients for added natural sweetness and flavor. This twist not only enhances the taste but also brings a moist texture to your pancakes, creating a comforting morning dish.
-
Nutty Crunch: Add chopped nuts like walnuts or pecans for a satisfying crunch. The earthy flavor pairs wonderfully with the sweetness of the cereal, adding richness to your breakfast experience.
-
Cinnamon Swirl: Sprinkle cinnamon into the dry ingredients for a warm, spiced twist. This simple addition creates a lovely aroma that makes your kitchen smell like a cozy café on a sunny morning.
-
Spicy Kick: Add a pinch of cayenne pepper or chili powder for a unique flavor boost. The slight heat contrasts beautifully with the sweetness, creating a multidimensional pancake experience.
-
Zesty Lemon: Incorporate lemon zest into the batter for a fresh, citrusy brightness. It’ll uplift your pancakes, giving them a lovely balance of sweetness and tartness that’s simply refreshing!
Feel empowered to mix and match these variations, crafting a breakfast that’s uniquely yours and bursting with delightful flavors!
Chef's Helpful Tips
- For the perfect Lucky Charms Pancakes, be sure to mix the wet and dry ingredients until just combined to avoid tough pancakes.
- A common mistake is overmixing the batter; remember, lumps are okay and will lead to fluffier pancakes.
- When folding in the Lucky Charms, do so gently to keep the cereal intact and crunchy.
- For optimal cooking, maintain a medium heat and cook each pancake for 2-3 minutes on each side until golden brown, as this ensures they are cooked through without burning.
Lucky Charms Pancakes Recipe FAQs
How do I choose the best Lucky Charms cereal for pancakes?
Absolutely! When picking Lucky Charms cereal, look for a box that’s fresh—check the expiration date. If the cereal’s marshmallows are vibrant and not faded or clumping together, it’s peak time to make your pancakes.
How should I store leftover Lucky Charms Pancakes?
Very! To keep your pancakes fresh, store them in the fridge in an airtight container for up to 3 days. If you’re not planning to eat them right away, lay them flat, separated by parchment paper, and place them in the freezer where they can last for up to 2 months. Before serving, thaw in the refrigerator overnight and then reheat, either in a microwave or skillet for optimal texture.
Can I freeze Lucky Charms Pancakes? If so, how?
Certainly! To freeze your Lucky Charms Pancakes, first allow them to cool completely. Then, layer them with parchment paper in an airtight freezer bag or container, sealing it well to prevent freezer burn. These can be kept for up to 2 months. When you’re ready to enjoy, just reheat them in your toaster or a skillet over medium heat for a warm and fluffy breakfast treat!
What should I do if my pancakes are too dry?
If your pancakes turn out dry, it might be due to overmixing the batter or cooking them for too long. Ensure you mix the wet and dry ingredients just until combined, leaving some lumps, which helps keep them fluffy. When cooking, keep an eye out to flip them once you see bubbles forming around the edges—don’t wait too long!
Are Lucky Charms Pancakes safe for my dog or other pets?
While it might be fun to share, I recommend not giving your pets Lucky Charms Pancakes. While the ingredients themselves aren’t harmful, the sugar and cereal additives may upset their stomachs. It’s always best to stick to dog-friendly snacks designed specifically for them.
Can I make Lucky Charms Pancakes gluten-free?
Definitely! To transform these Lucky Charms Pancakes into a gluten-free option, substitute the all-purpose flour with a gluten-free flour blend. Many blends are crafted to mimic the texture of regular flour, so just follow the package instructions for the best outcome. Enjoy the same delightful taste without gluten!
Lucky Charms Pancakes
Ingredients
Equipment
Method
- Gather Ingredients: Begin by placing all the ingredients on your counter.
- Mix Dry Ingredients: In a large mixing bowl, whisk together the flour, baking powder, sugar, and salt.
- Combine Wet Ingredients: In a separate bowl, beat together the milk, egg, and melted butter until smooth.
- Combine Mixtures: Pour the wet mixture into the dry ingredients and stir gently.
- Fold in Cereal: Carefully fold in half of the Lucky Charms cereal.
- Heat Skillet: Preheat a non-stick skillet over medium heat, lightly greased with butter.
- Cook Pancakes: Cook until bubbles form around the edges, then flip and cook until golden brown.