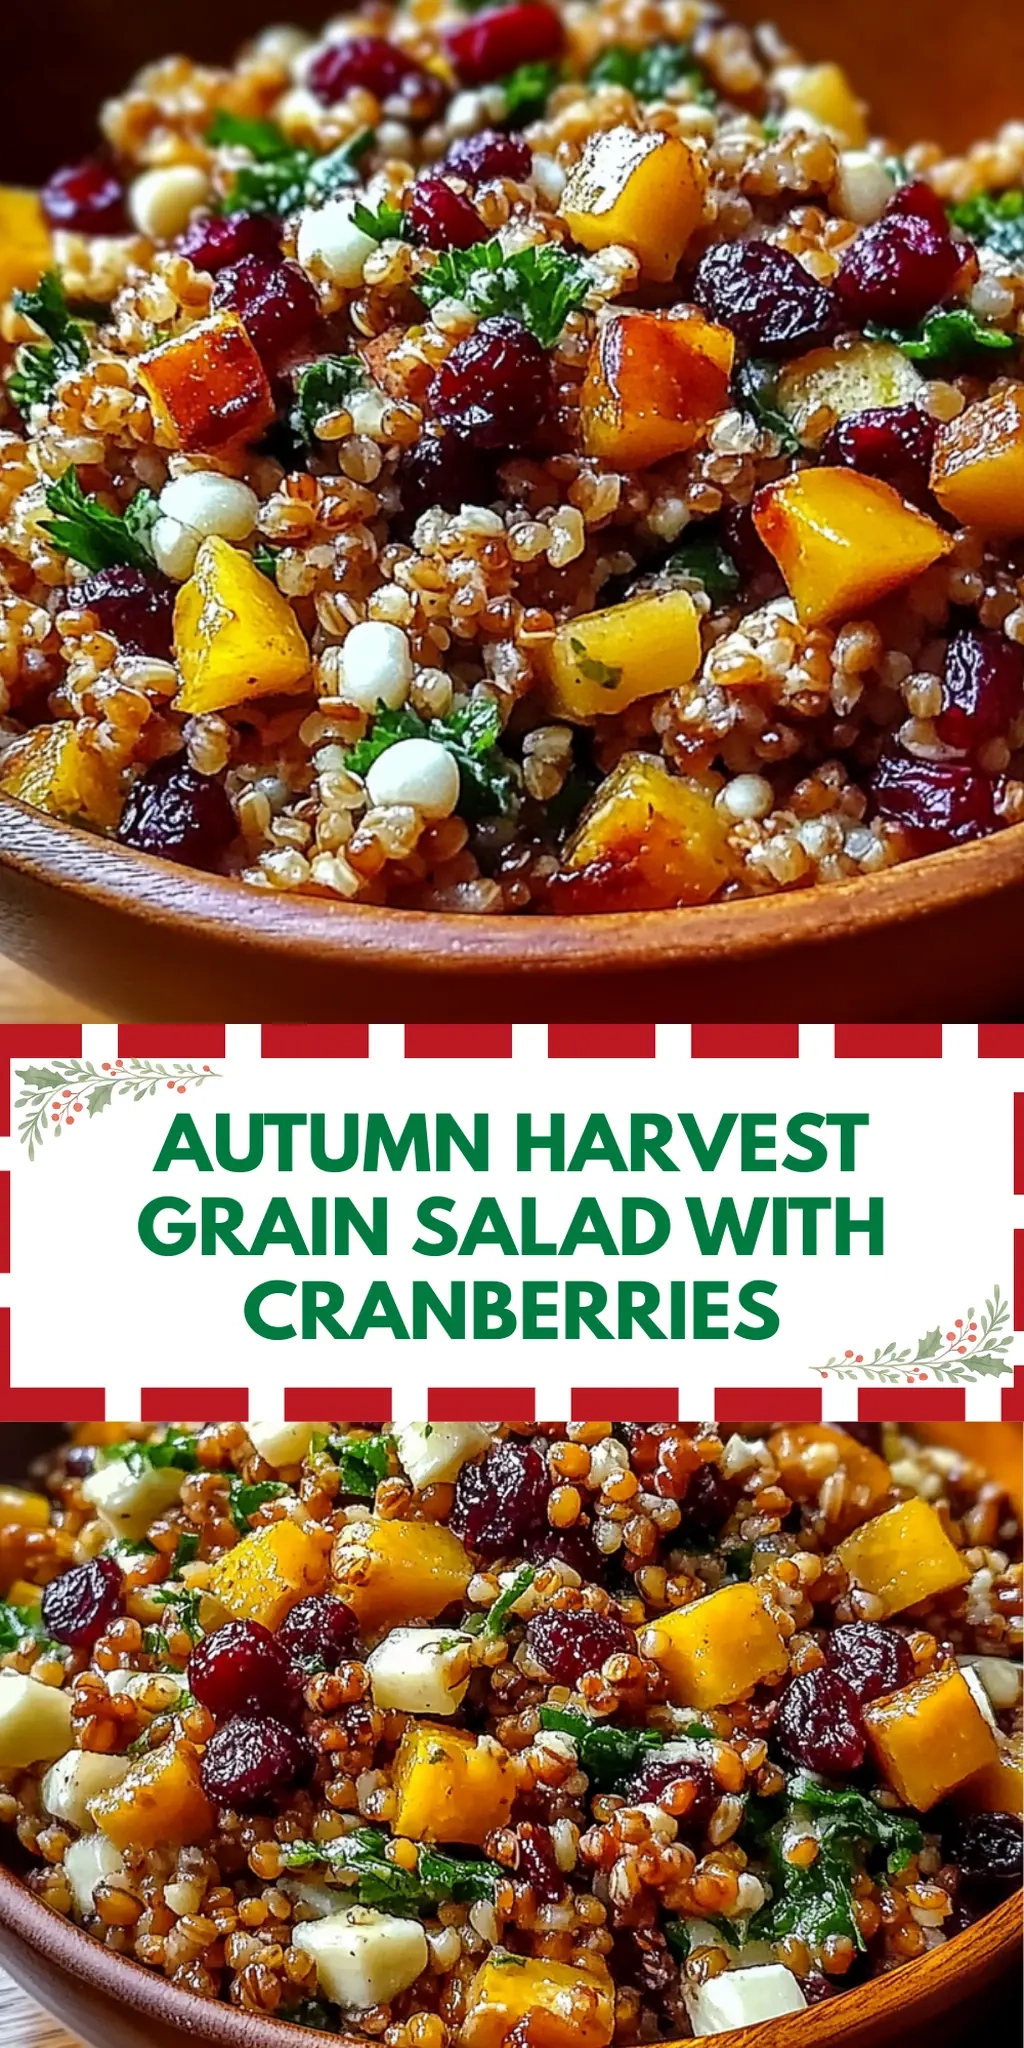
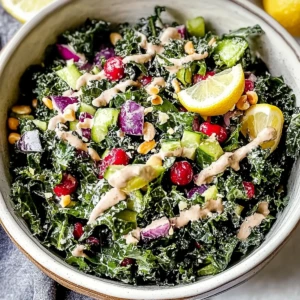
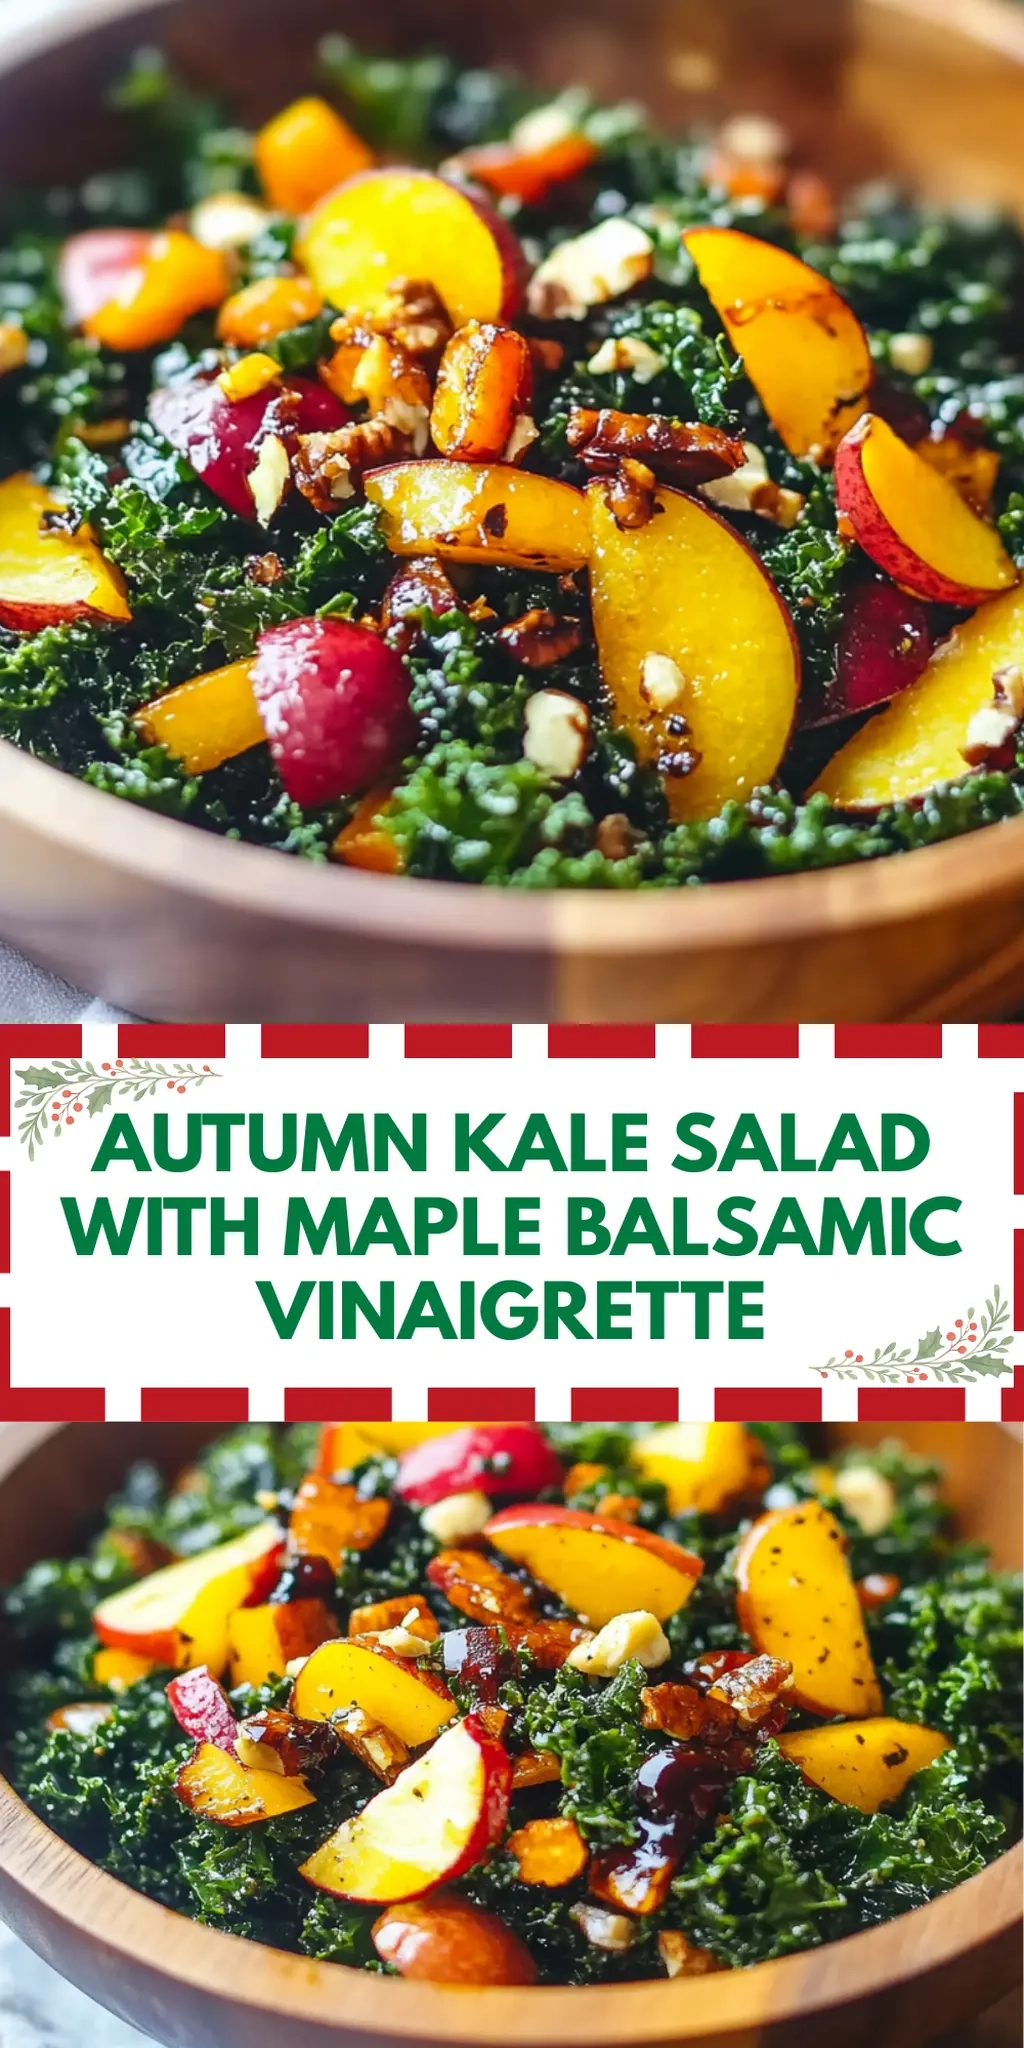
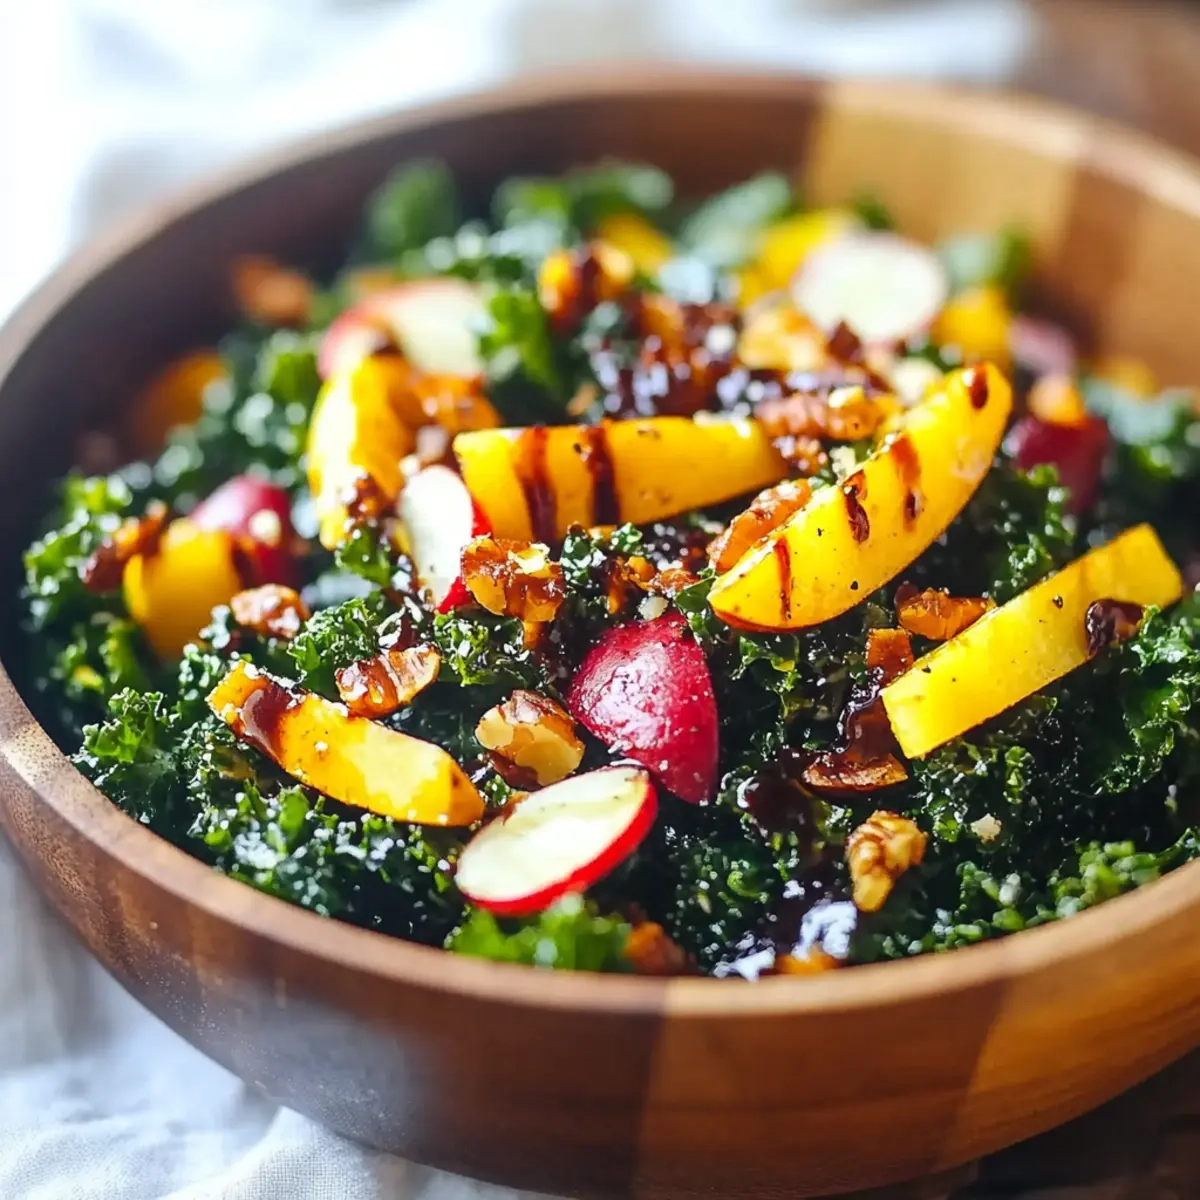
As the leaves start to turn and the crisp autumn air beckons, I find myself craving something vibrant and nourishing. That’s when I first whipped up this Autumn Kale Salad with Maple Balsamic Vinaigrette, a seasonal delight bursting with flavor and color. The earthy kale pairs perfectly with the sweet roasted delicata squash and crunchy pecans, while a sprinkle of raisins adds a touch of chewiness that makes every bite a celebration of fall.
In just 40 minutes, you can transform simple ingredients into a stunning dish that will impress your family or friends, turning even the most mundane weeknight into a cozy gathering. Not only does this salad satisfy the hunger pangs, but it’s also an elegant alternative to takeout that leaves you feeling refreshed and energized. Trust me, as soon as you take that first bite, you’ll wonder why you didn’t make it sooner! Let’s dive in and discover how to create this wholesome salad together.
Why You'll Love This Autumn Kale Salad with Maple Balsamic Vinaigrette
- This Autumn Kale Salad with Maple Balsamic Vinaigrette is incredibly easy to prepare, taking just 40 minutes from start to finish.
- Packed with delicious flavors, the sweet roasted delicata squash and tangy dressing will make your taste buds dance with joy.
- Its vibrant colors make it a stunning centerpiece for any table, guaranteed to wow your guests.
- This salad is versatile enough to be served as a side dish or a hearty main, making it perfect for any occasion.
Autumn Kale Salad Ingredients
• Get ready for a delicious fall treat!
For the Salad
- Curly kale – a nutrient-dense base that promises a flavorful crunch.
- Sea salt – enhances the overall taste, bringing out the kale’s natural sweetness.
- Delicata squash – adds a touch of sweetness and beautiful color to the dish.
- Olive oil – helps the squash roast beautifully while imparting a rich flavor.
- Pepper – for a bit of warmth and spice to balance the sweetness.
- Pecan halves – provide a satisfying crunch and healthy fats.
- Cooked brown lentils – offer protein and fiber, making the salad hearty.
- Large apple – brings a refreshing crispness with just the right amount of sweetness.
- Raisins – a chewy addition that complements the other flavors beautifully.
For the Dressing
- Maple balsamic dressing – ties everything together, infusing the salad with a rich, sweet, and tangy flavor.
Enjoy creating this Autumn Kale Salad with Maple Balsamic Vinaigrette, a warm hug in a bowl that celebrates the bounty of the season!
How to Make Autumn Kale Salad with Maple Balsamic Vinaigrette
-
Wash the curly kale thoroughly under cool running water. Remove the tough stems and tear the leaves into bite-sized pieces. Place them in a large bowl, creating a vibrant base for your salad.
-
Prepare the delicata squash by cutting it in half and scooping out the seeds. Slice it into half-moons, then toss the pieces with olive oil, a pinch of sea salt, and pepper. Roast in the oven at 400°F for about 25 minutes until tender and caramelized.
-
Cook the brown lentils in a separate pot according to the package instructions, which usually takes about 20-25 minutes. Once done, drain and set aside to cool.
-
Dice the large apple into small, crunchy pieces, and gather your prepared raisins. This step will add a delightful sweetness and texture to the salad.
-
Combine all the roasted squash, kale, lentils, diced apple, pecan halves, and raisins in the large bowl. Gently mix to ensure everything is evenly distributed and colorful.
-
Drizzle the maple balsamic dressing over the salad. Toss everything well to ensure all the ingredients are coated in that delicious dressing, making every bite truly delightful.
Optional: Top with additional pecans for an extra crunch!
Exact quantities are listed in the recipe card below.
What to Serve with Autumn Kale Salad with Maple Balsamic Vinaigrette?
Cozy up the table with flavors that enhance this delightful autumn salad, creating an inviting meal experience.
-
Rustic Bread: A slice of warm, crusty bread complements the salad’s textures, perfect for soaking up any leftover dressing.
-
Roasted Root Vegetables: The caramelized sweetness of roasted carrots, parsnips, and beets echoes the salad’s flavors, adding even more heartiness.
-
Grilled Chicken: Juicy, seasoned chicken offers a pleasant protein contrast while keeping the meal light and fresh.
-
Quinoa Pilaf: This fluffy grain lends a nutty flavor and chewy texture, enriching the dish with additional protein and fiber.
-
Apple Cider: Sipping on a glass of crisp apple cider enhances the fall ambiance, with flavors harmonizing beautifully with the salad.
-
Pumpkin Pie: For dessert, a slice of creamy pumpkin pie delivers that quintessential autumn sweetness, rounding out the meal perfectly.
With these pairings, you can create a colorful and nourishing spread that celebrates the best of the season!
Autumn Kale Salad Variations
Feel free to tailor this vibrant salad to your taste and cravings for a delicious twist!
-
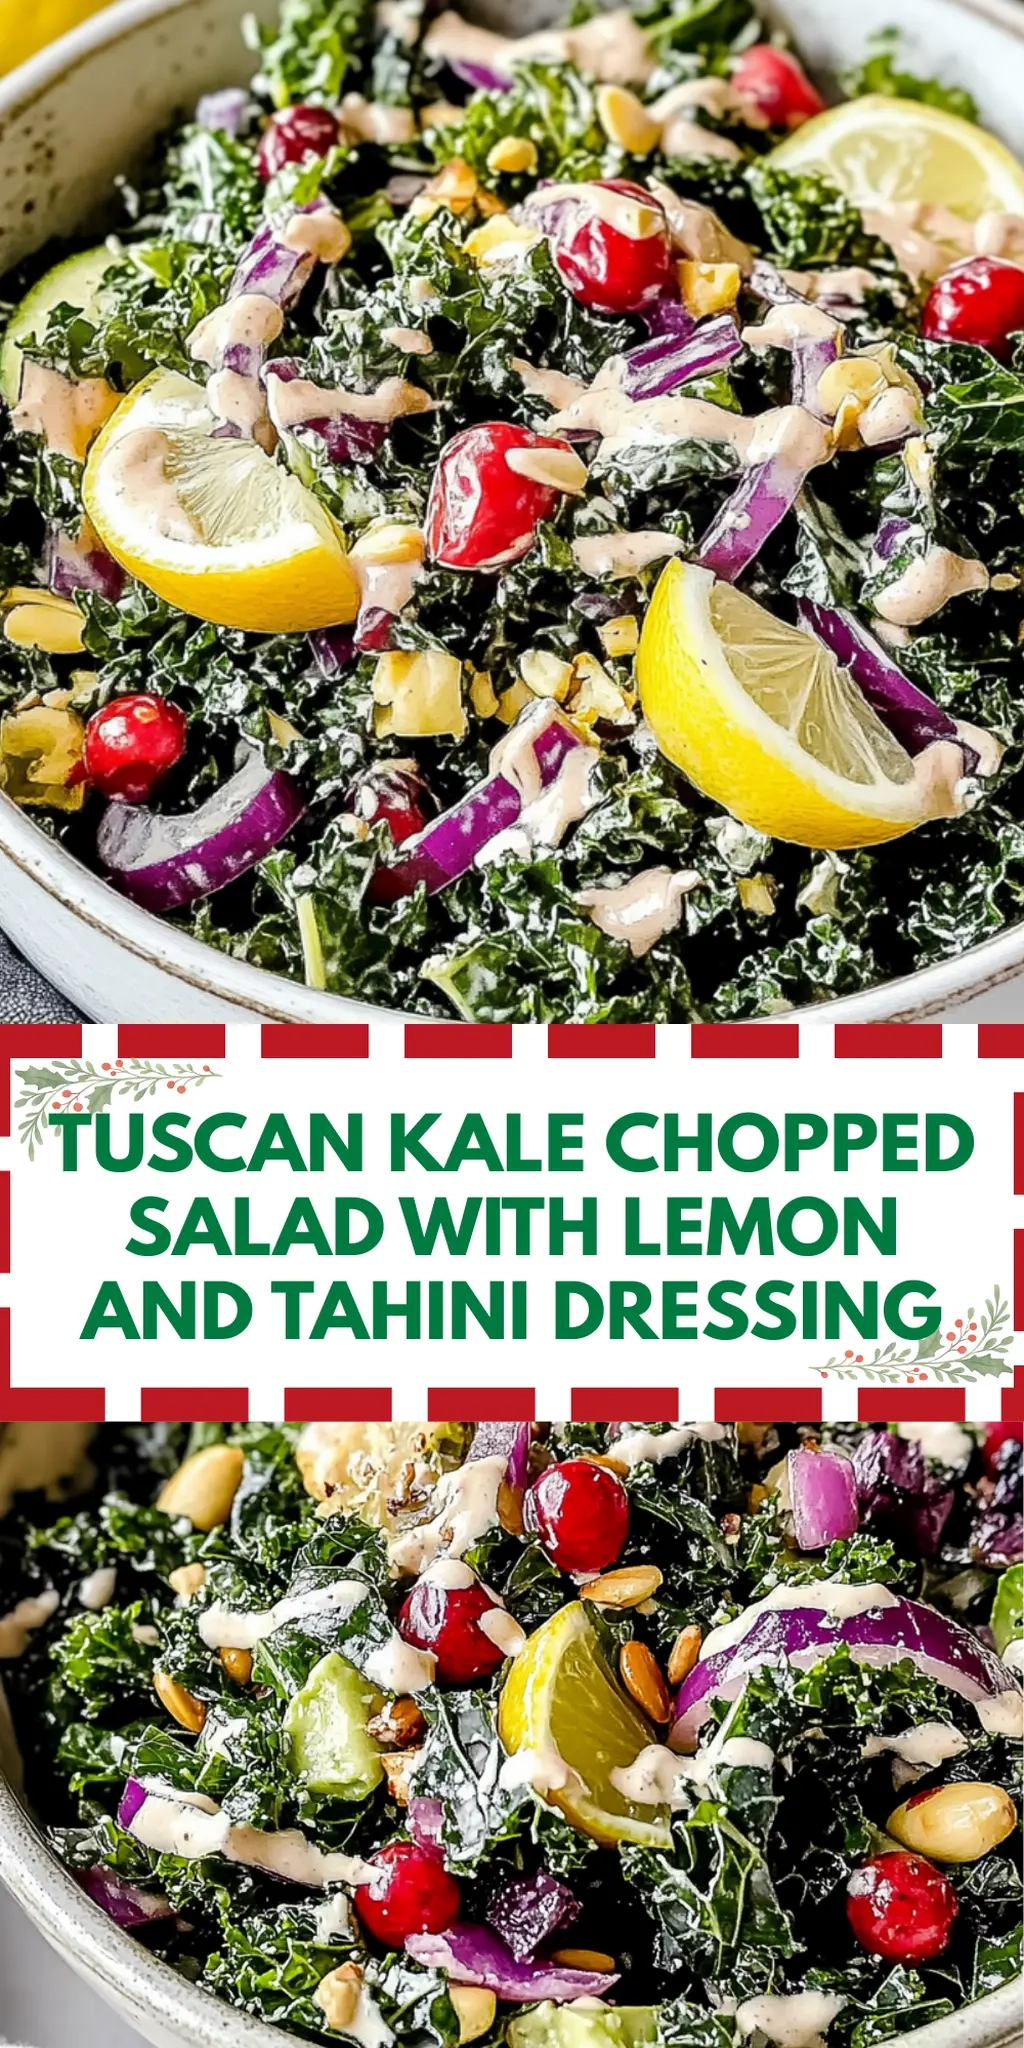
Vegan: Omit the pecans and replace the maple balsamic dressing with a creamy tahini or cashew dressing for a nut-free option.
-
Grain-Free: Substitute the brown lentils with quinoa or chickpeas for an alternate protein-packed option that adds a delightful texture.
-
Spicy Kick: Sprinkle red pepper flakes or diced jalapeños into the mix for a zesty heat that will awaken your taste buds.
-
Cheesy Addition: Crumbled feta or goat cheese adds a creamy, tangy element that pairs beautifully with the sweetness of the squash and apple.
-
Nut-Free: Swap pecans for sunflower seeds or pumpkin seeds, providing crunch without the nuts, making it perfect for allergy concerns.
-
Fruit Variety: Use a mix of seasonal fruits such as pears or pomegranate seeds instead of apples or raisins for a burst of different flavors and colors.
-
Herb Boost: Toss in fresh herbs like parsley or parsley for an aromatic addition that livens up the dish, enhancing its freshness.
-
Roasted Veggies: Incorporate roasted Brussels sprouts or beets for an earthy twist that will add depth and a pop of color to your salad.
Embrace the essence of autumn with these delightful variations, making each serving unique and satisfying!
How to Store and Freeze Autumn Kale Salad with Maple Balsamic Vinaigrette
Fridge: Store the prepared salad in an airtight container for up to 3 days. Keep the dressing separate to maintain the kale’s freshness and prevent sogginess.
Freezer: Freezing is not recommended for the assembled salad, as the texture of the kale and other ingredients may suffer. Instead, you can freeze the cooked lentils and roasted squash individually for later use.
Reheating: If you’ve stored leftovers, enjoy the salad cold or at room temperature. For a warm version, gently reheat the roasted squash and lentils in the microwave and mix them back with fresh kale and dressing just before serving.
Preparation Tip: When meal prepping the Autumn Kale Salad, consider keeping the components separate until you’re ready to eat for the best taste and texture!
Make Ahead Options
These Autumn Kale Salad with Maple Balsamic Vinaigrette preparations are perfect for busy cooks seeking time-saving solutions! You can wash and tear the kale, along with prepping the diced apple and raisins, up to 24 hours in advance; just store them in airtight containers in the refrigerator to keep them fresh. The delicata squash can also be roasted a day ahead; simply roast it, let it cool, and refrigerate. When you’re ready to serve, combine all the salad components—squash, lentils, kale, apple, pecans, raisins—and drizzle with the maple balsamic dressing right before enjoying. This way, you’ll have a delicious and vibrant meal ready in minutes, just as tasty as if prepared fresh!
Chef's Helpful Tips
- When preparing the Autumn Kale Salad with Maple Balsamic Vinaigrette, make sure to wash the kale thoroughly to remove any grit and maximize its freshness.
- A common mistake is not properly removing the tough stems, so be sure to tear the leaves into bite-sized pieces for a more pleasant texture.
- When roasting the delicata squash, aim for golden-brown edges to enhance its natural sweetness and flavor; check it at the 20-minute mark to avoid overcooking.
- Lastly, allow the cooked brown lentils to cool before adding them to the salad to prevent wilting the kale and ruining the texture.
Autumn Kale Salad with Maple Balsamic Vinaigrette Recipe FAQs
How do I choose the right kale?
When selecting curly kale for your Autumn Kale Salad, look for vibrant green leaves with a crisp texture. Avoid any bunches with yellowing or dark spots, as these indicate age. The leaves should feel firm and not wilted; fresh kale means a fresher salad!
How should I store the salad leftovers?
Absolutely! To keep your Autumn Kale Salad fresh, store any leftovers in an airtight container in the fridge for up to 3 days. Remember, it’s best to store the salad without the dressing to maintain crunchiness; add the maple balsamic dressing just before serving for optimal flavor and texture.
Can I freeze components of this salad?
Very! While I don’t recommend freezing the assembled salad, you can freeze the cooked brown lentils and roasted delicata squash separately. Place them in freezer-safe containers or bags, sealing tightly to prevent freezer burn. They can be kept in the freezer for up to 3 months. When you’re ready to enjoy them again, simply thaw in the fridge overnight or use the microwave.
What is the best way to prevent the kale from wilting?
Great question! To keep your kale vibrant and crunchy, make sure to add the dressing only when you’re ready to eat the salad. If you’re meal prepping, store the kale, veggies, nuts, and lentils separately, and drizzle the dressing on right before serving. This way, you’ll enjoy that perfect texture with every bite!
Are there any dietary considerations for this salad?
Absolutely! This Autumn Kale Salad is naturally vegan and gluten-free, making it suitable for various dietary preferences. However, if you or your guests have nut allergies, you can replace the pecan halves with seeds, such as pumpkin or sunflower seeds, which will still provide a delightful crunch! Always double-check with your guests about allergies to ensure their safety.
How do I know when the delicata squash is perfectly roasted?
Roasting delicata squash is a delightful process! Aim for a beautiful golden-brown color with slightly caramelized edges. After about 20 minutes in a preheated oven at 400°F, check for tenderness by piercing a piece with a fork; it should be soft yet hold its shape. If you see a rich, golden color and can easily pierce it, you’re ready to add it to your salad!
Autumn Kale Salad with Maple Balsamic Vinaigrette
Ingredients
Equipment
Method
- Wash the curly kale thoroughly under cool running water. Remove the tough stems and tear the leaves into bite-sized pieces. Place them in a large bowl.
- Prepare the delicata squash by cutting it in half and scooping out the seeds. Slice it into half-moons, then toss the pieces with olive oil, a pinch of sea salt, and pepper. Roast in the oven at 400°F for about 25 minutes until tender and caramelized.
- Cook the brown lentils in a separate pot according to the package instructions, which usually takes about 20-25 minutes. Once done, drain and set aside to cool.
- Dice the large apple into small, crunchy pieces, and gather your prepared raisins.
- Combine all the roasted squash, kale, lentils, diced apple, pecan halves, and raisins in the large bowl. Gently mix to ensure everything is evenly distributed and colorful.
- Drizzle the maple balsamic dressing over the salad. Toss everything well to ensure all the ingredients are coated in the dressing.